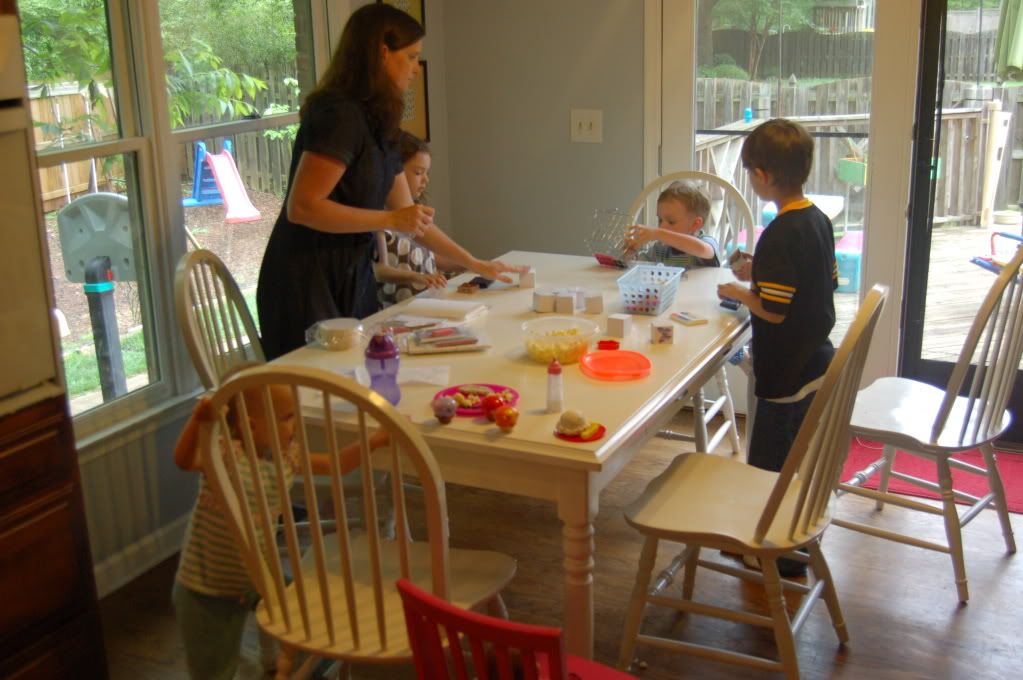
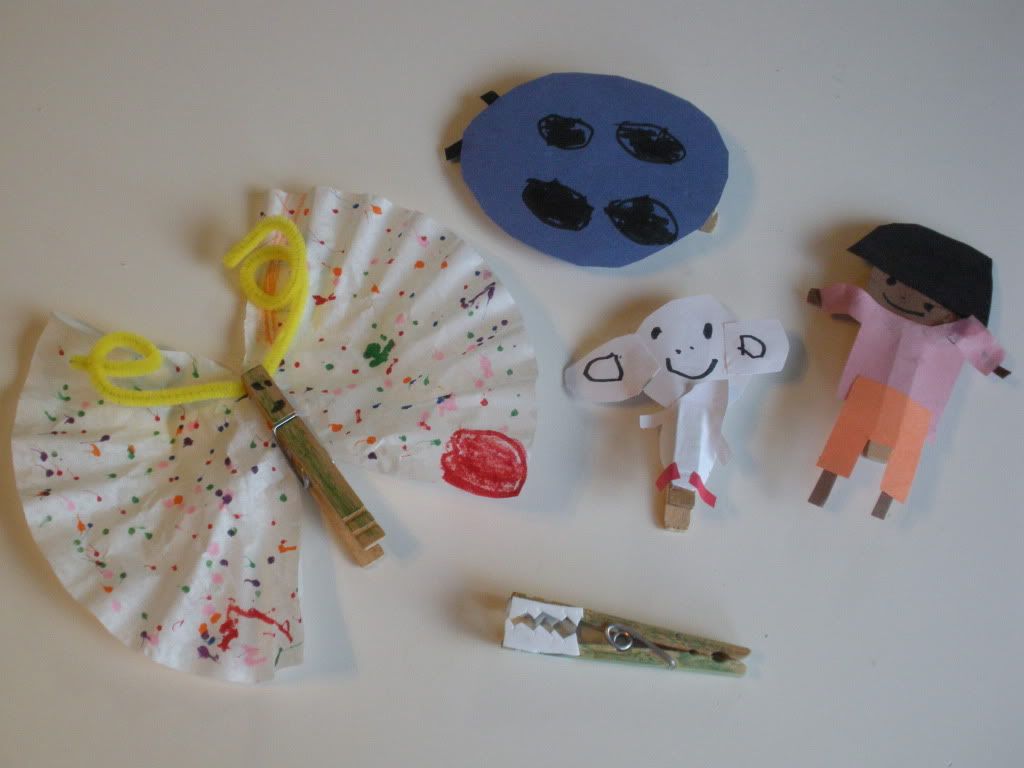
 The kids have been making these Backpack Buddies lately. Z found them in his Highlights magazine (Feb 2009) and loves clipping things to his backpack. So he made himself the alligator (the clip with the big white teeth). On a roll, he helped K make the butterfly (I supplied the coffee filter) and Micah the blue ladybug. This morning when I got up (the kids get up before me...6am) he showed me this Dora one he made for his littlest sister (this 2 year old LOVES Dora....we don't have regular cable and don't have Nick Jr, but some old videos she watches over and over). Then he made the Boots too upon her request. This is what I absolutely LOVE about having organized the kids craft materials. Every morning that is what they are doing when I get up. Drawing, coloring, cutting, crafting.
But speaking of crafting with kids, I have a whole list of projects and activities I'd like to do with them this summer. Wonderful tutorials and inspiration in blogland. Here's what's on our list so far:
*a kid version of these cardboard horses which we'll probably add a horn to make unicorns and much use of glitter probably...K will love these!
*Black opal mining
*clay geckos
*more of these totes for gifts
*my kids would get a kick out making a bunch of these Weepuls
*clothspin windchimes
We might make a roly poly terrarium again too...just for the summer (or til the kids get bored with it).
And I want to make this awesome Family Yahtzee game. The kids would get a kick out of having their faces on a game. Extremely awesome idea!!
I also have a few ideas of my own. Will share when we do them! And more sewing tutorials coming up and parties!
For now I'm headed to COSTA RICA in the morning! Seven days with just hubby. My awesome MIL is watching the kids...they will be totally spoiled I'm sure!
See you guys in a week!

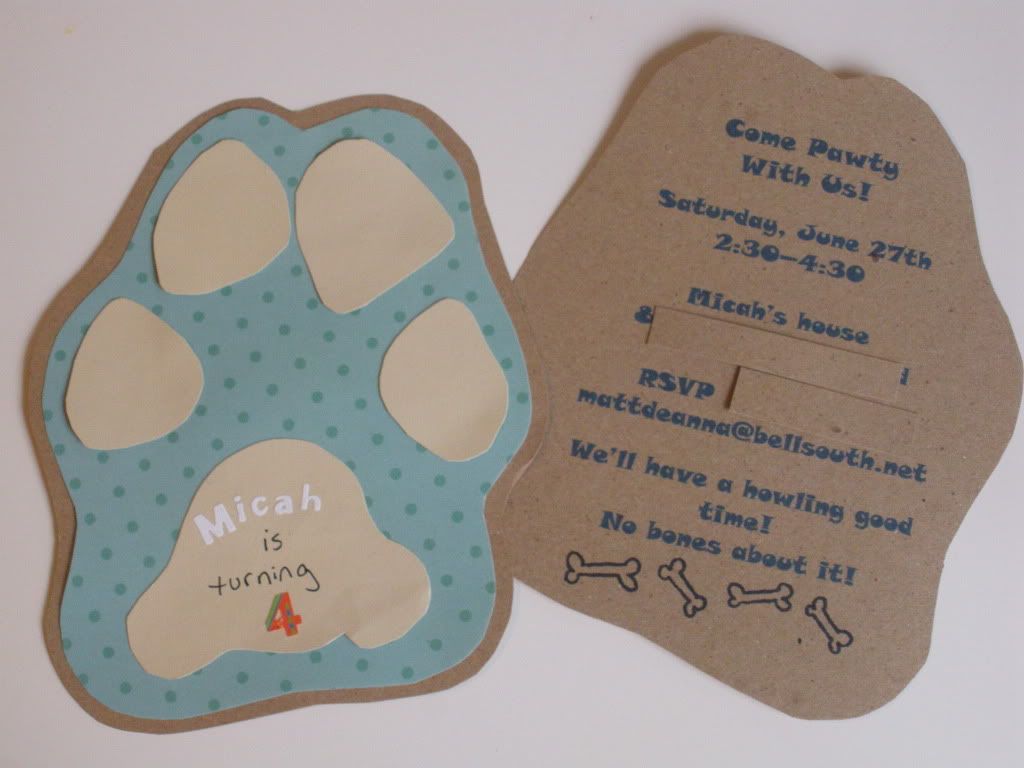 Got his invites done (I'm leaving for 7 days this Friday, so wanted to get a head start so I can mail these when I get back). I used clip art and pictures from
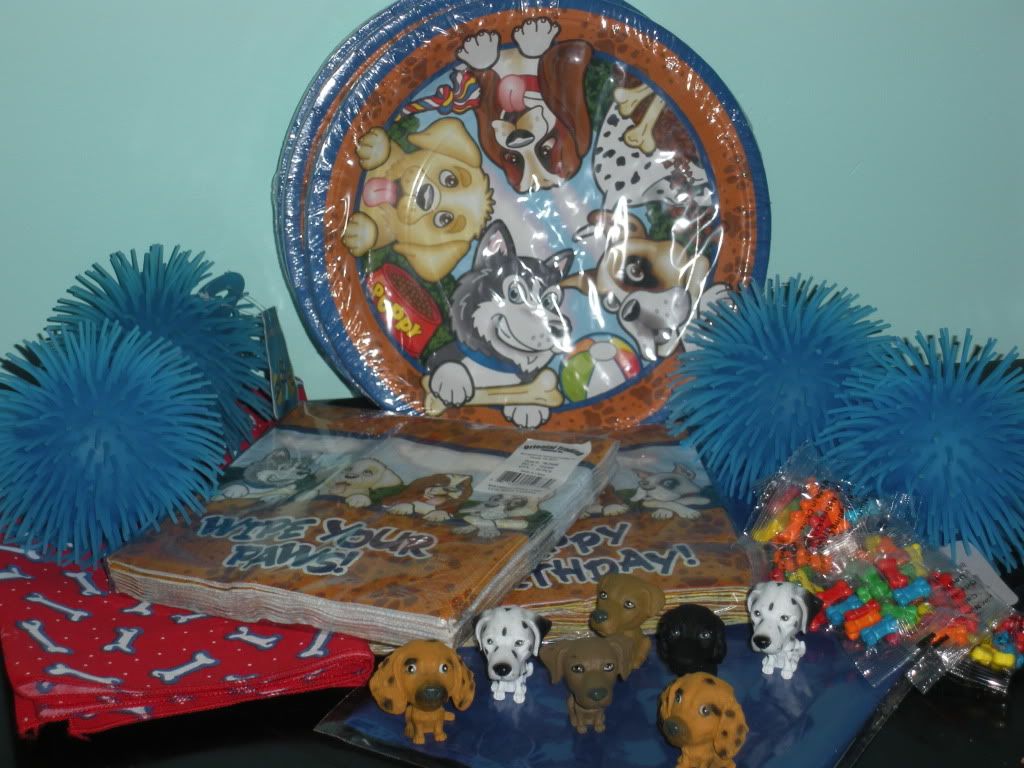


 In between all the rain we've spent time getting in some fun warm weather activities in.
 LOVE this


 I had 2 today for both my preschoolers (boy was that something to juggle, but hubby was there to help/trade parties half way through). Micah's 3 year old class had a Luau themed party. In this particular class I swear that every mom brings gifts/party favors and the kids totally rack up. I am no different, so I brought little sand pails, beach balls and wind up water toys for all the kids. Everything is from Target. The beach balls in the dollar section, and the pails ($.99 each) and wind up toys (came 2 to a package so I split them up, one per kid) on the back wall behind the toy section. I used paint markers to put the kids names on them (that's Micah's fav part!).
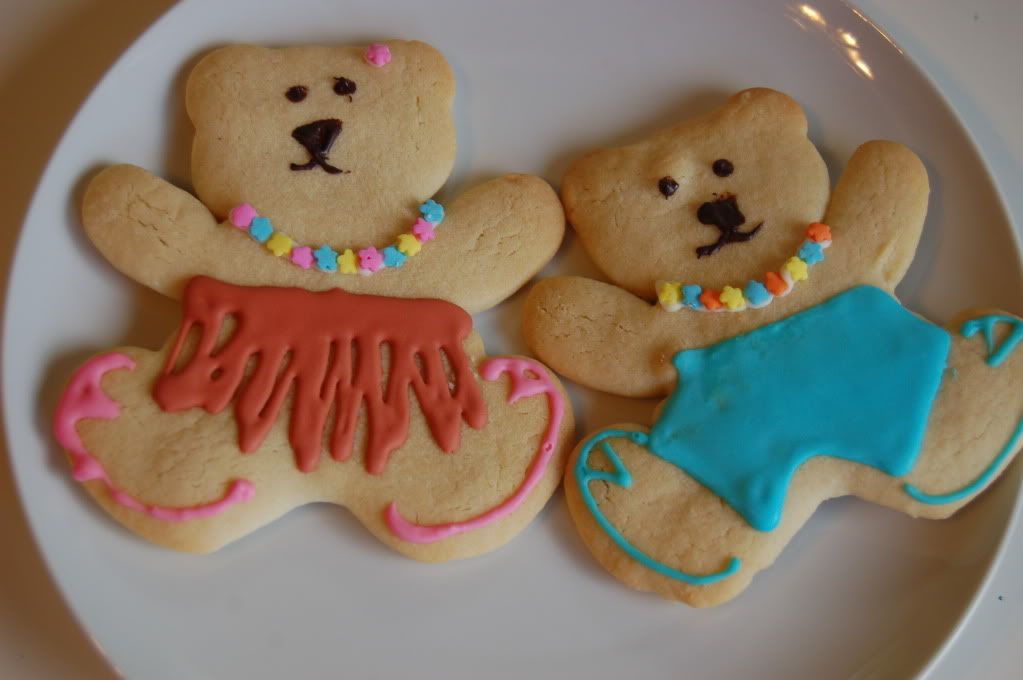 I brought dessert and made large hula bear cookies for the kids (their class is the 'Busy Bears'). Faces are done with melted chocolate, snowflake sprinkles make their lei and royal icing for short, skirt and flipflops.
 First, take a strip of fabric you want it made from and draw 5 (or 6) 'U' shapes with a fabric disappearing marker to make petals. The longer the petals, the bigger the flower, these are about 2.5" long.
 Now sew along all your lines, securing the threads at each send of the 'U's.
 Turn them all inside out and then pleat the ends and sew to secure.
 Now secure all the petals to your dress/shirt/skirt/pants that you are sewing it to either by hand stitching or a couple of machine stitches. You will want the ends to overlap to be sure they will hide under your middle circle you just made.
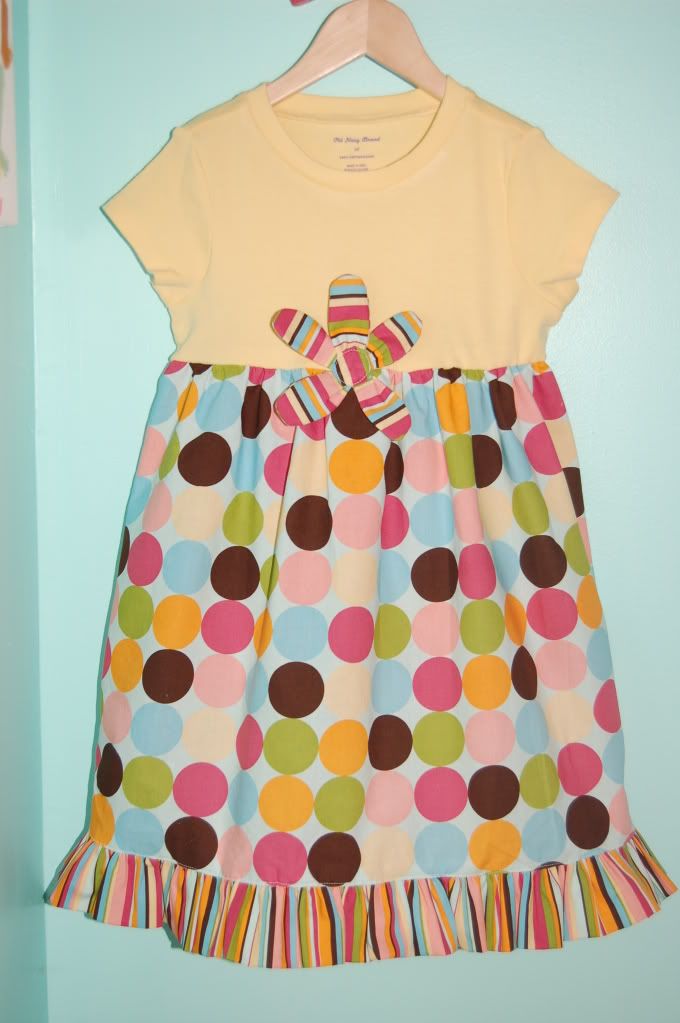 Here's a tshirt dress I just whipped up for little Maressa. Tshirt dresses are the first thing I started making when I had my first girl (now almost 6 years). They are so simple and you can do them in all sorts of fun fabrics.
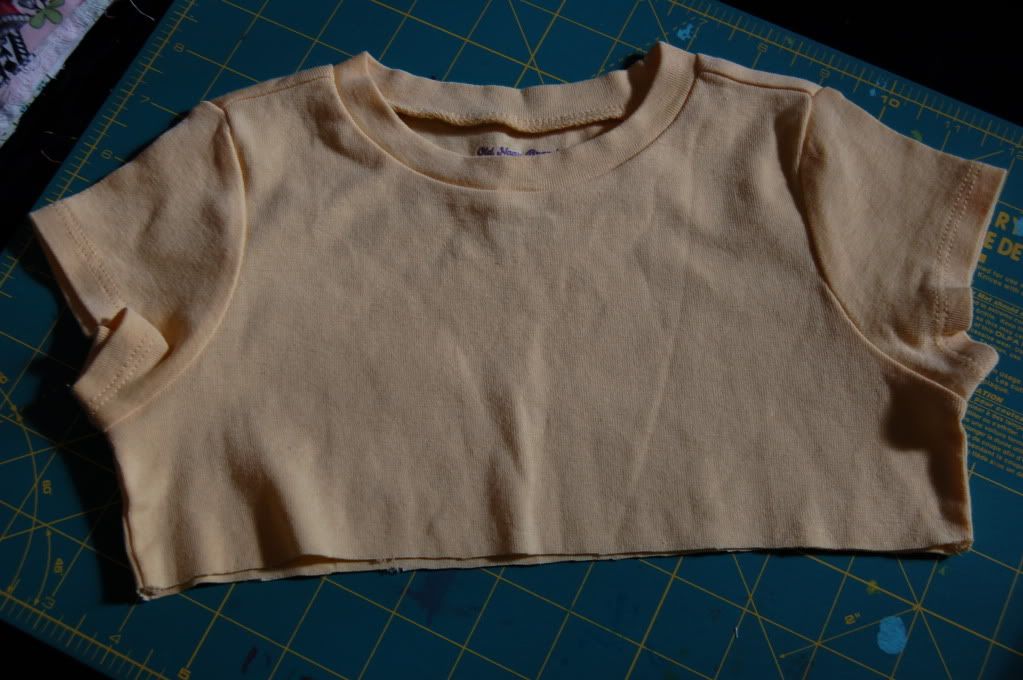 I cut my tshirts 2" below the bottom arm seam for toddler sizes (for sizes 5T and up I'd add an inch or 2 depending on taste. I like a princess seam across the dress hitting right under the child's chest. For the skirt I usually take a dress my daughter is wearing that I like the length on. I measure the side seam of the dress from armpit to hem. If you do not plan on adding a ruffle, use that exact measurement (the 'extra' 2" will
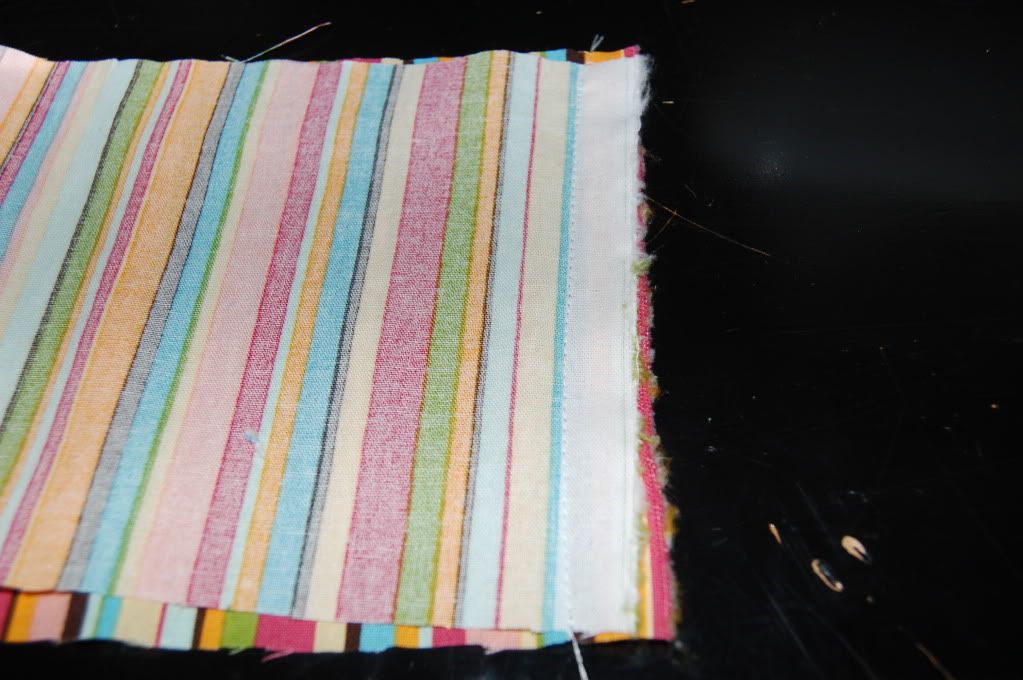 To make a standard folded ruffle hem, first cut strips and sew all seams together so they are all connected. To figure out how to cut your strips, the length is 2X the width of your skirt. Depending on how big you want your ruffles is how you cut the width of your strip. I made 2" ruffles so my strips were 5" wide. So you should do double the length you want them to be plus 1" for the seams. You still following?? :)
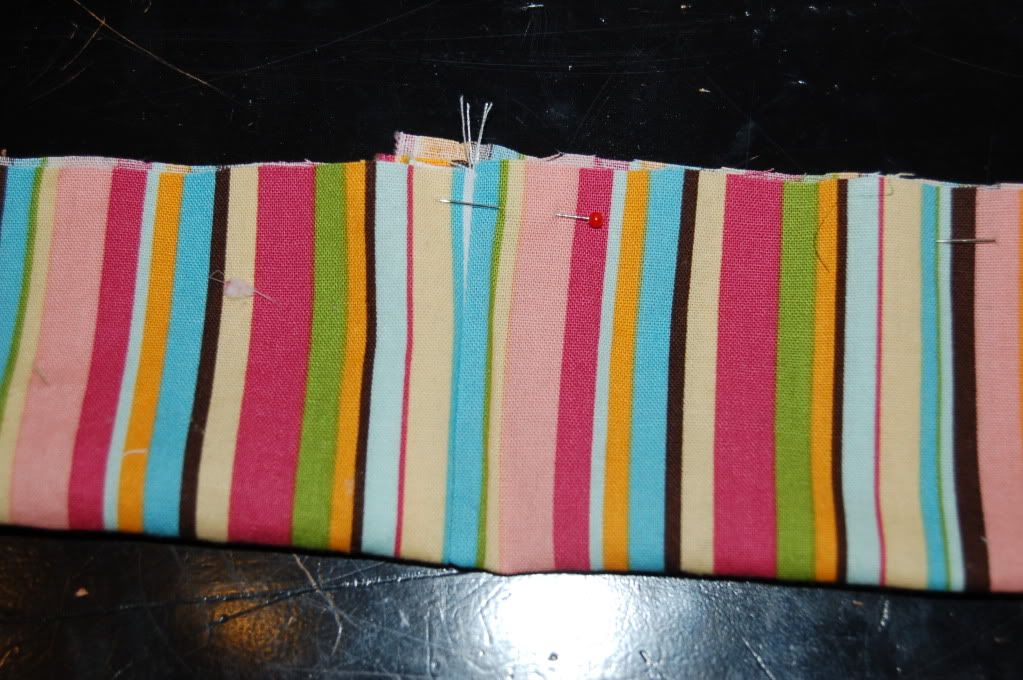 Once all seams are sewn (no need to worry about finishing these seams) fold them in half wrong sides facing.
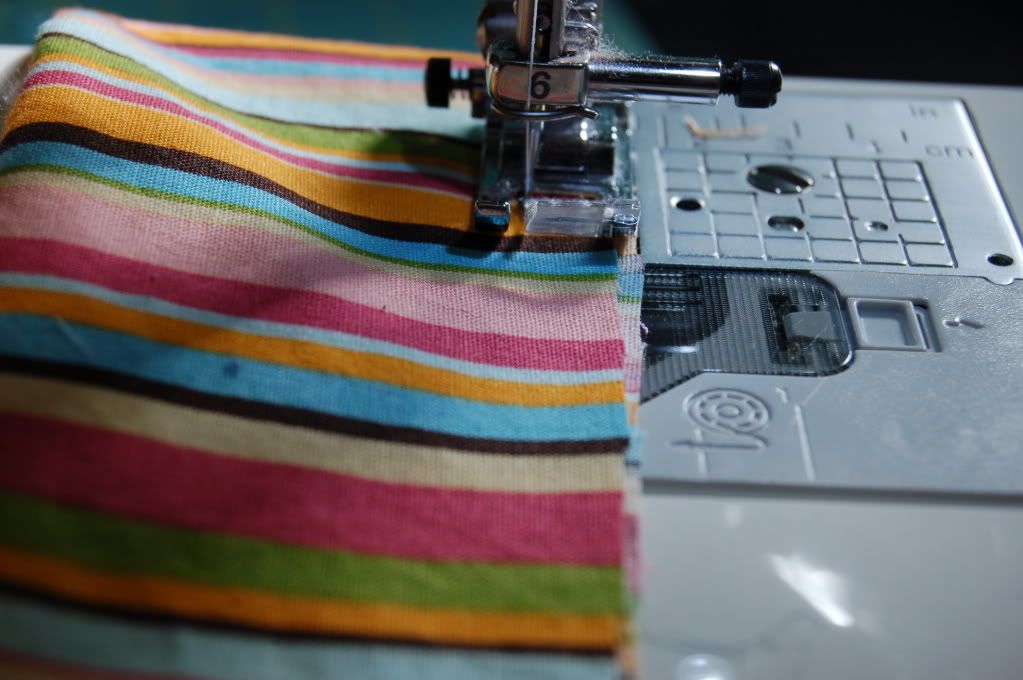
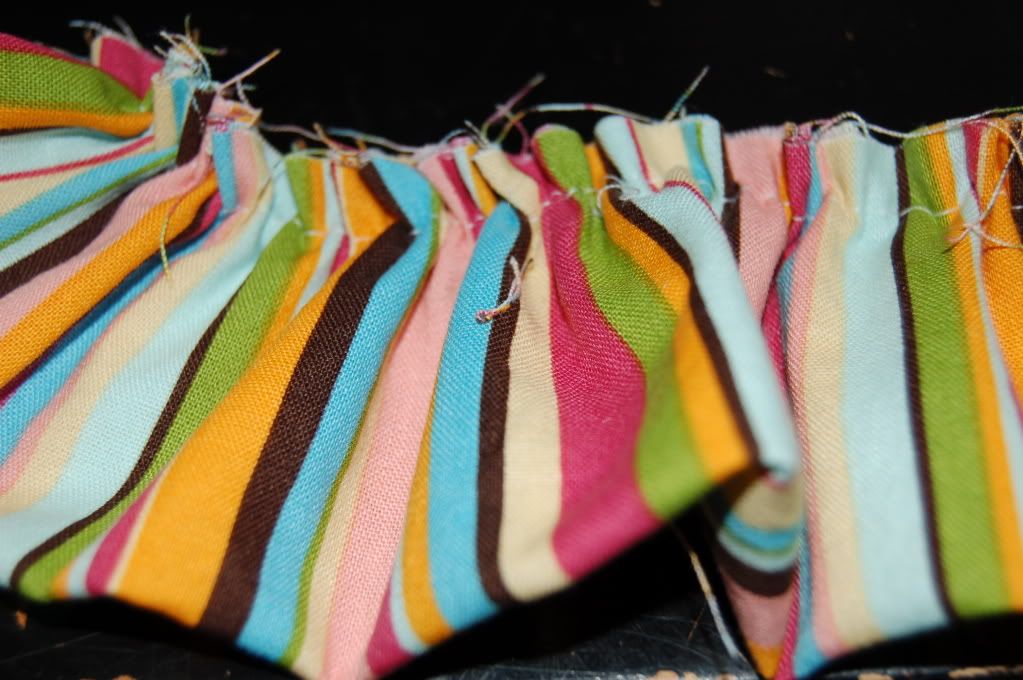 Pull your stitches gently to gather.
 If you are like me and have only 1 seam in the skirt I personally put the seam on the side, so I mark the other 'side' and I fit the ruffle to the seam and mark.
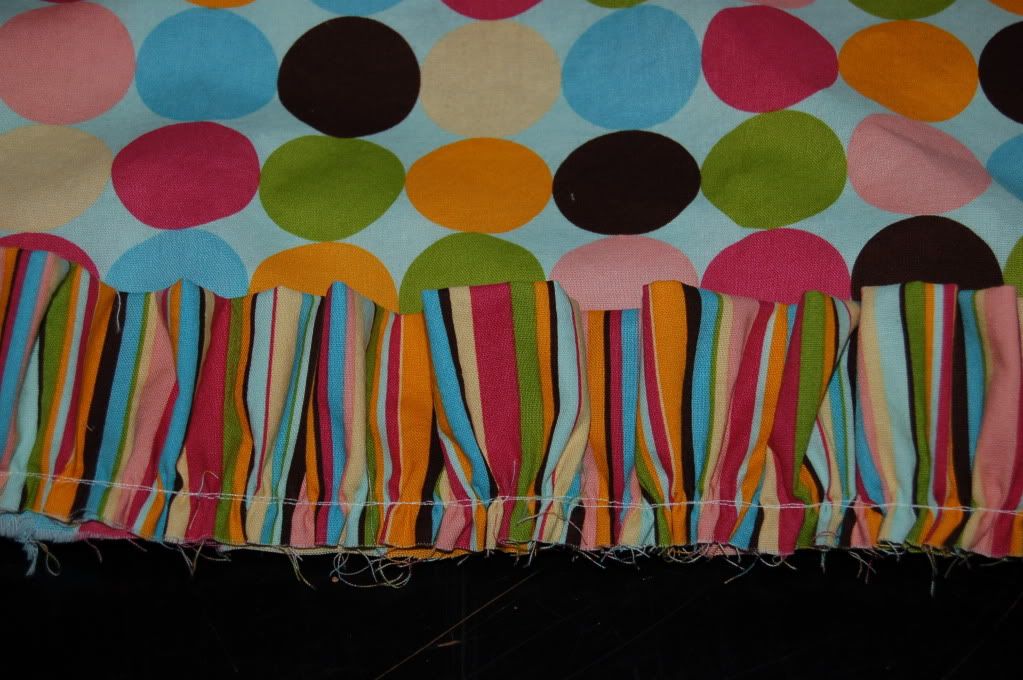 Once gathered to fit the skirt, pin and sew.
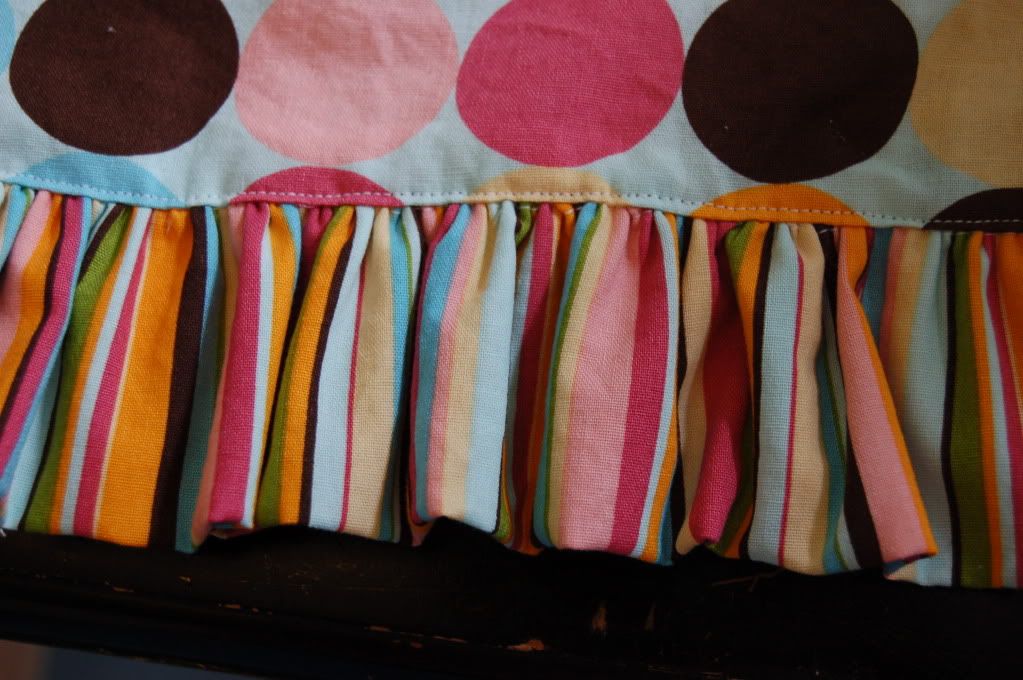 On front of dress, topstitch the ruffle down.
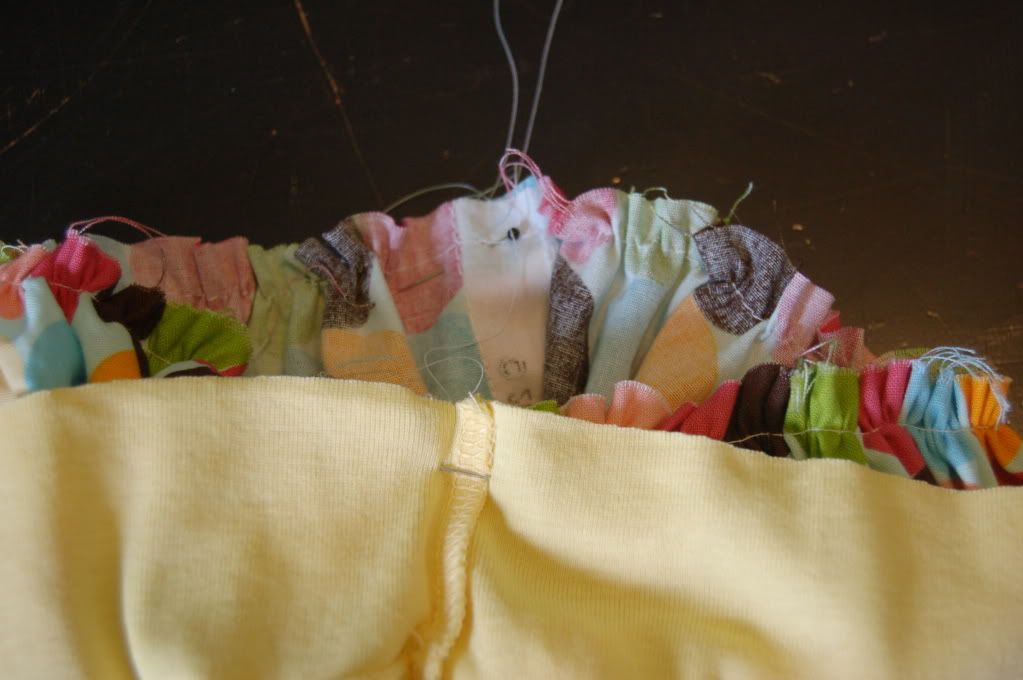
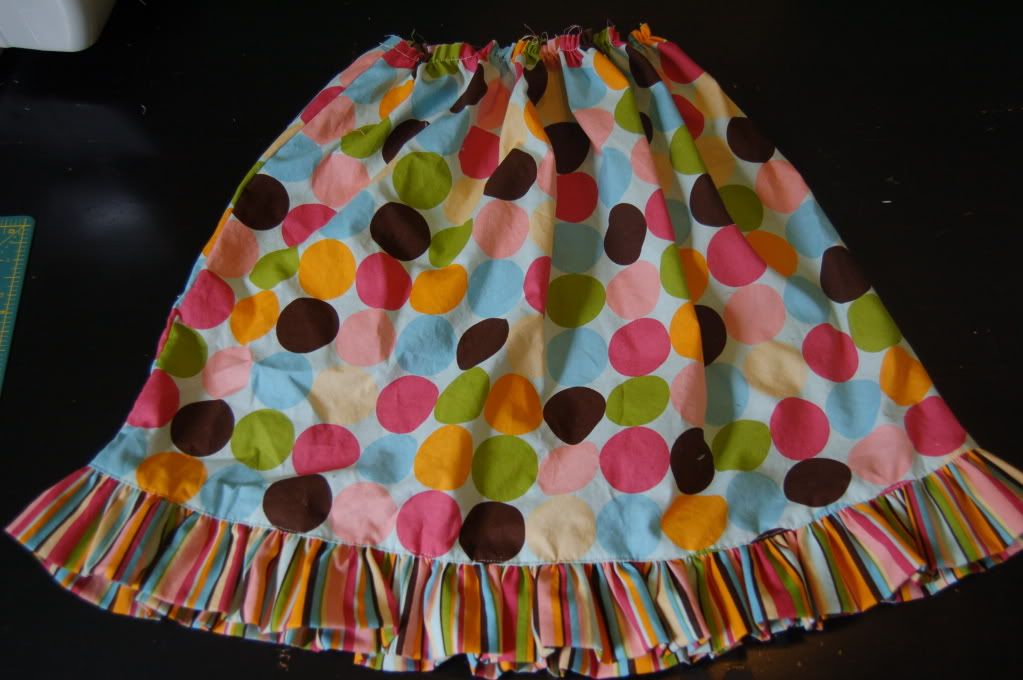 Now follow previous directions for gathering to gather the whole skirt.
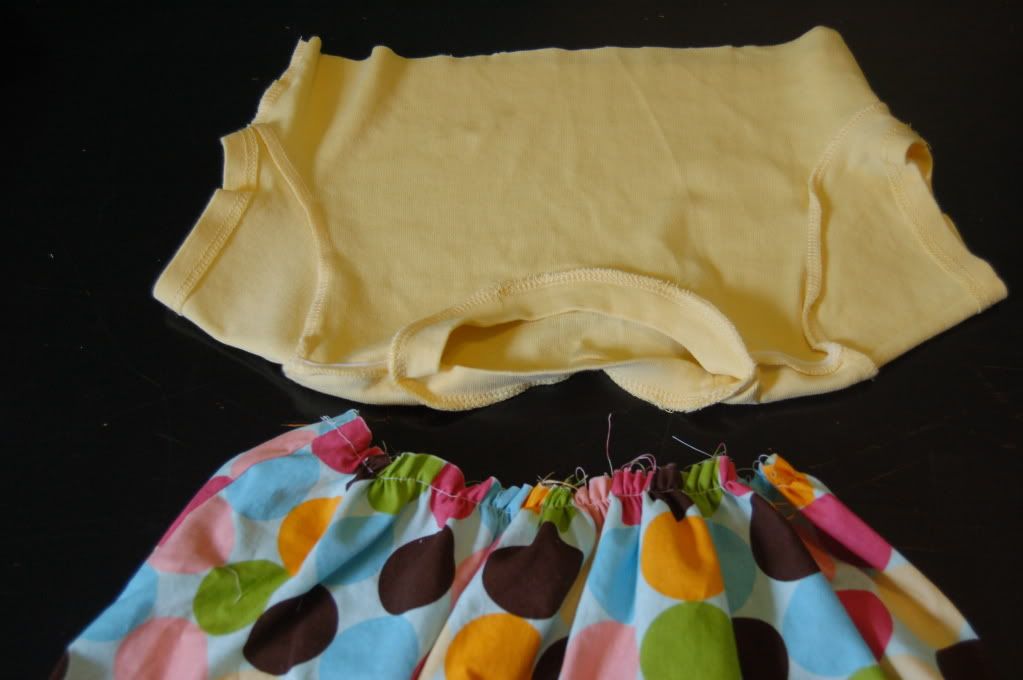
 These are supposed to be rainbow cupcakes. Not how I envisioned, but I still like them. I made these for my daughter's Everybody's Birthday Party at her preschool. It is namely to celebrate all the kids who have summer birthdays. It has been so yucky and rainy here I thought I'd cheer everybody up with some rainbows and sunshine.
 To make your own colorfully frosted cupcakes simply make your frosting (the recipe I used to follow) and divide into separate bowls and color different colors. To get bold colors use the paste food colorings.
 Now take your pastry bag (I like to stand mine in a tall glass when filling it) and glob the different colors in your bag and then pipe onto your cupcakes. You'll find that your cupcakes won't likely get all the colors on each one. These cupcakes would be great tie dye cupcakes and a smiley toothpick for a 60's themed party (how to do custom toothpicks at bottom of post).

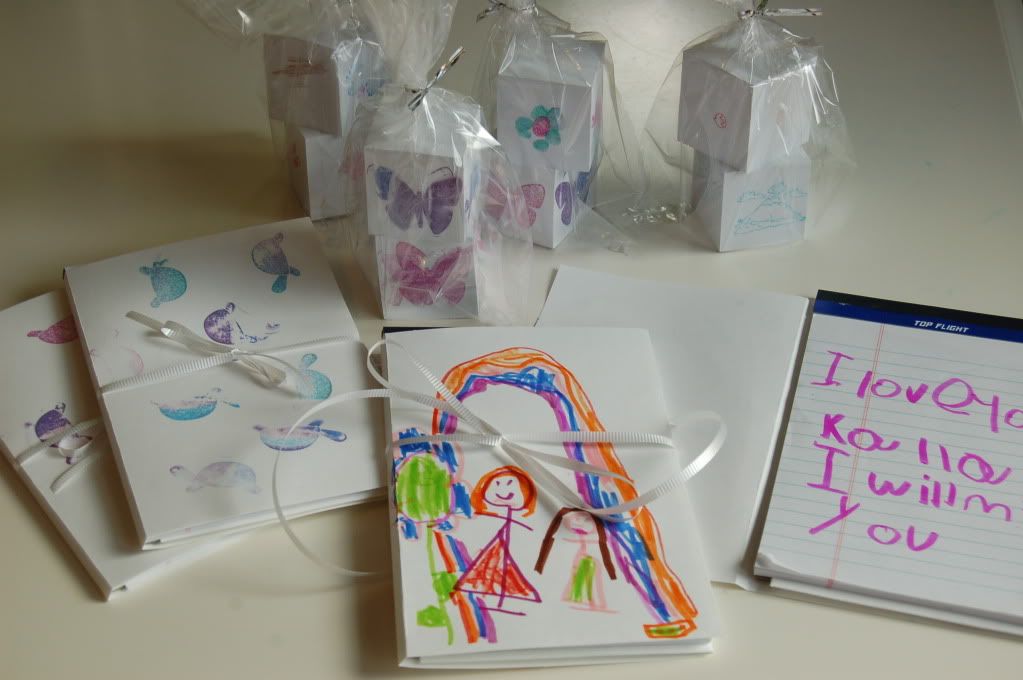
 I made up some glitter playdough for the kids in Kalla's class and made the pink for the girls and blue for the boys. :)
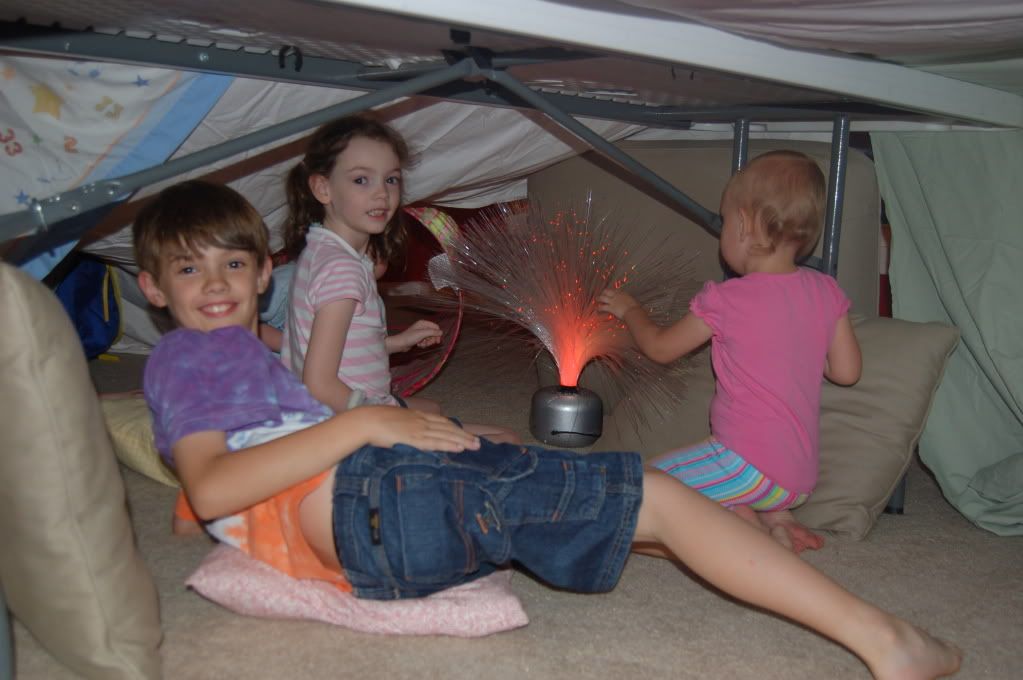 And built a giant fort (Micah kept us amused calling it a 'pork'...guess it kinda fit our situation at the time though!).
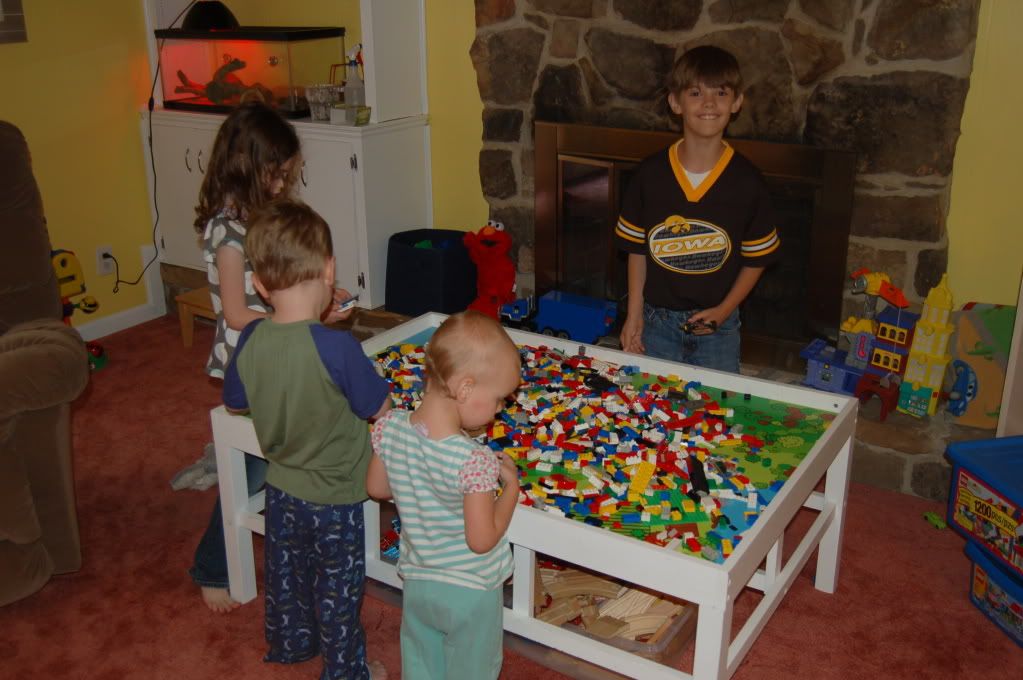 Saturday we played some legos.
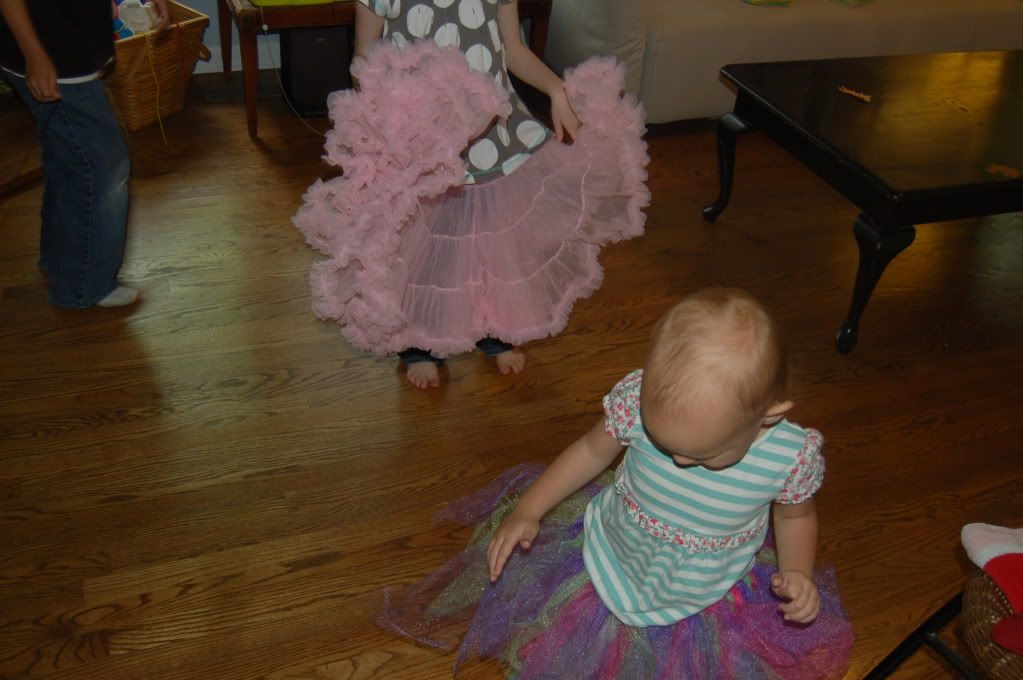
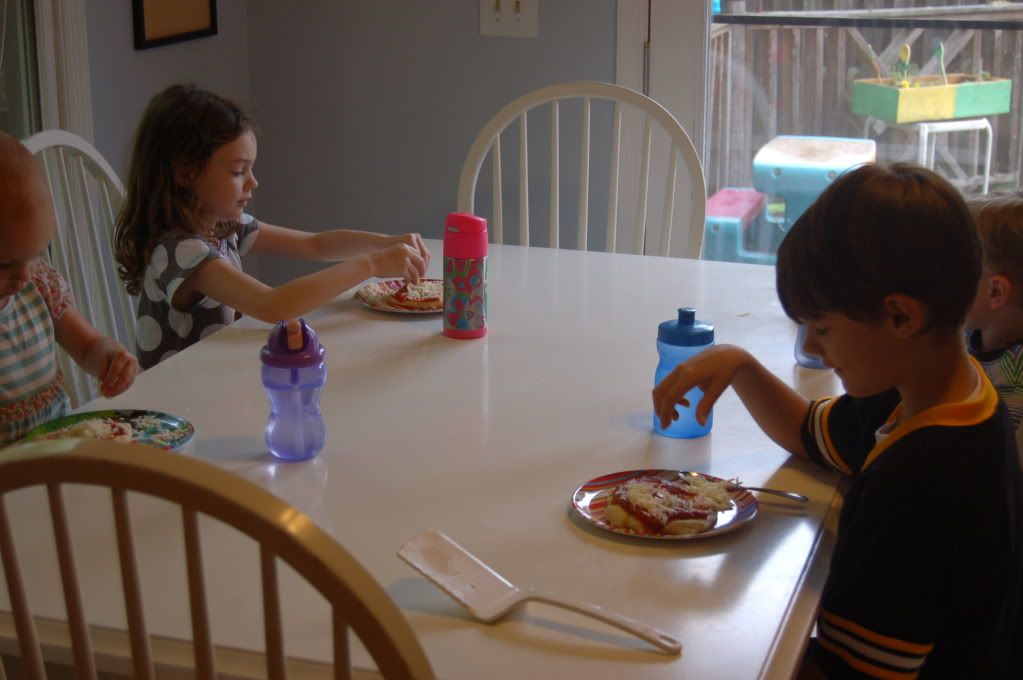 Then made our own pizzas for lunch...they are pretty boring with that though as they only like cheese on them.