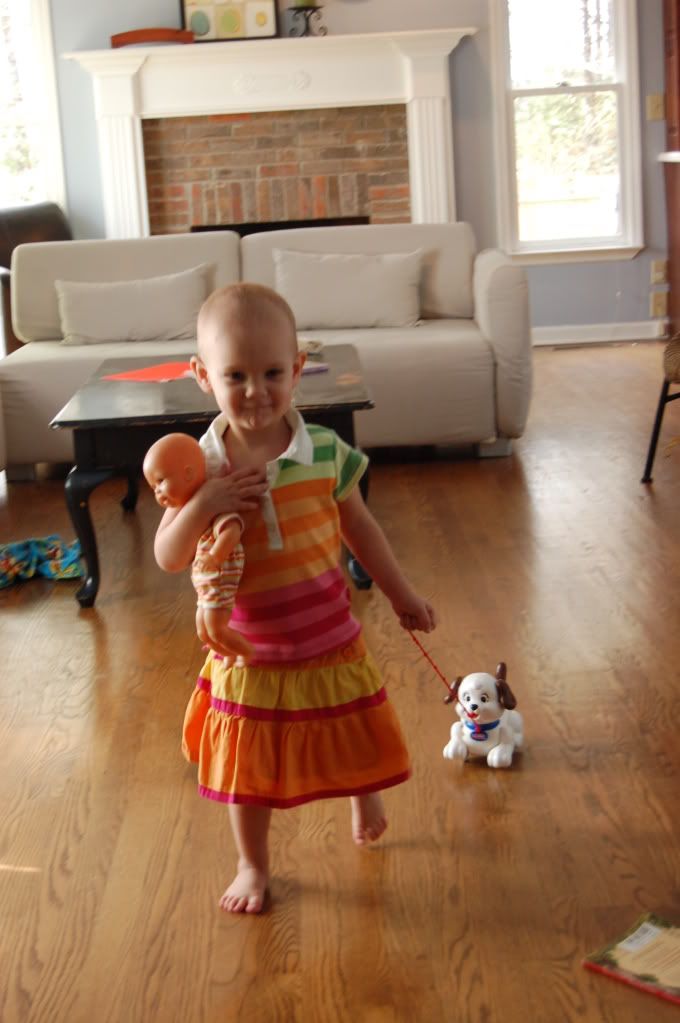
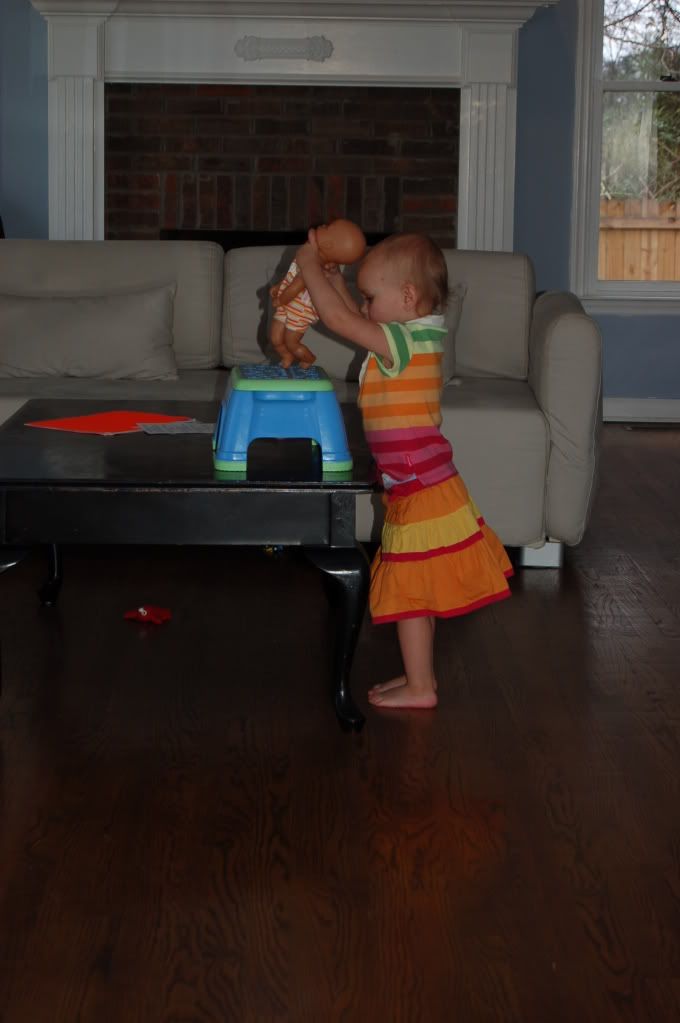
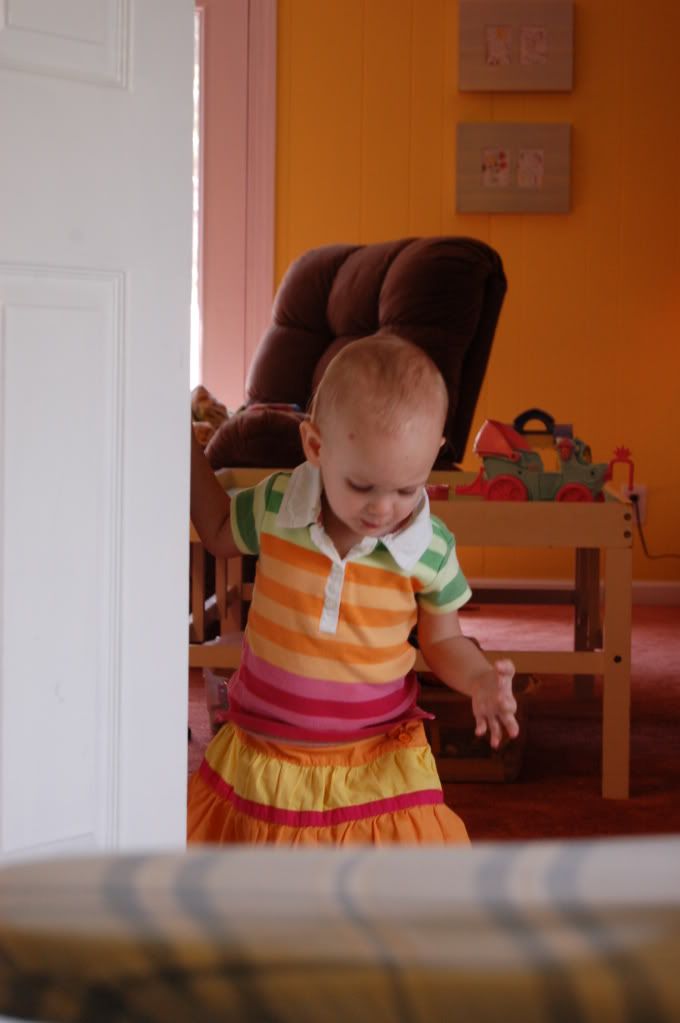
Here's an easy 2 tier skirt to make your little girl. No patterns just a few measurements. You need a waist measurement and how long you want your skirt. I typically use an existing skirt in the closet that fits to judge how long to make the girl's skirts. For the 2 tier skirt I usually like it a few inches below the knee, but I am guilty of often making them big so they last 2 years. The above skirt I just finished for K who is 5.5 years and wears a 6. Here is one I've made for the 2 year old.
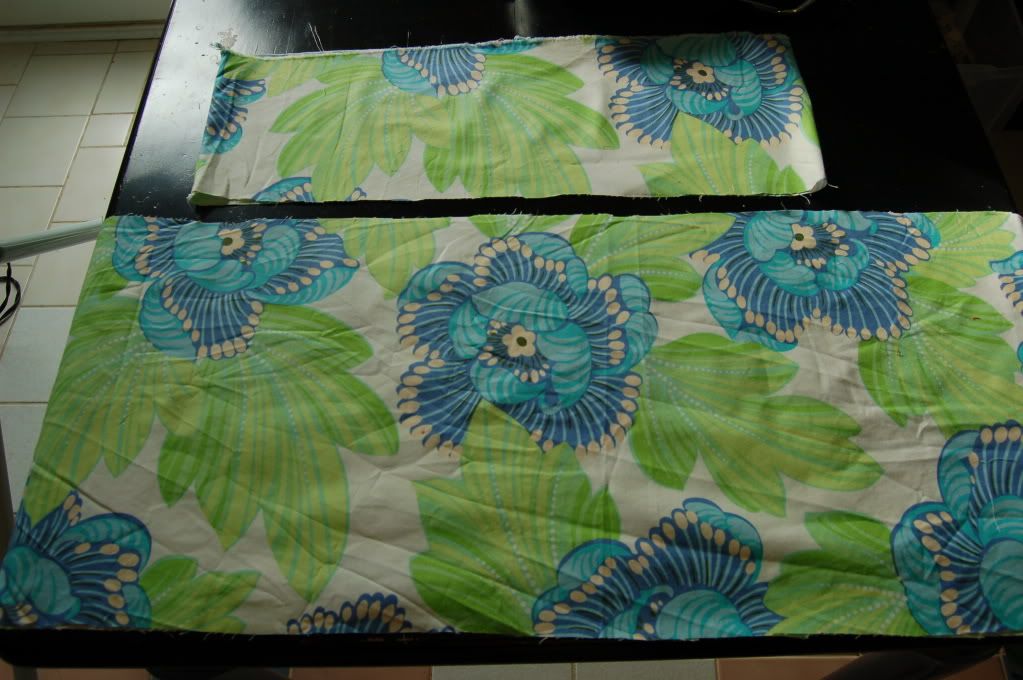 You need to cut 3 pieces of fabric. The 3 pieces will be the same length and I use somewhere between 40" and 45" for girls 12mos to 6+. Kalla's waist is 21". You want your top tier to be shorter from top to bottom than the second tier. For an idea of measurements I used the following for the girl's:
Kalla size 6~ top tier 7" x 45" cut 1
second tier 13" x 45" cut 2
Maressa size 2T~ top tier 7" x 42"
second tier 7" x 42" cut 2
If the skirt you want to make is somewhere in between, add or subtract inches from the second tier cuts. The top tier includes 2" for the elastic casing. When you've got your strips cut, sew the top tier piece on the sides (you can use french seam here if you don't have a serger for a neat look). Now with right sides facing sew the 2 second tier strips together. You should now have 2 tubes, one about twice as wide as the other.
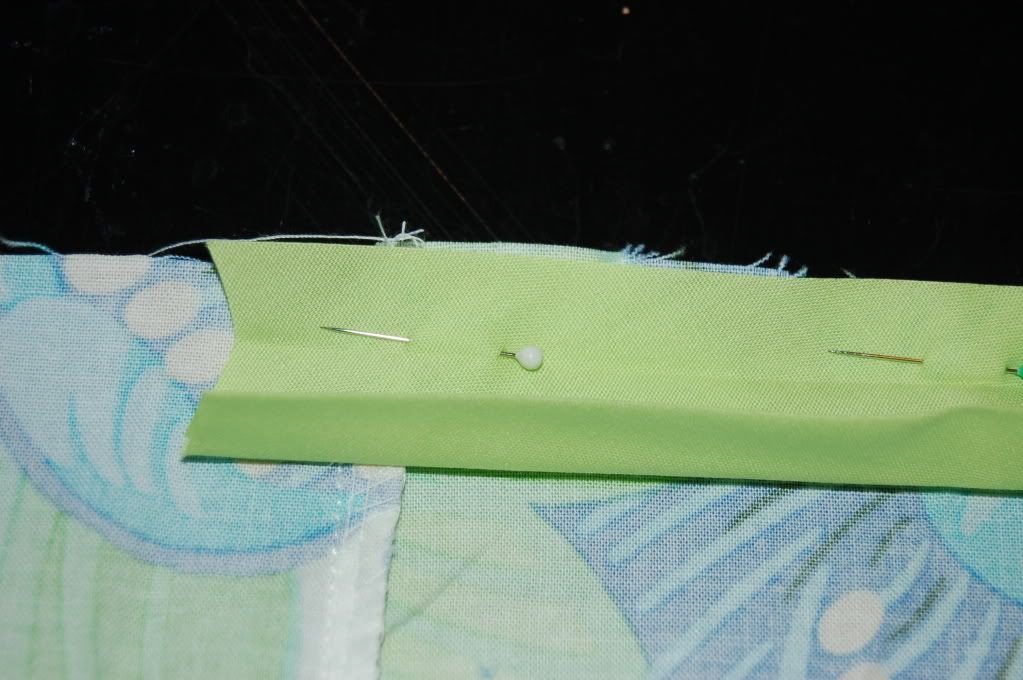
Now that your side seams are done and finished how you want, you want to take the really long tube (the second tier) and hem the bottom. You can hem it plain, or do a rick rack hem, or use bias tape (like I am above) or contrast fabric hem. The prepackaged bias goes on much like the contrast fabric. The main difference is that it has all these neat little folds already. If you look carefully at your prepackaged bias tape, you'll notice one side is folded wider than the other just very slightly. You'll start with that side on the wrong side of your hem. Open the tape and pin it edge to edge. Sew down in fold. Now fold it over to the front side and topstitch it down.
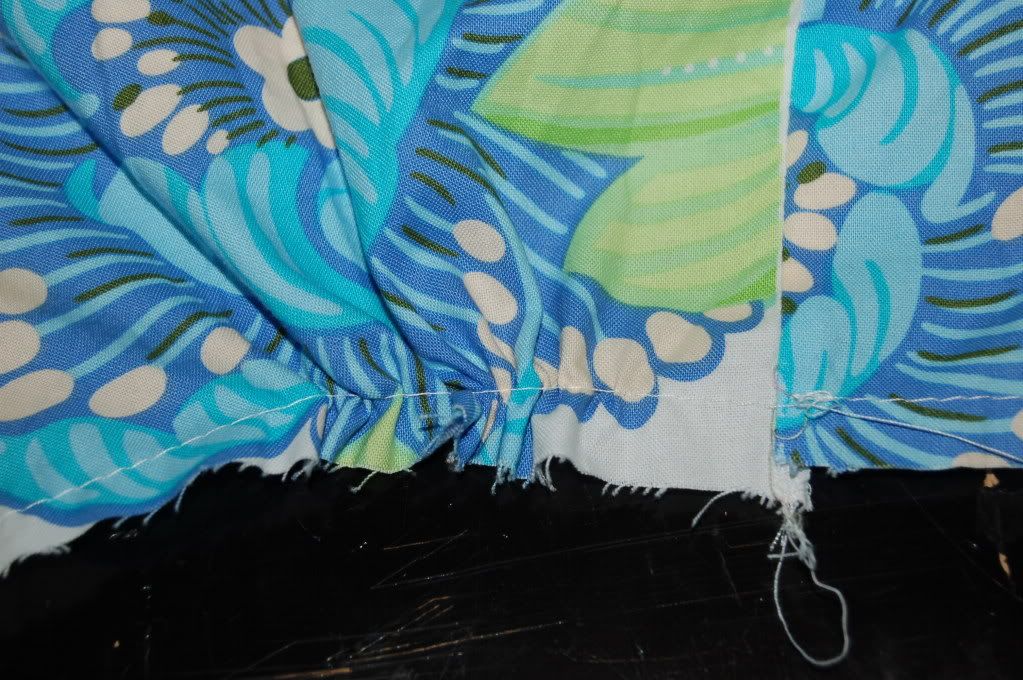
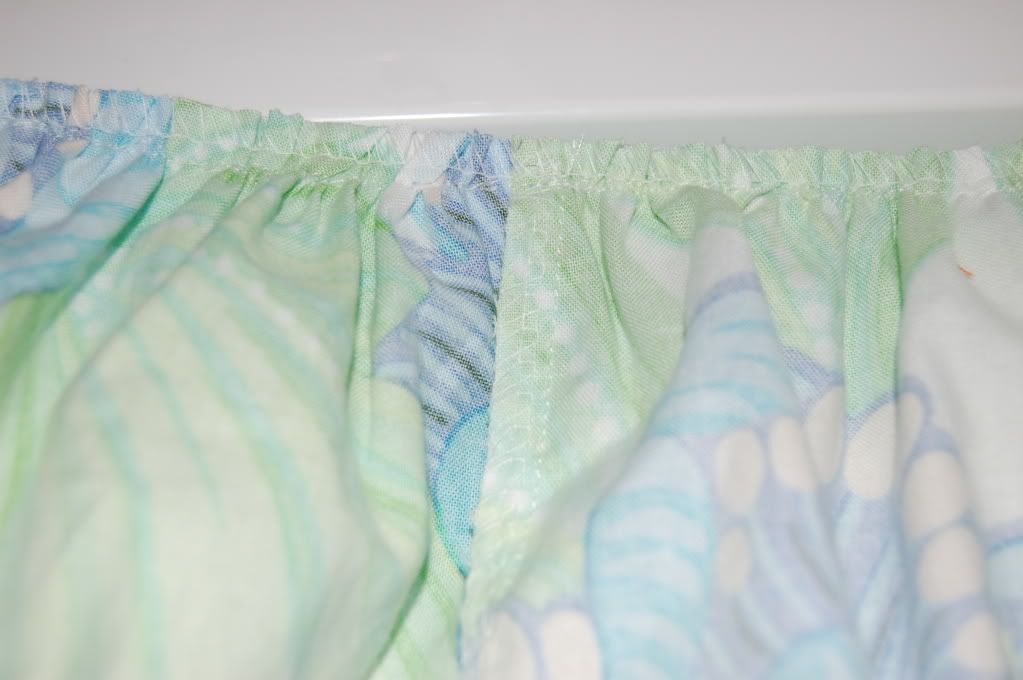
Now that your hem is done, you'll need to gather the top of the second tier. This is how I prefer to do it (not necessarily the ONLY way). I gather from seam to seam making it easier to get even gathers along the skirt. So you'll start at one seam, backstitch, then turn your stitch dial up to the highest number. Stitch across til you get to the other seam. Now when you pull your skirt away from the machine to cut the threads, cut the top thread short, but pull the bottom/bobbin thread long. This will be your thread you will pull to gather. Now start again at the seam you stopped at and repeat last step to other seam.
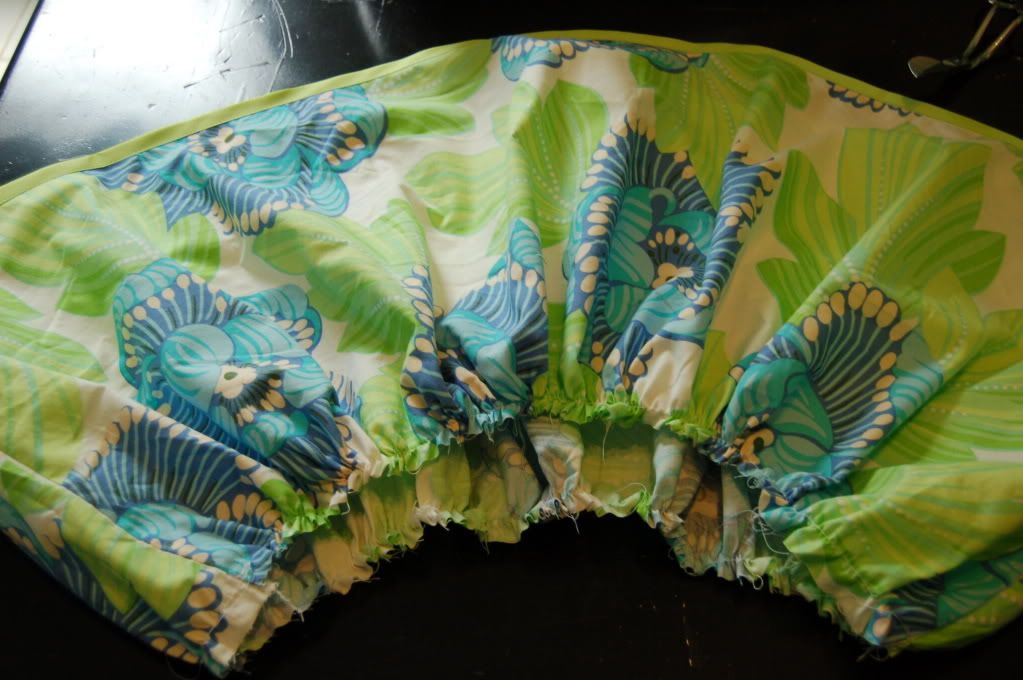
Now pull your bobbin threads carefully and gather both sides.
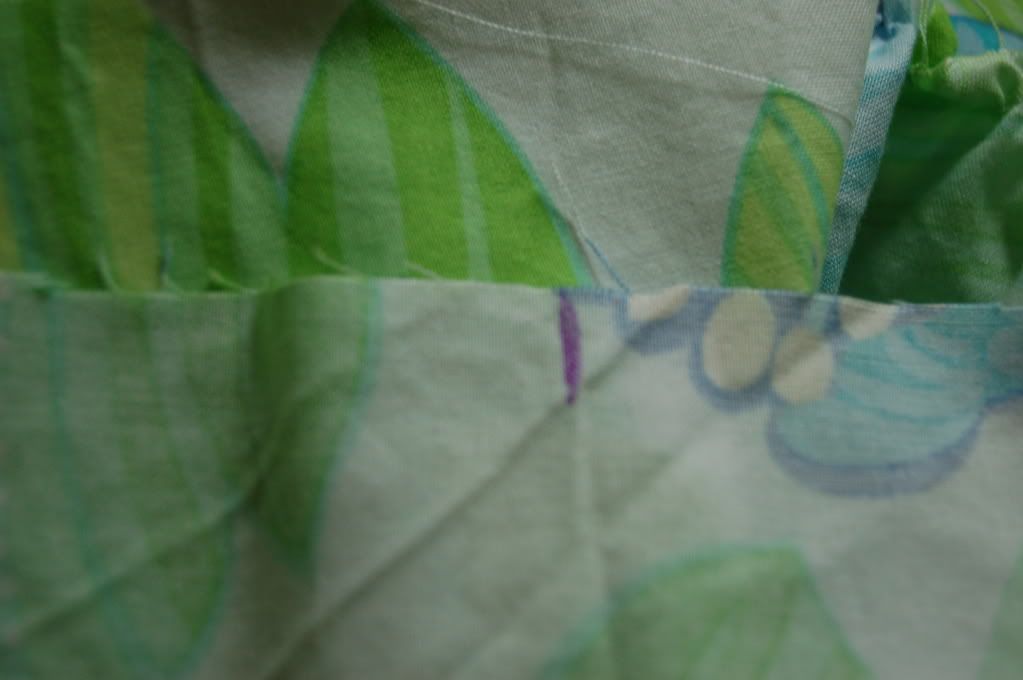
Now with the way I make these skirts, I generally only have one seam for the top tier (you can always cut it in half and sew both sides if you like). So to help me gather each side neatly and evenly to the top tier, I mark the opposite side of the seam to show me where the 'other' seam would have been. 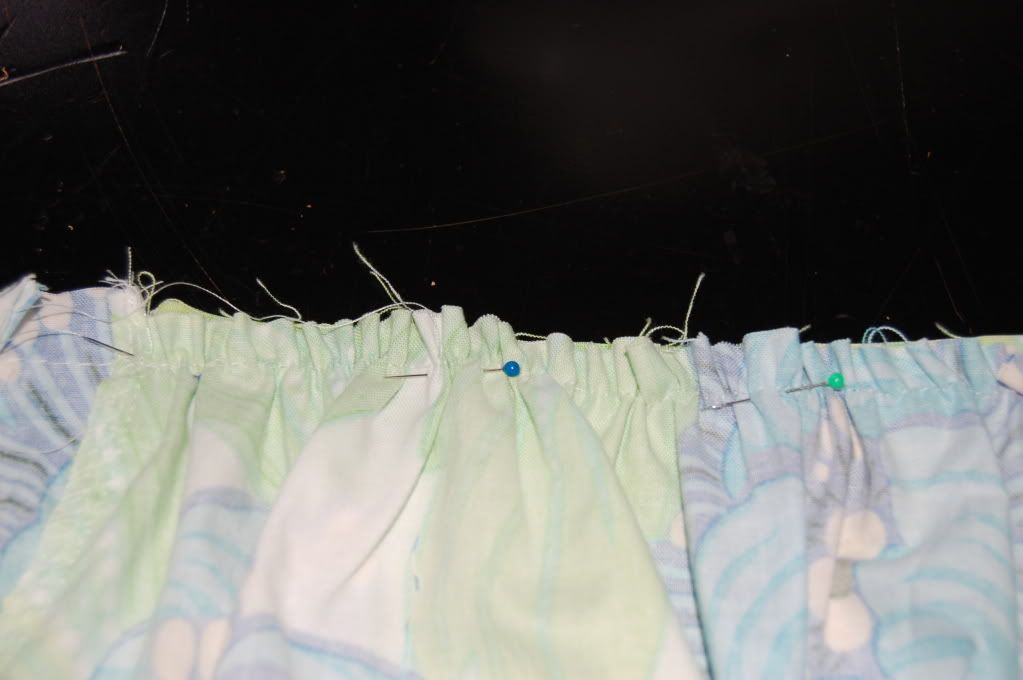 I gather and pin right sides facing and match seam to seam and seam to mark.
I gather and pin right sides facing and match seam to seam and seam to mark.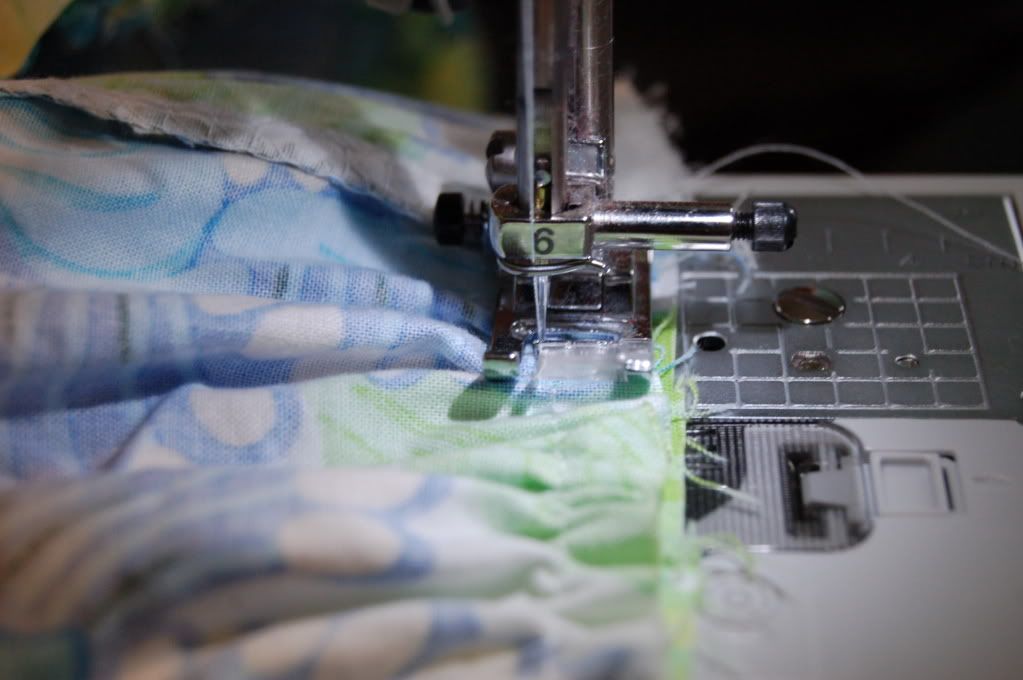
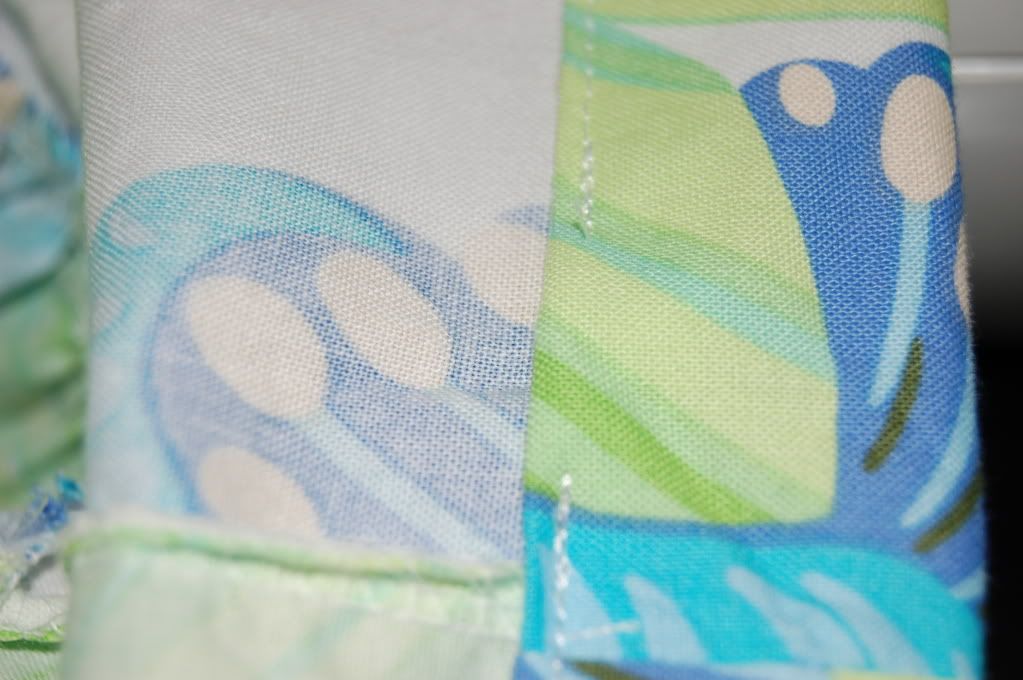
Now sew carefully across gathers to attach the tiers. Be careful that the fabric on the bottom is feeding flat as it easily catches under and creases.
Here is where I serge that seam. If you don't have a serger, then use a zig zag stitch or over casting stitch on your machine to cut down on fraying.

This part is a totally preference thing. I like my tiers to be topstitched down. So if you like, on the right side of your skirt topstitch the top tier right above the gather.
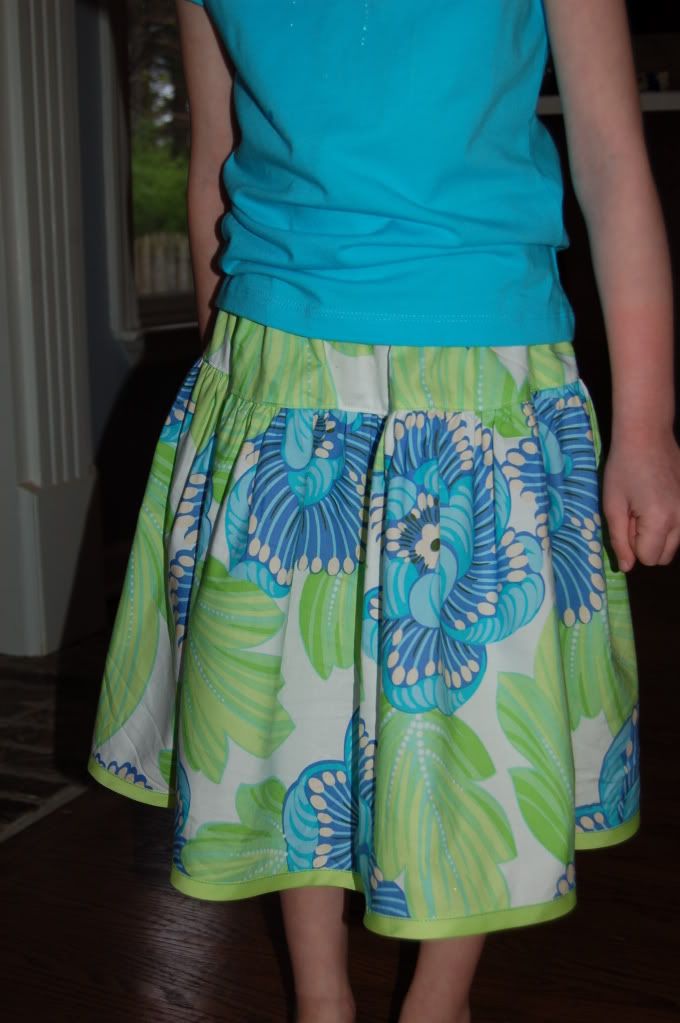 Ta da! Now go applique some cute shirts to go with it! And now that I see this skirt all done, I'm thinking I need to make one momma size!!
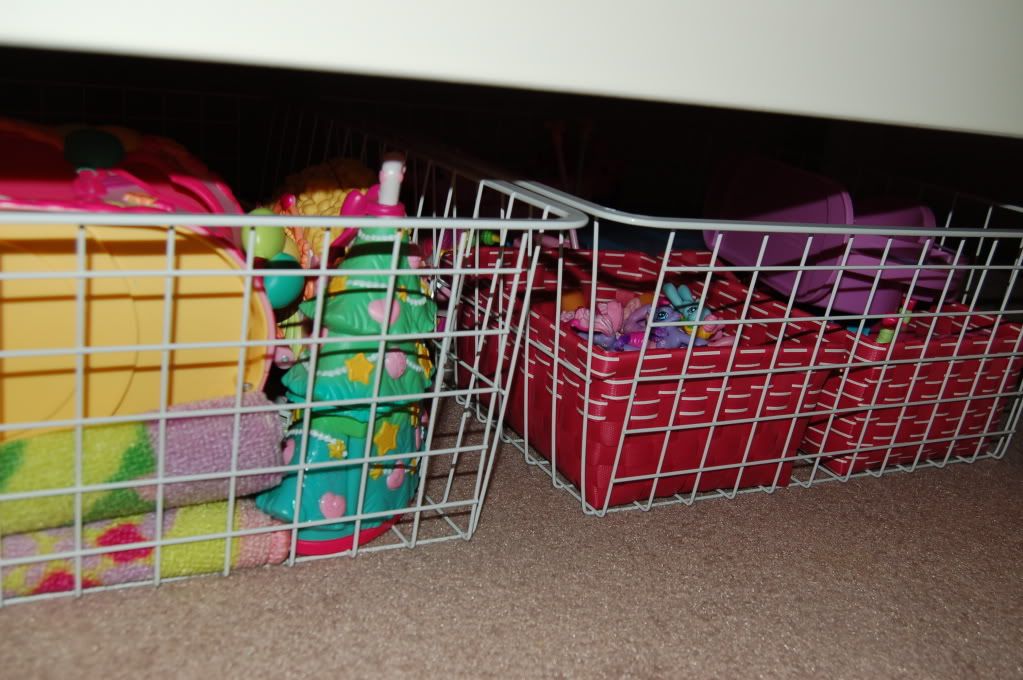
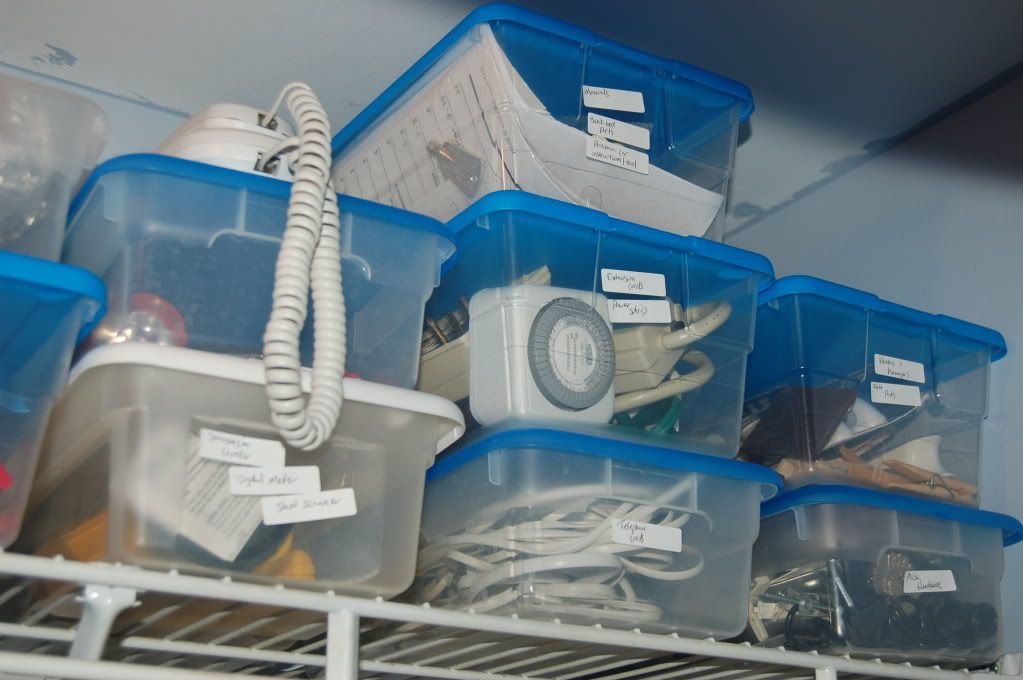 I tackled the laundry room/closet with these cheap (again see through AND labeled) shoe boxes, 5 for $5 at Kroger.
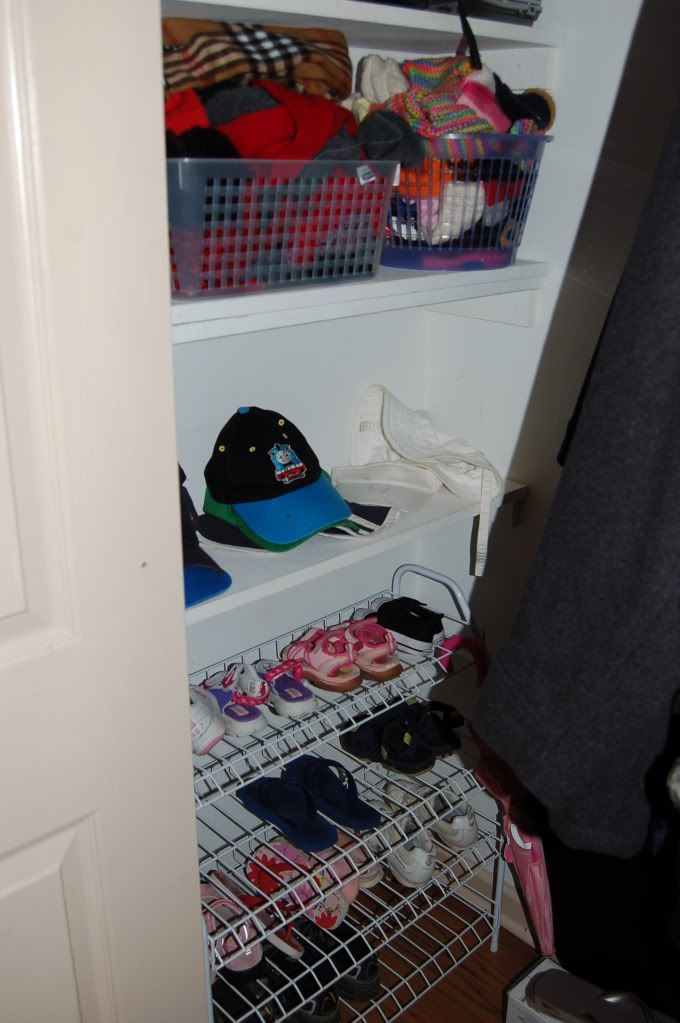

 They eventually came up closer as people were throwing food for them. They would spread their legs out far to bend down to get the food on the ground.
 We also enjoyed the antics of Bob the baby orangutan. It was so fun to listen to the kids (especially 3 year old Micah) squeal in laughter at him.
 Also on our way back to AL, we stopped off at hubby and my alumni (and where we met), Clemson University. Z has really become quite a big fan of all things Clemson. He found the stadium awesome. We have decided to make an effort this fall to take him to a game....he is way excited!
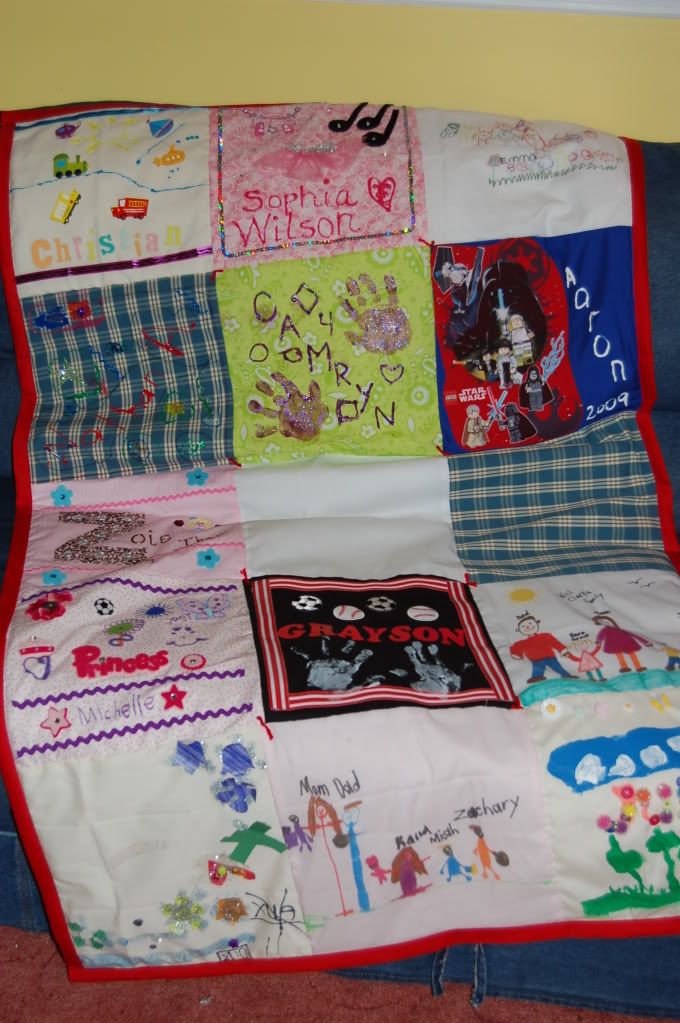 First of all let me share this adorable quilt. It is K's preschool class quilt for the letter Q this week. The teacher sent home each student a square to decorate however they liked. Another mommy pieced it together and it was sent to me to add the batting, backing and binding.


 Now your skirt should be together on the sides (I wait to sew up my waist and add elastic til after my hem is done). Start at one seam on the underside of the skirt and fold the side of your strip under about an inch and lay the strip down on the raw edge of the bottom of the skirt with the right side facing the wrong side of the skirt.


 Now with skirt flipped out right side out, turn your sew on strip up to meet the raw edge of the skirt.
 Now turn it up once more and
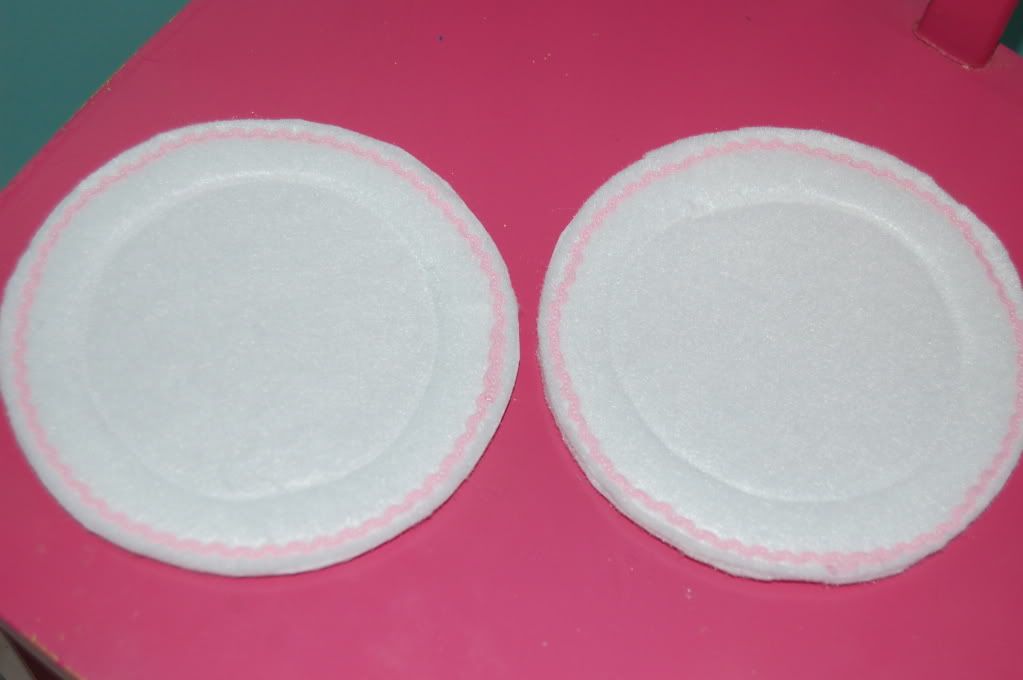
 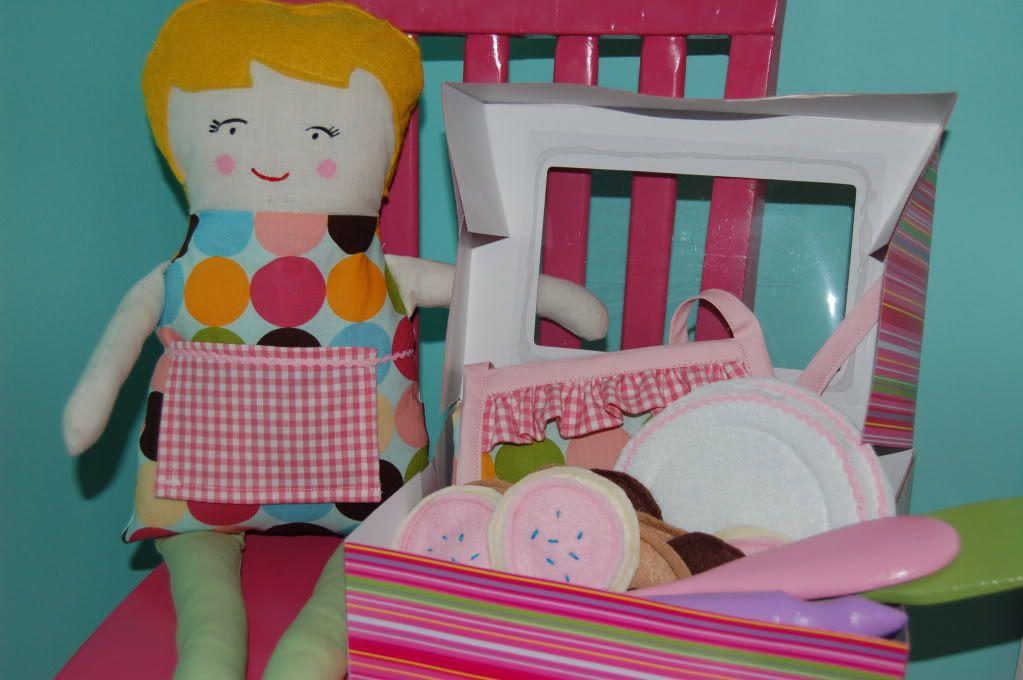 Here's my latest little girl bday gift. It was for a very close friend of mine's 2 year old (my littlest and her [only] are a month apart). I made her a large

 Cut out 2 circles (I used a small bowl for tracing) and 2 circle edges out of stiff interfacing. Cut 4 more full circles in white felt.
 Place the circle edges on the full circle interfacing pieces and sew down.
 Now sandwich the interfacing pieces in between 2 felt circles. Sew along the edge of the circles and trim up. Now sew carefully around the inside indention made from circle edges.