Yesterday browsing blogs I came across a link to
free printable art on a site called Feed Your Soul via
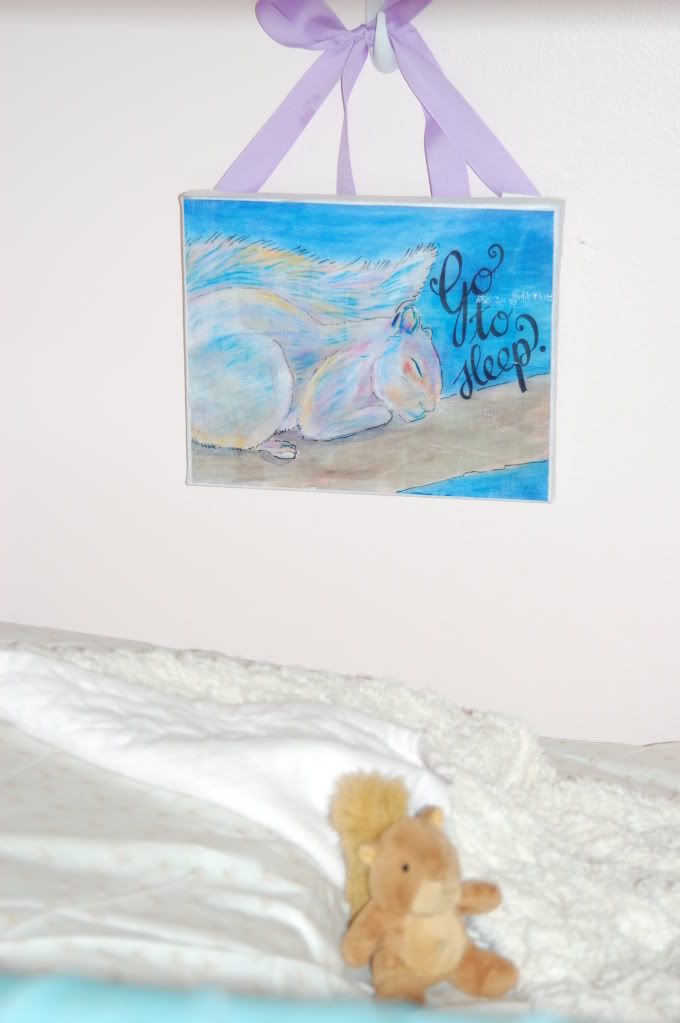
How About Orange. I knew we needed the sleeping squirrel one being that 2 year old LOVES squirrels and we in fact are having nap time protests. lol
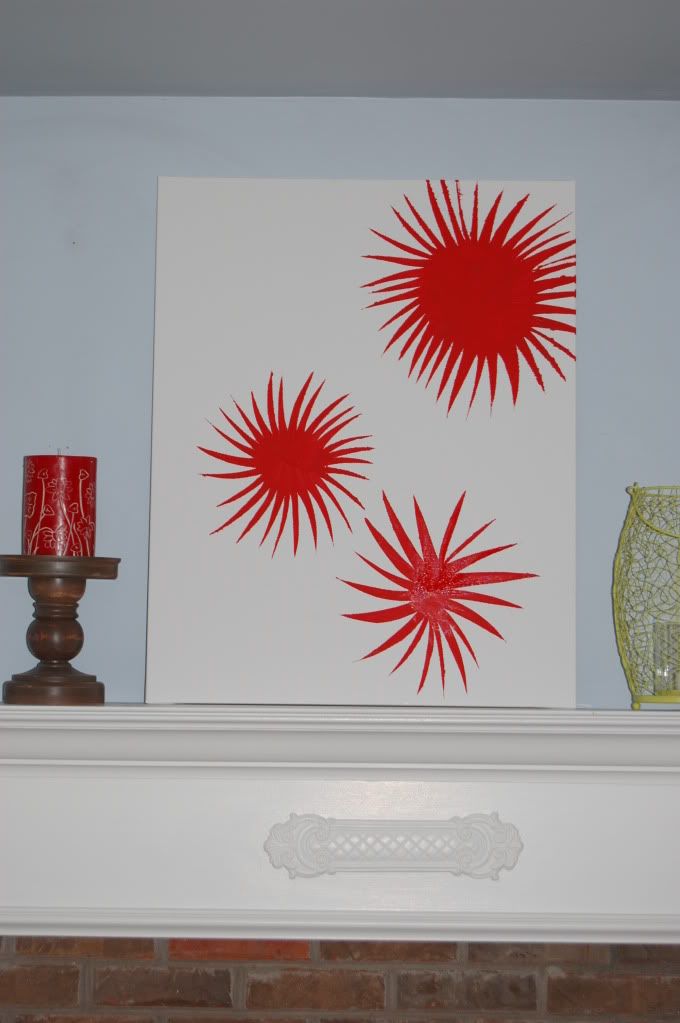
So I figured she could use some inspiration hanging by her bed. I didn't want to just hang the picture for her to eventually tear up, nor did I want it framed because 2 year olds don't have the reputation for leaving things alone that they can reach. So I came up with this idea. I already had some 8 X 11 blank canvases (my crafting pack rat tendencies come in real handy for instant crafting gratification). So to turn your free printable or any 8 X 11 printed paper into art on canvas keep reading. :)
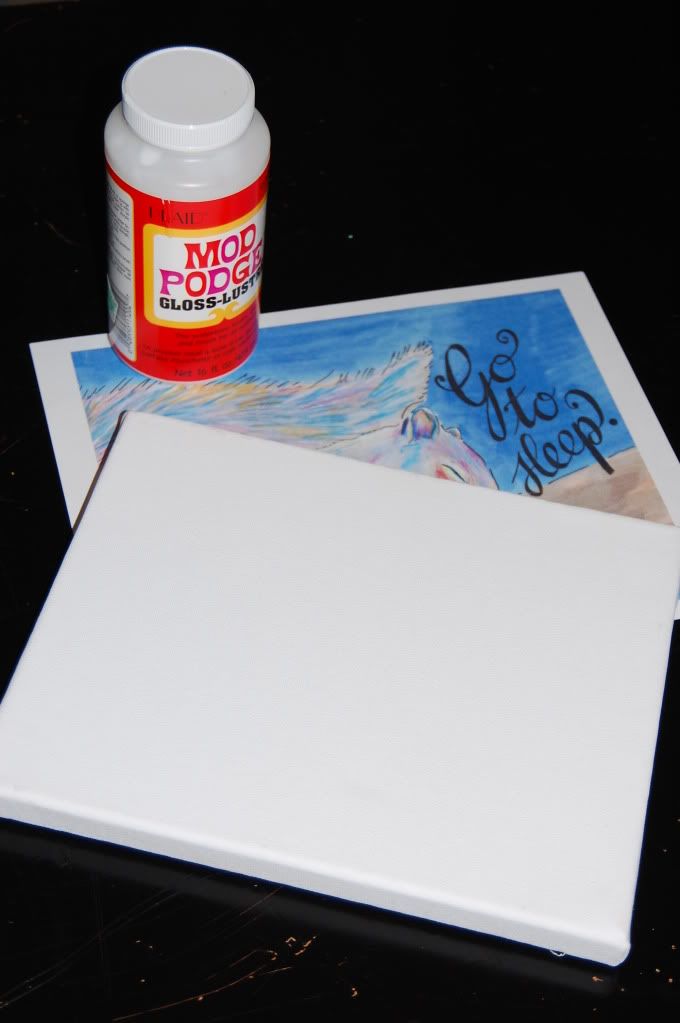
Just need your canvas, print and mod podge. First I printed my art onto white cardstock. This squirrel print is just the right size. I did some others too and some of the prints are a bit larger. I simply trimmed them to fit the canvas.
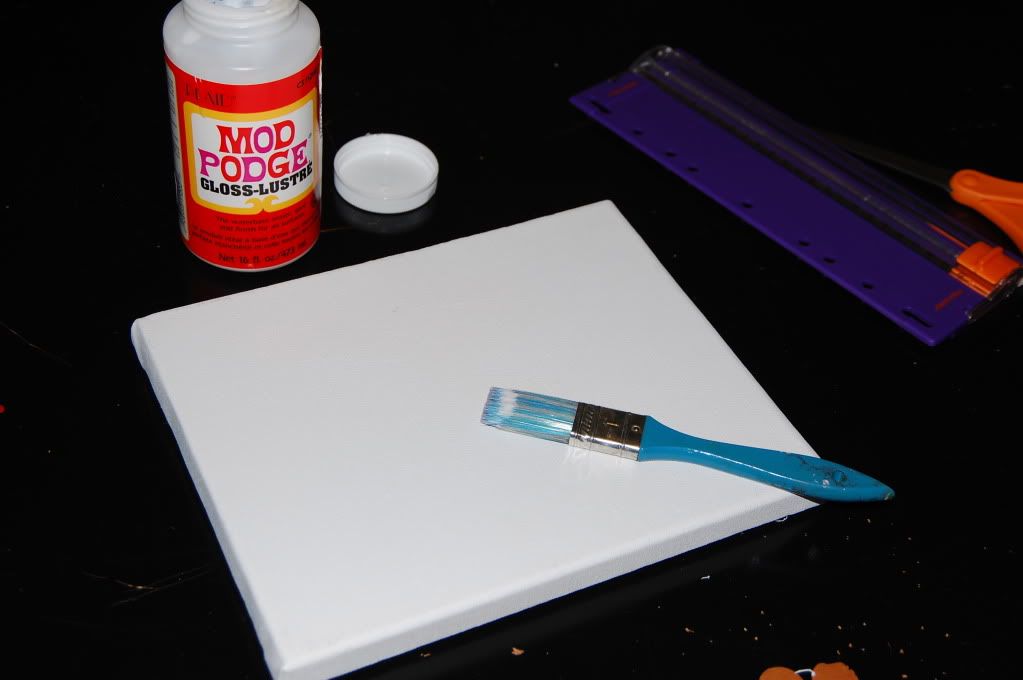
Now apply a layer of mod podge to the front of the canvas and one to the back of your printed cardstock. Place the print carefully on the canvas and smooth. Let dry (if you get impatient like I did with the first one and you go ahead and do your top layer when the bottom is still wet it makes your paper a little too wet and it starts rumpling and bending). Now apply a layer of mod podge to the top of the print to seal it.
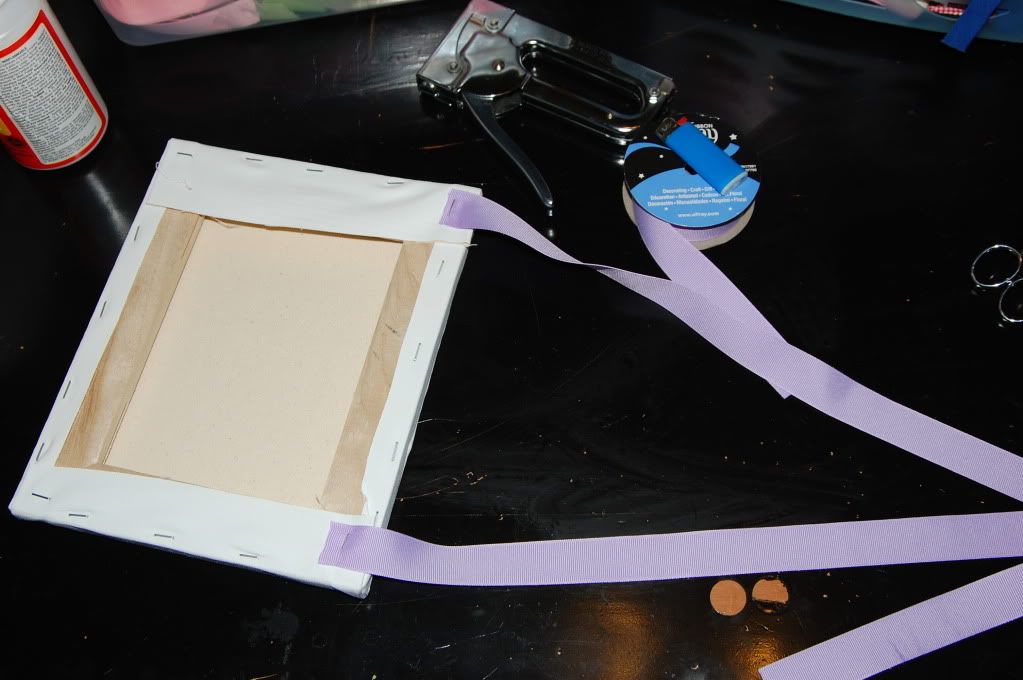
For my toddlers art I wanted to hang it from ribbon. So after the top dried I turned the canvas over and used a staple gun to attach the ribbon to the top. Take a lighter close to the other raw ends of the ribbon to heat set it to prevent raveling. Then to avoid potential injuries I hung Maressa's art on one of those command strip hooks by her bed. Now we say goodnight to the squirrel at bedtime and at yesterday's nap she was distracted enough by her sleepy painting that she took her nap without the usual screaming routine (disclaimer: in no way do I suggest that cute art by the bed will alleviate bed time woes with toddlers, I'm sure our troubles are not over yet!)
So check out the free art...they have a little something for everybody and I printed several to hang in different rooms and for gifts (after all I did have 6 of those canvases on hand!) :)

 Another boy gift...a hoodie towel (tutorial on right side column) and bought a soft waffle knit blanket and appliqued an initial on it.
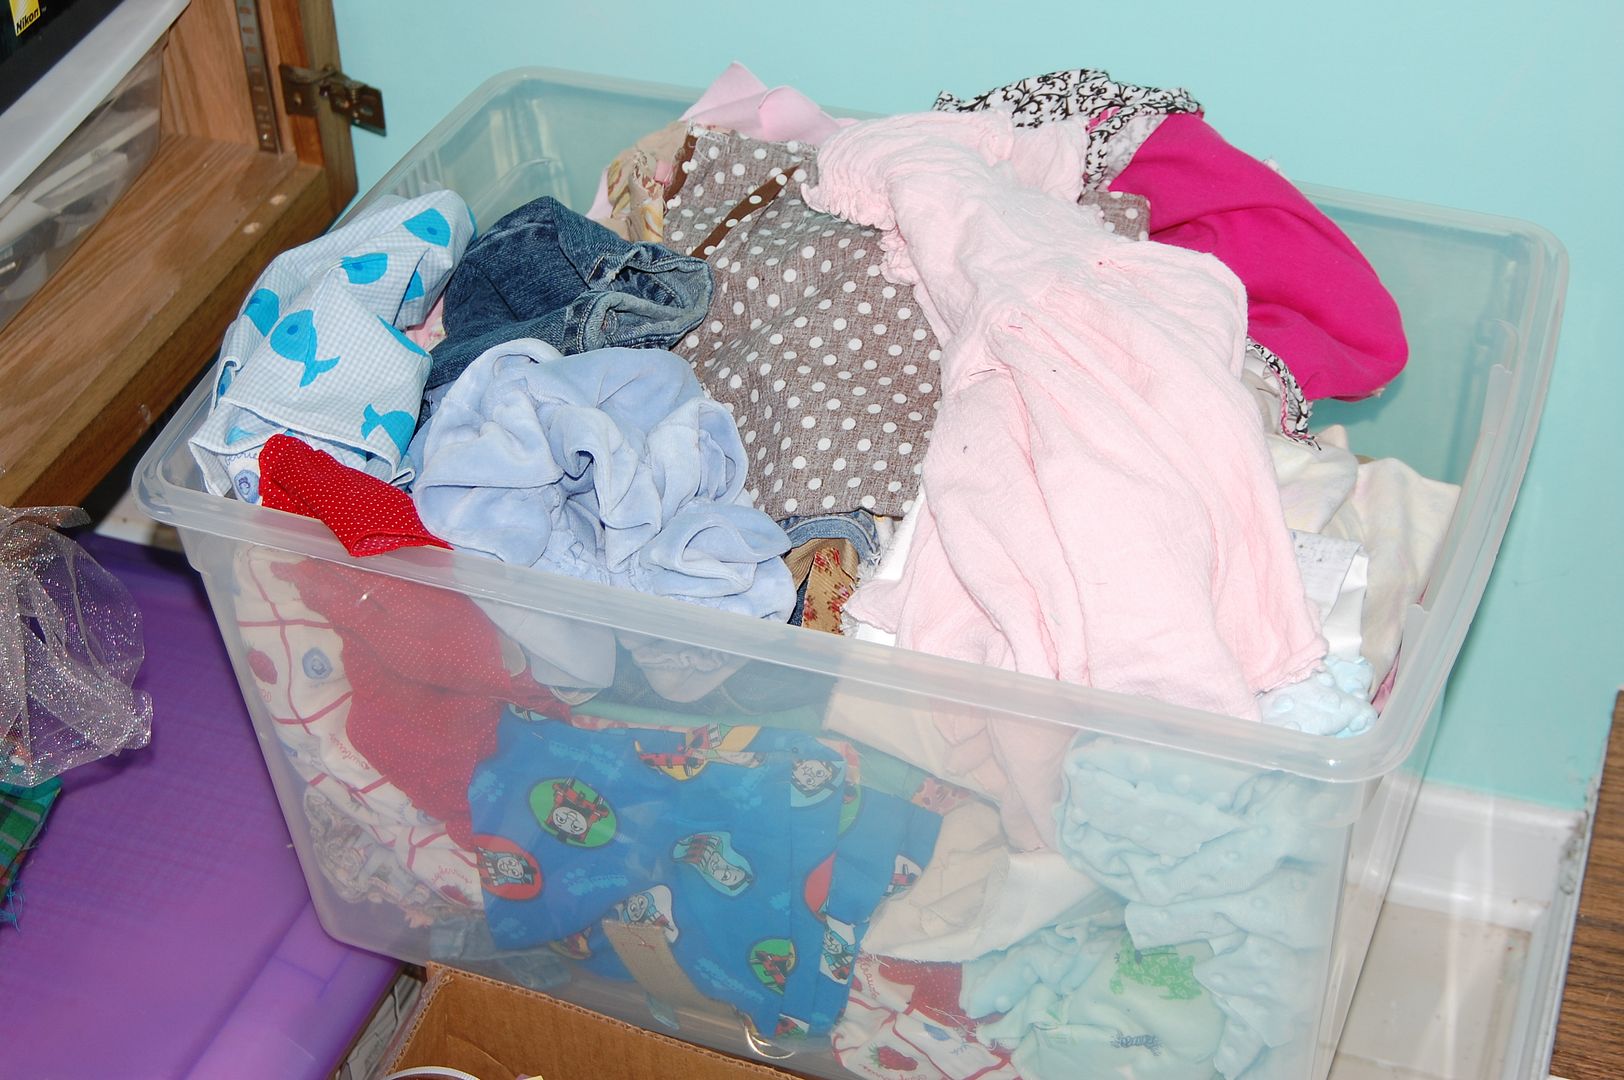 Here is one giant pile....
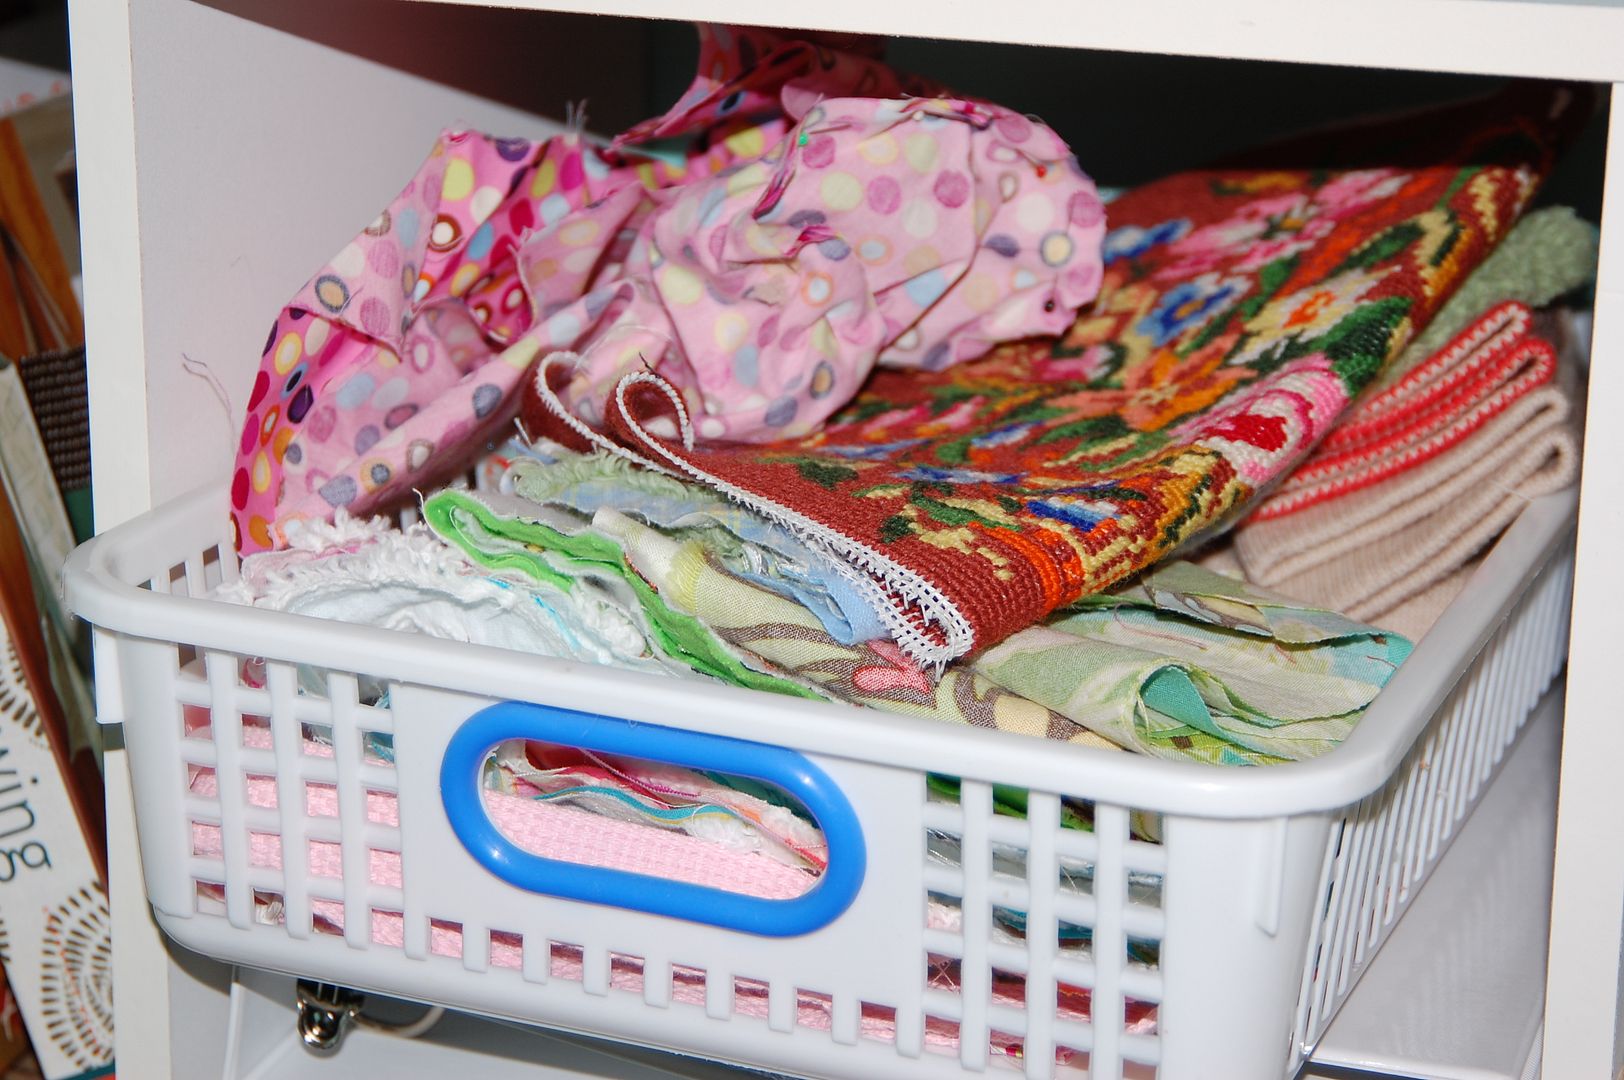 And another...
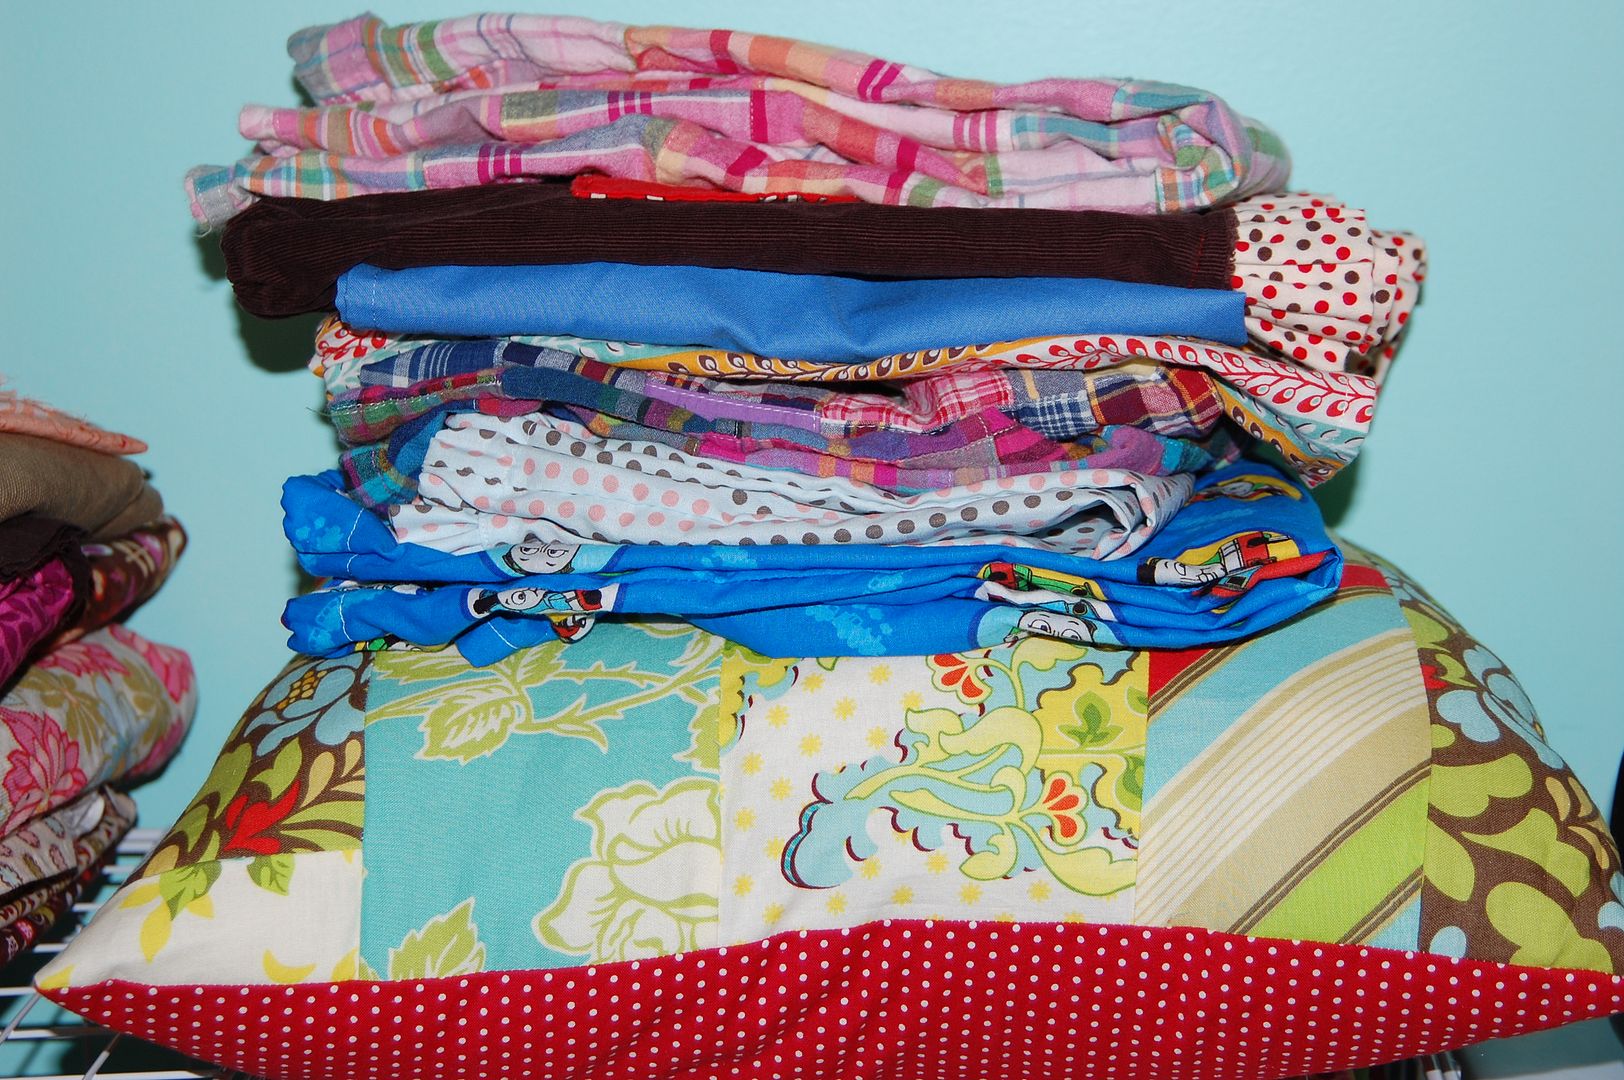 Here is what I got done. Fixed K's pants that got a hole, the waist in an old skirt that Mar inherited from K, finished some Thomas pj pants I started for Micah, finished a super hero cape for Z that was supposed to be for Christmas last year and some ruffle pants I started for Mar. I also cut off the bottom of a dress I made for Mar last year that had button hole 'issues' and put in an elastic band to make a skirt.
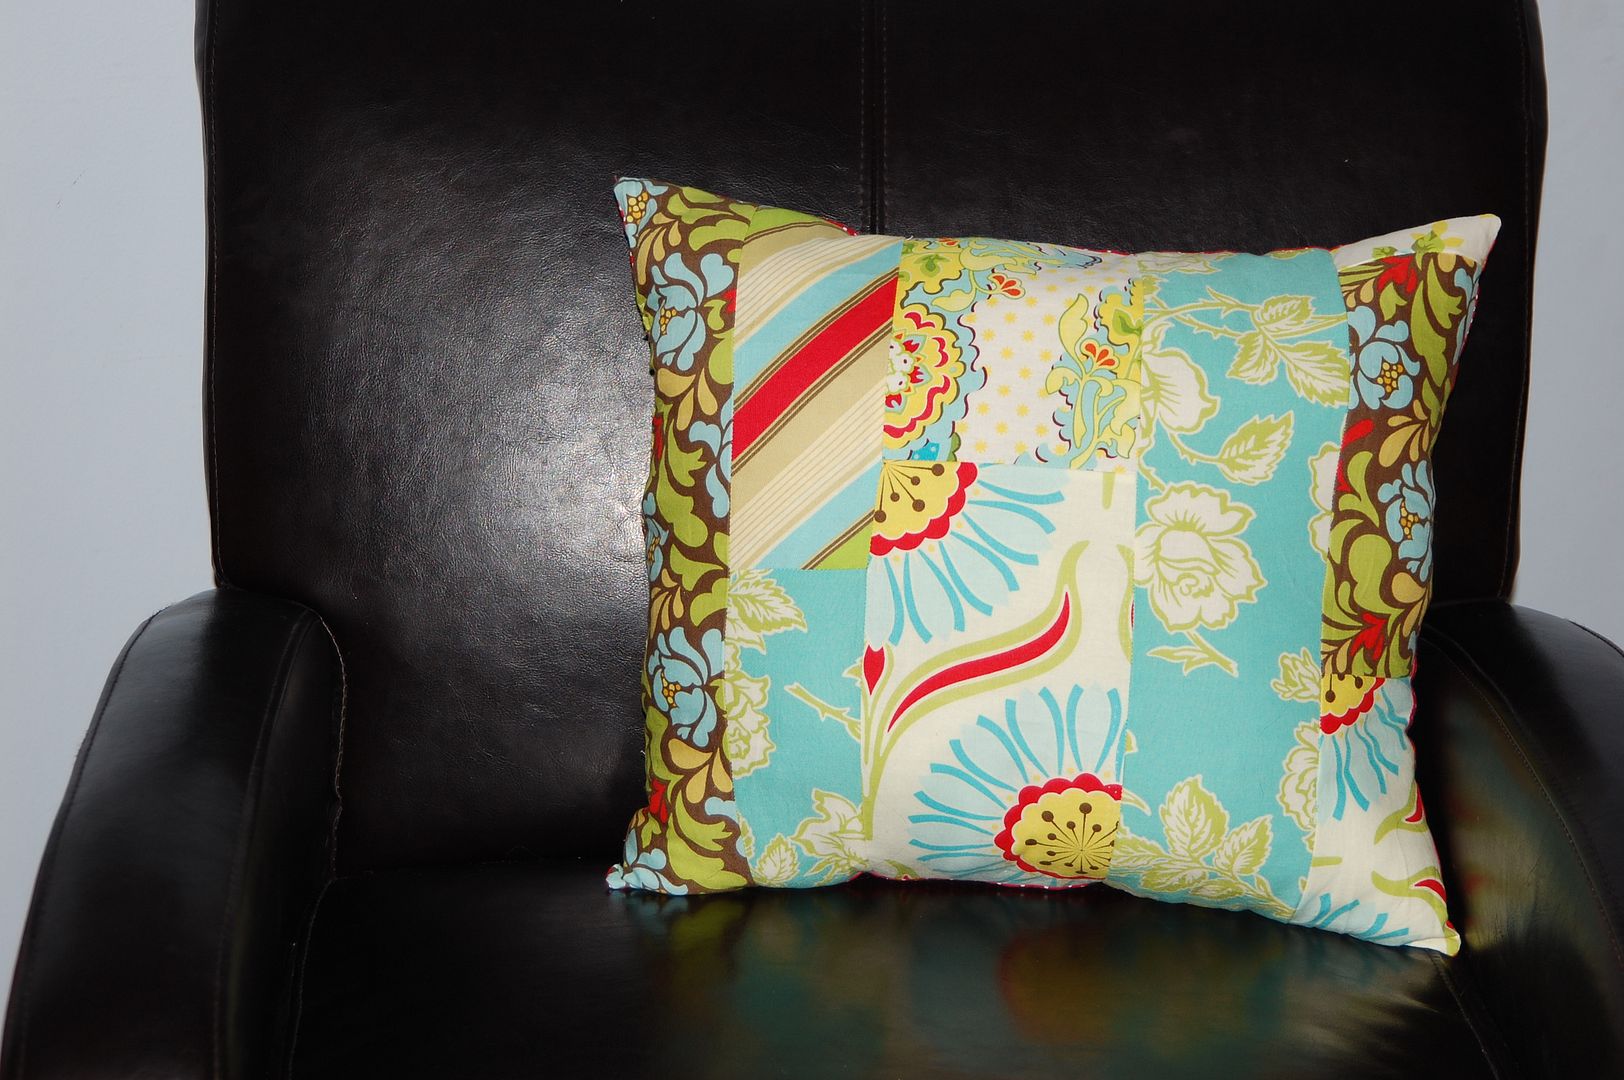 Also finished this scrap patch pillow for my living room.
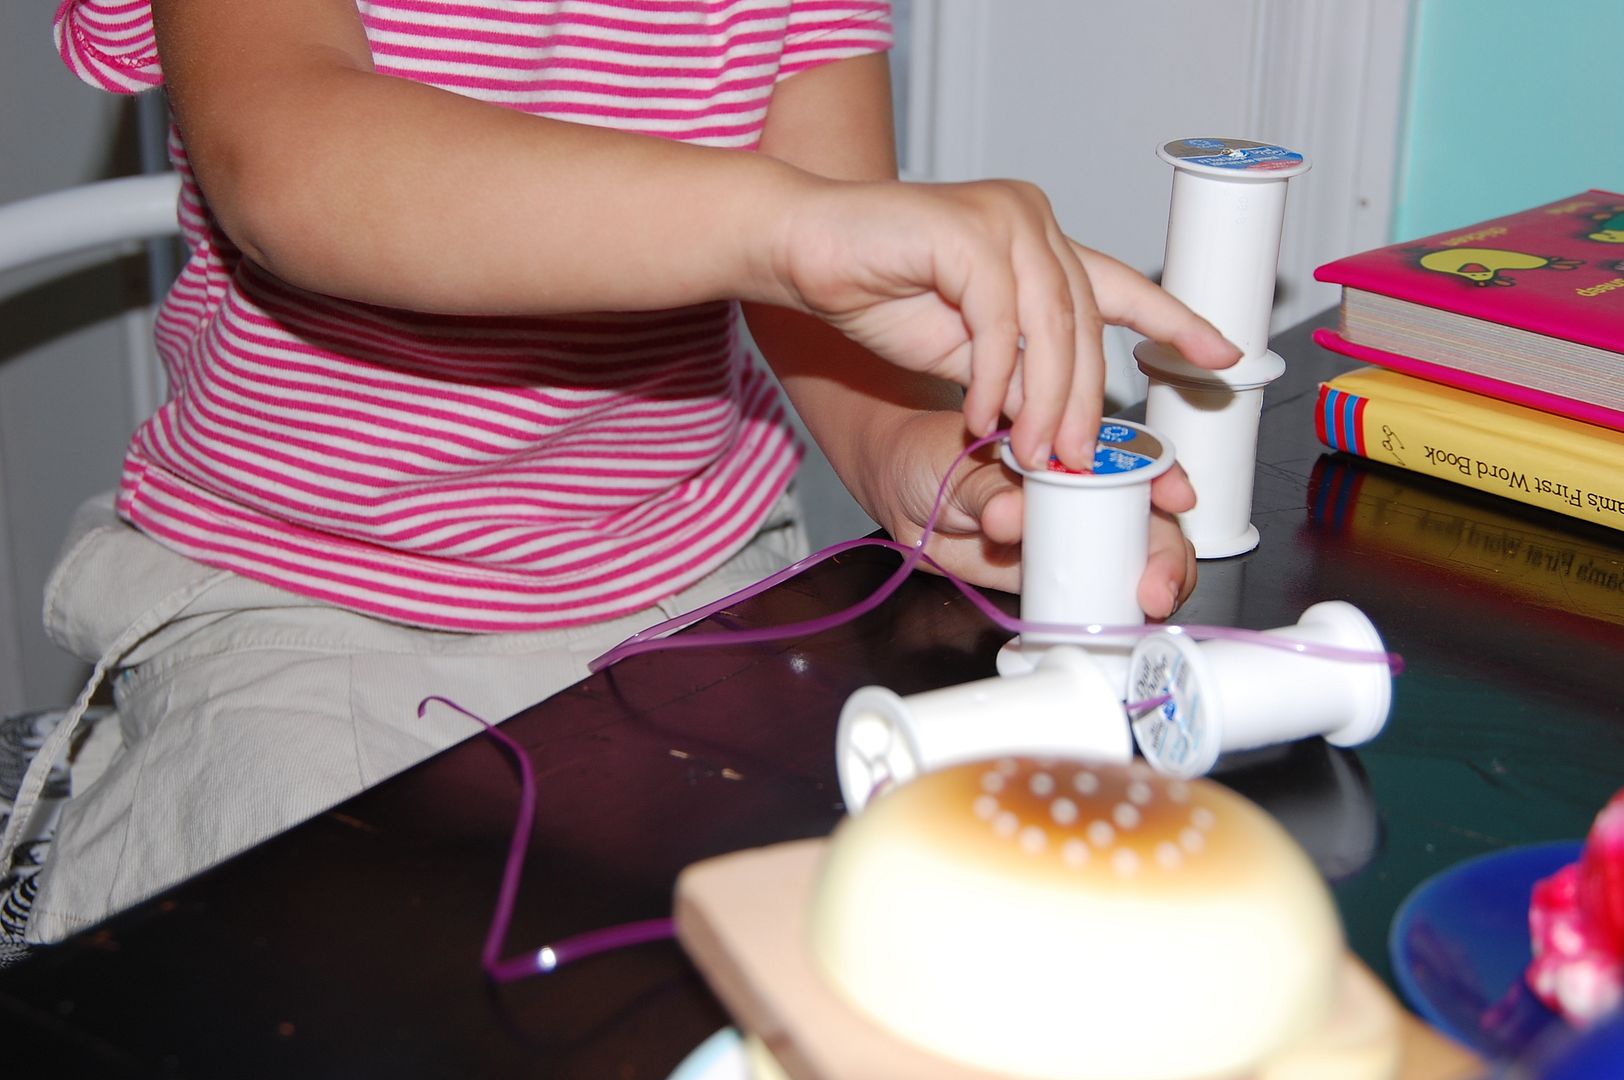
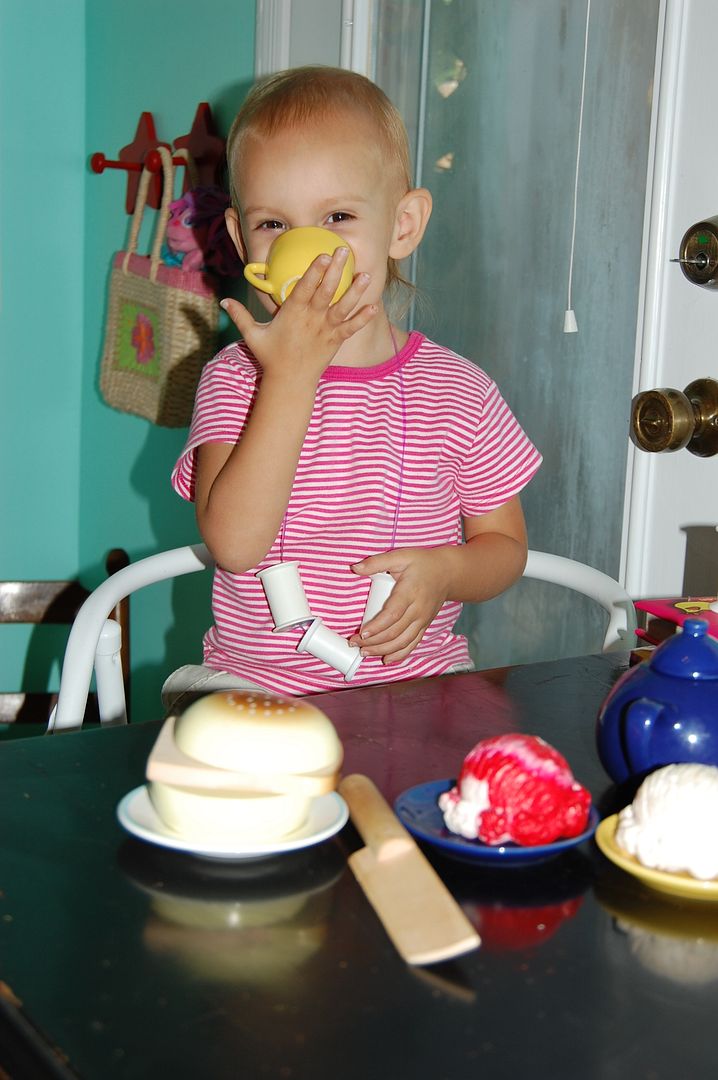
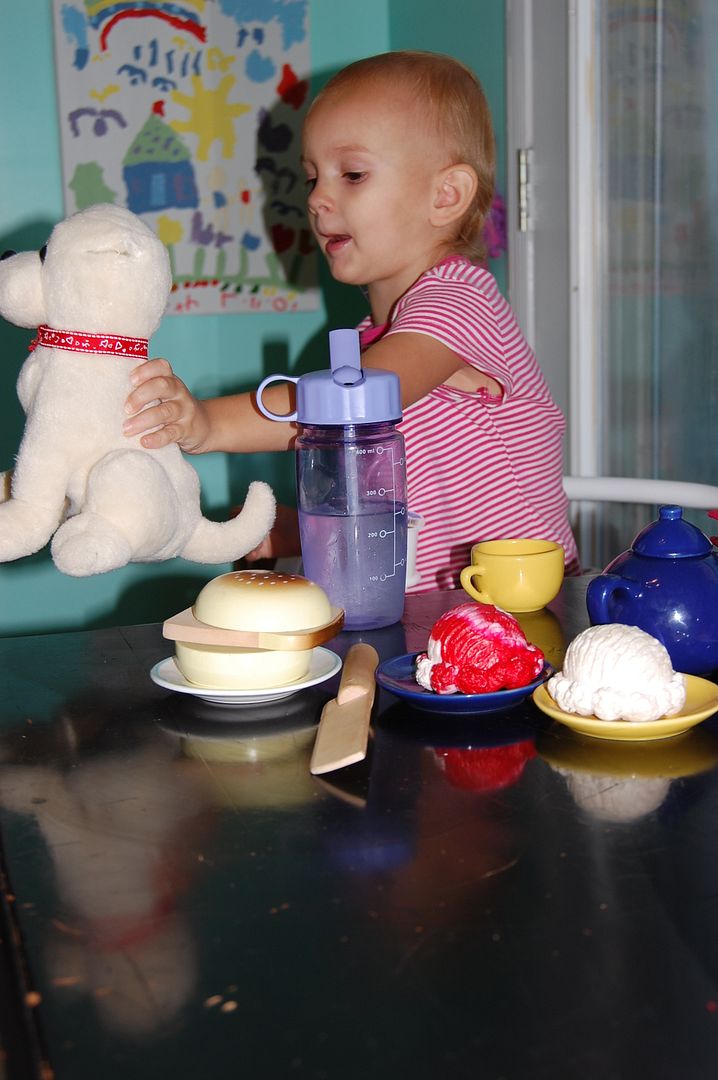 And she served the one eared dog (in for repairs) 'coffee', ice cream and 'amburgers'. We had a very nice time together. :)
  A month back I went

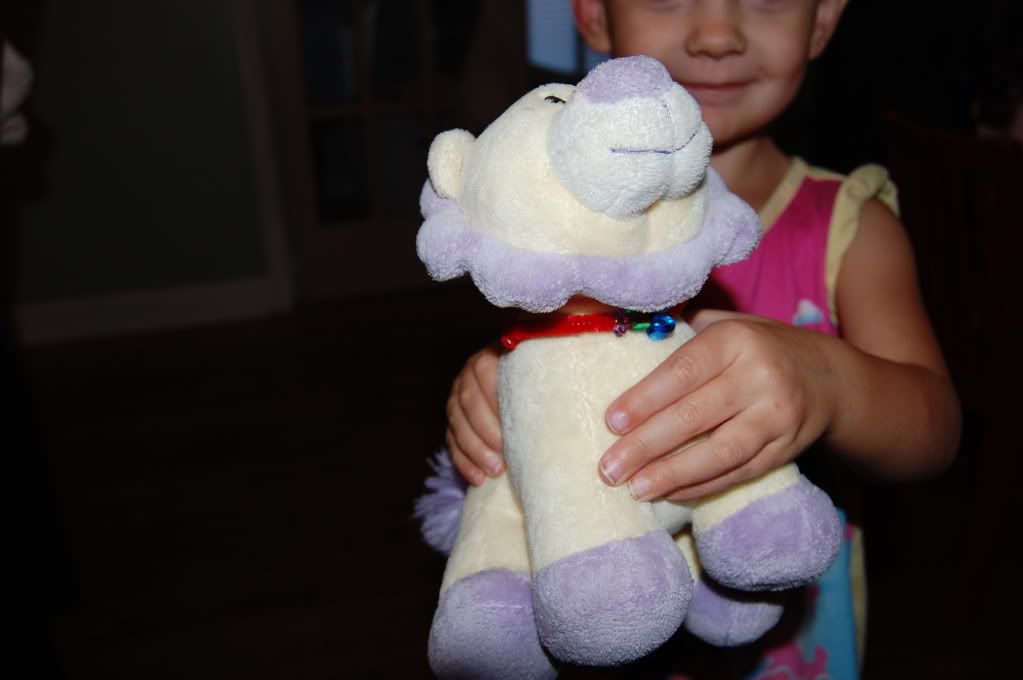
 As you know I really like homemade gifts. I'm trying to involve the children more in making things for others. So when it was time to send something to my niece who was turning 2 years old, I enlisted Kalla's help in making a gift. We made a unicorn stuffie (and I made an initial tee as well). I had Kalla draw a unicorn (one of her fav things to draw) on a piece of pink twill fabric with fabric markers. Then I carefully cut around the drawing trying to keep a little of it's shape. Then I placed that piece face down on top of another piece of twill fabric and cut a piece to match. Then I sewed them together leaving a hole to stuff it. Then of course you just reverse the piece and sew up the hole. Voila handmade cute stuffie.
 When drawing the unicorn the first time, Kalla got too close to the edge for me to make a good shaped stuffie with it, so we turned it into a rectangle pillow instead and she kept this one for herself (since she wrote a 'K' on it anyway).
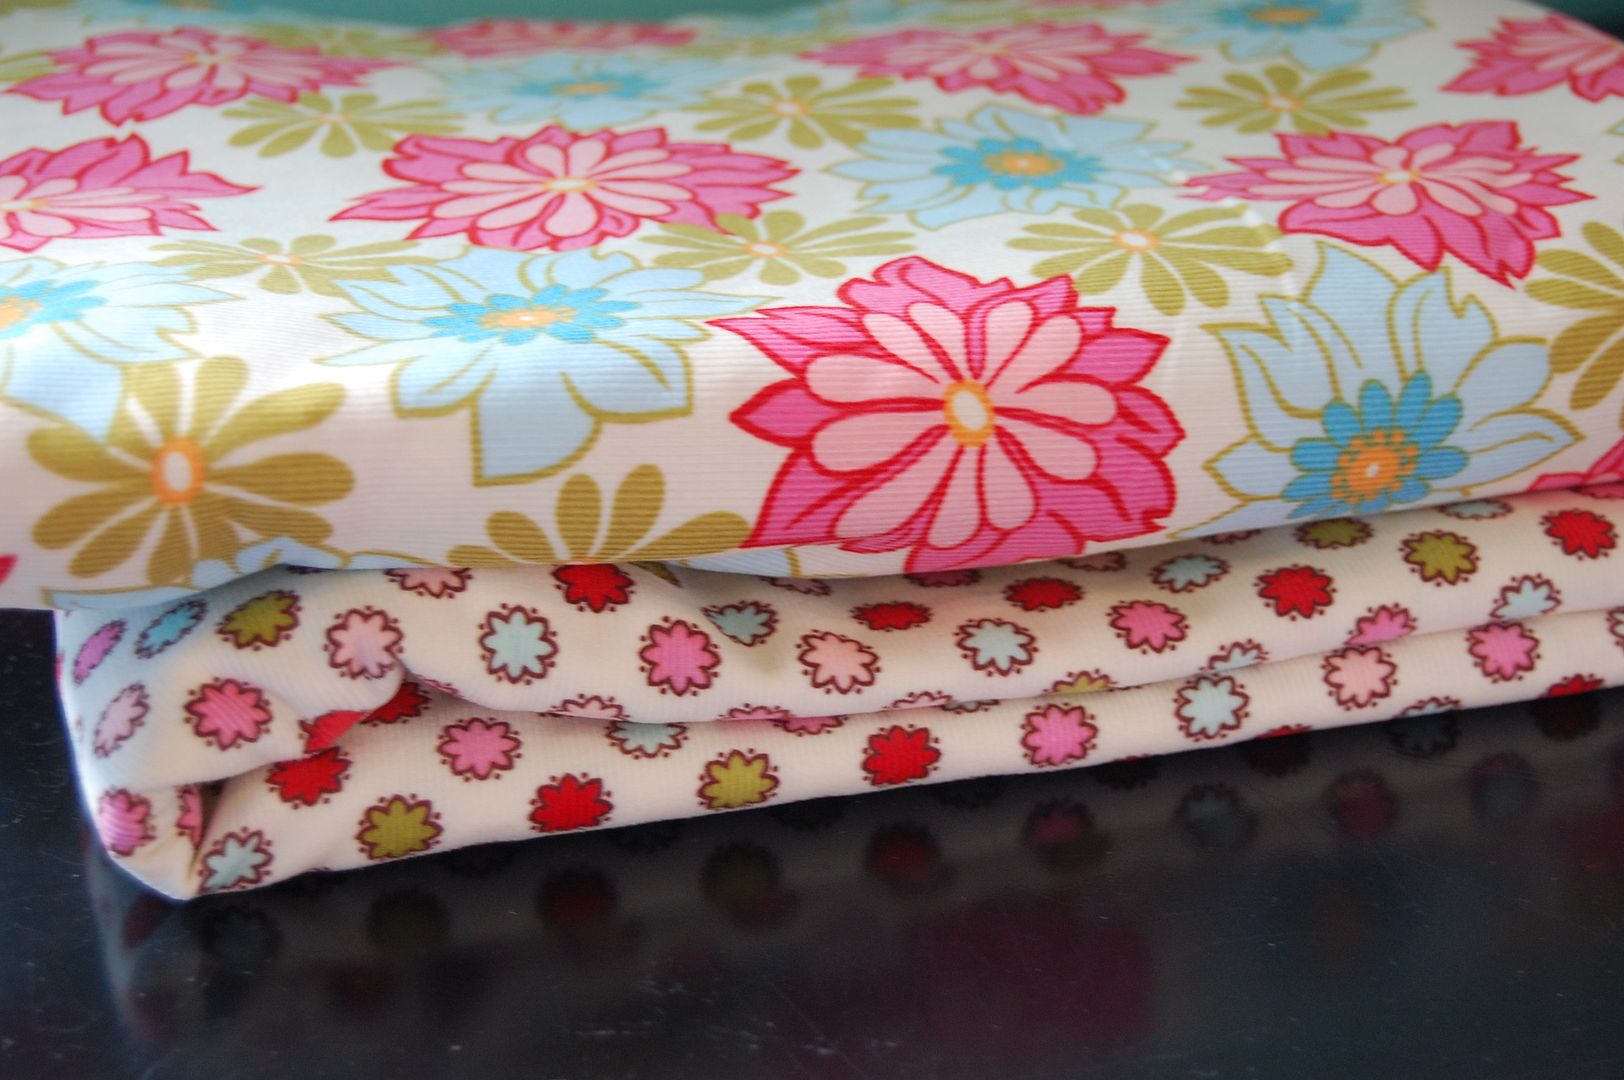
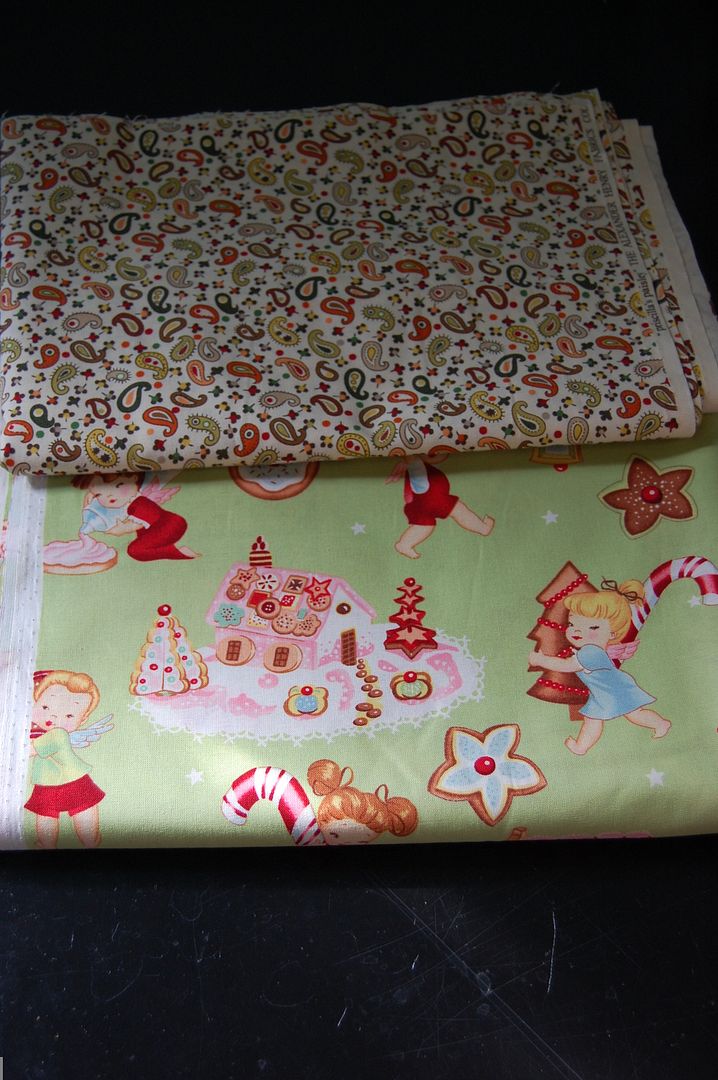 And I previously found these lovely seasonal
 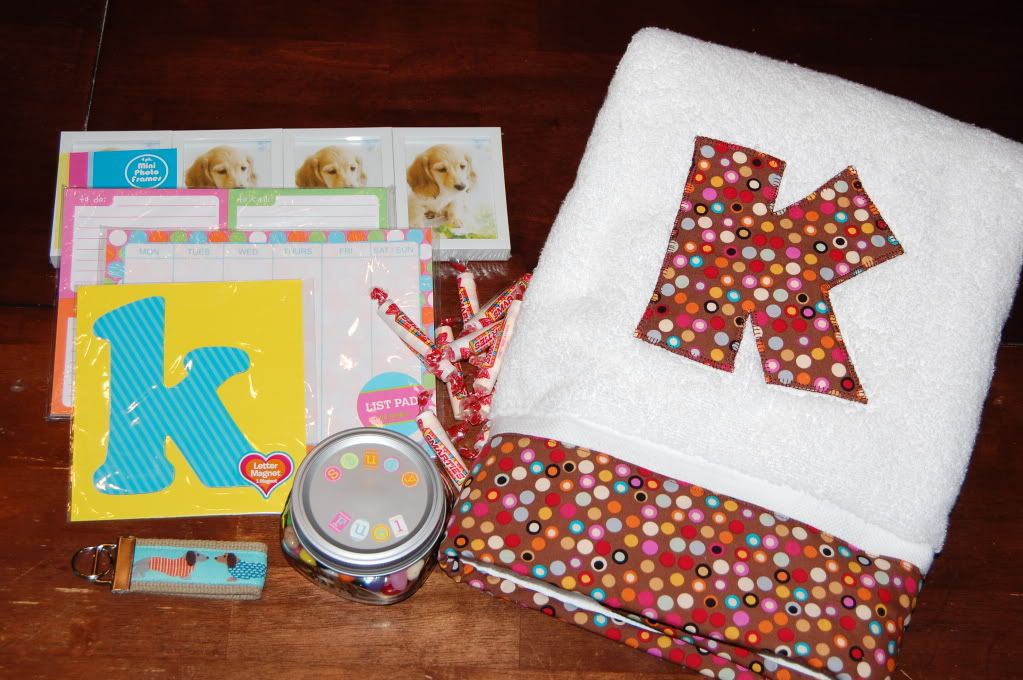 Our sweet babysitter of 2 years is leaving for college this week. So I gave her a box of goodies to take with her. An
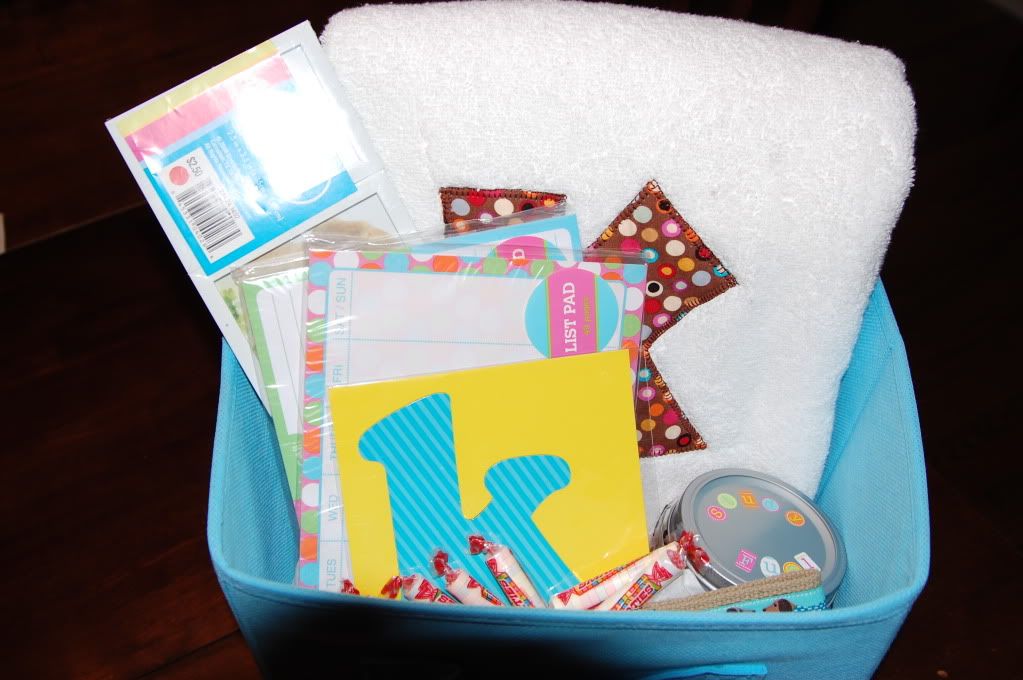
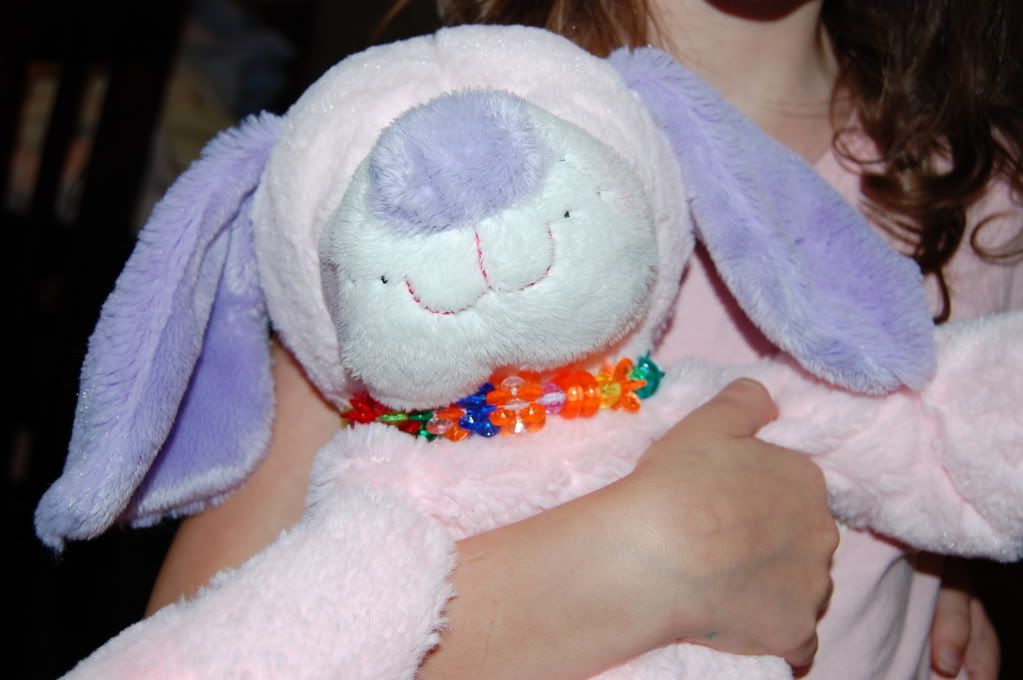
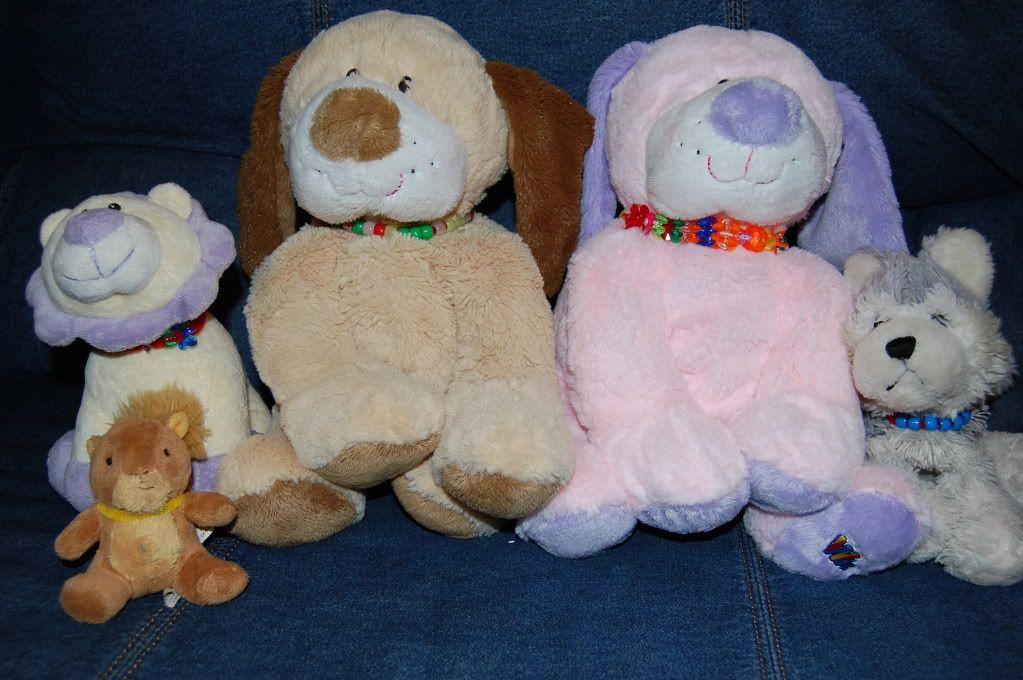 Even
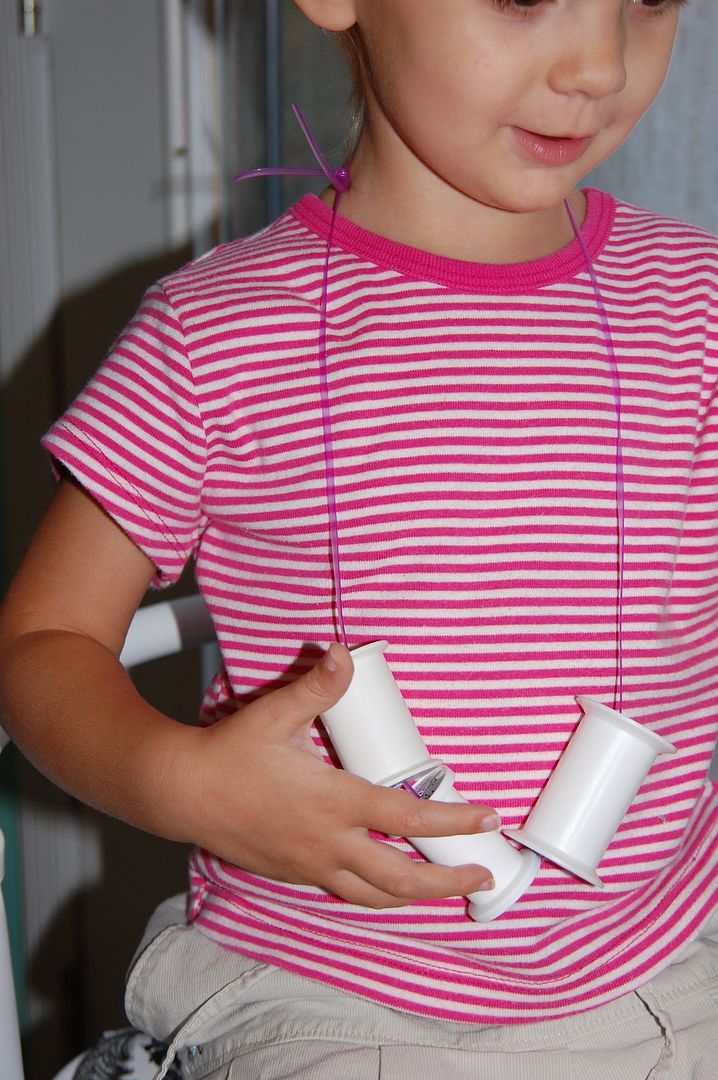
Even 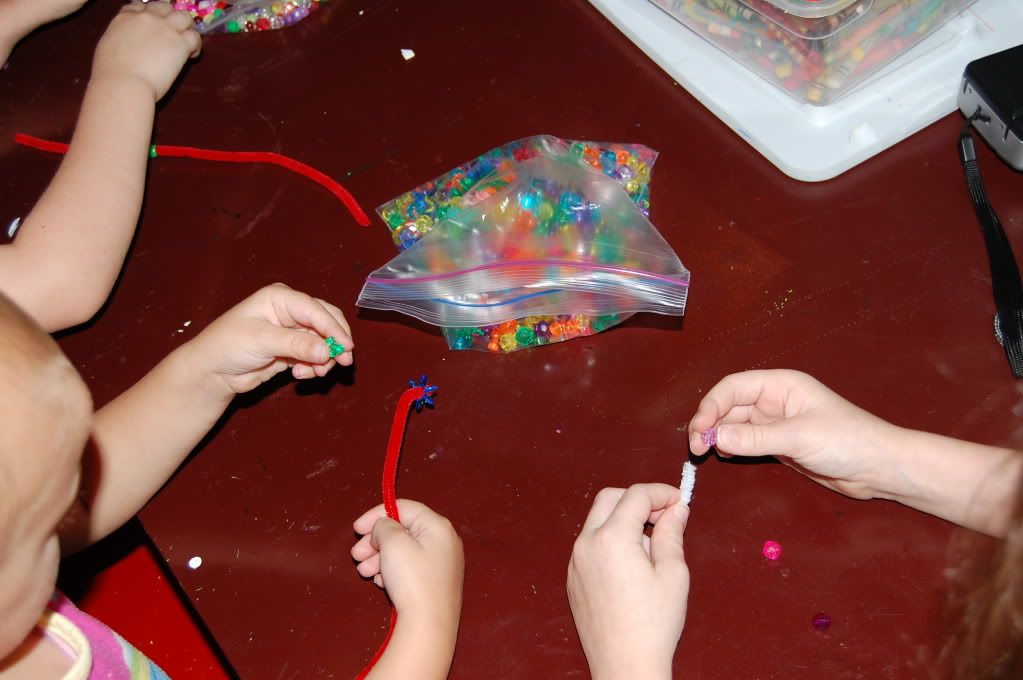 All that is needed is some plastic craft beads and pipe cleaners. They simply threaded beads to their liking on the pipe cleaner and then we put it on the necks of their
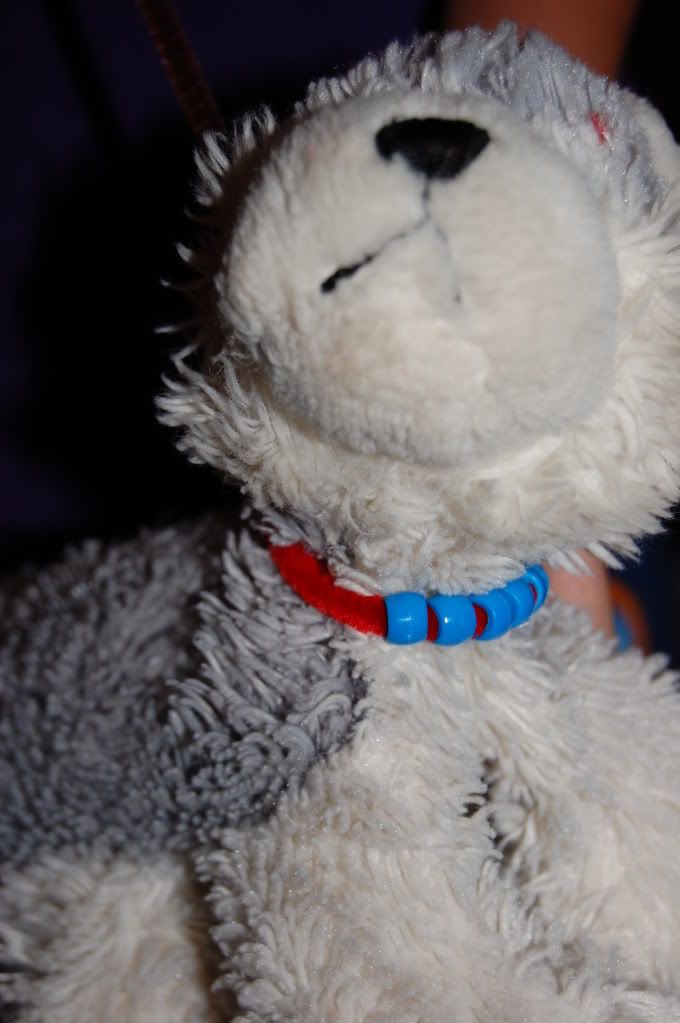
 I've been in the redecorating mode this summer (between all the parties). I took the wallpaper down in my dining room and painted it and put up my beloved chandelier--spoke of
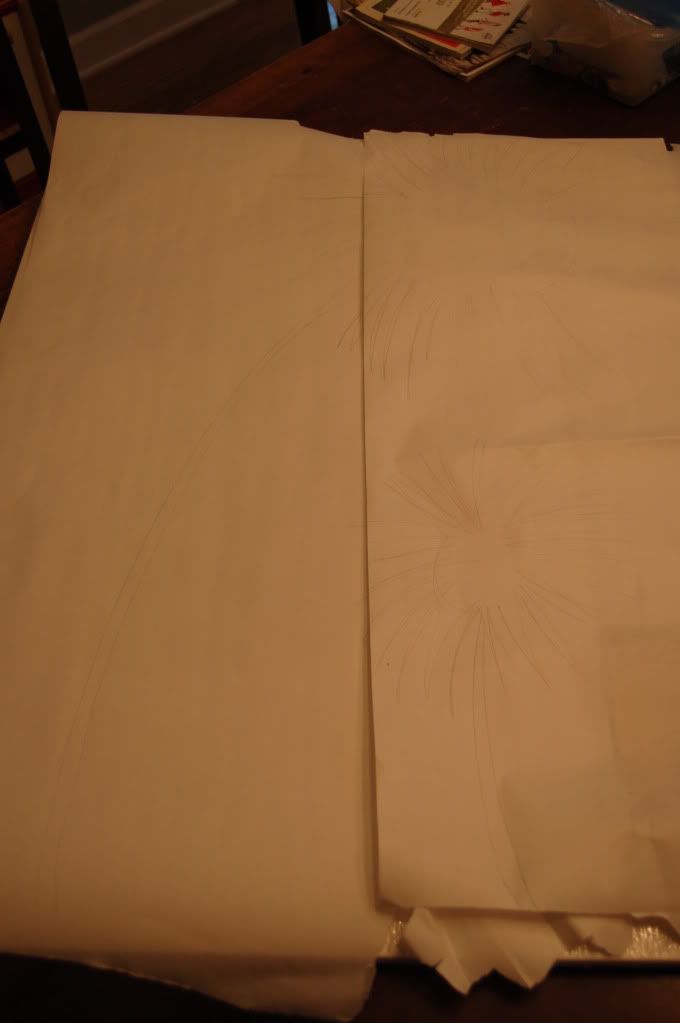
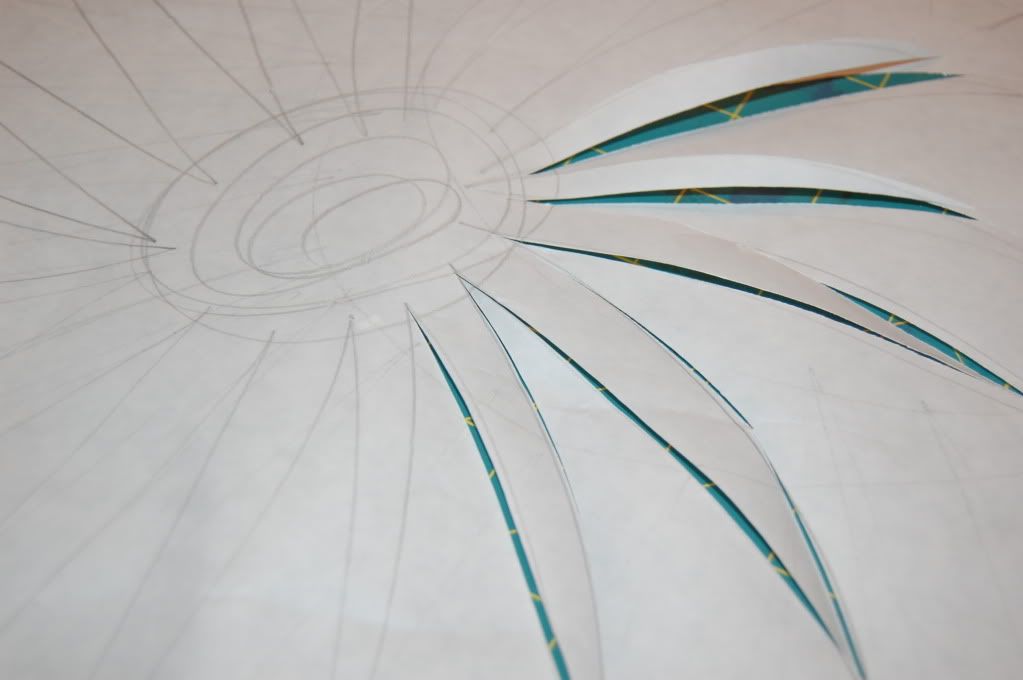 Then cut it out carefully with your blade. I didn't cut it out on every line, but used my drawn image as more of a guide. Remember if you want the color to be the drawing, then be sure to cut it out and the stencil will be the area surrounding that. You could instead use the drawing cut outs to put on your canvas to make those parts white and paint the background of your canvas instead.
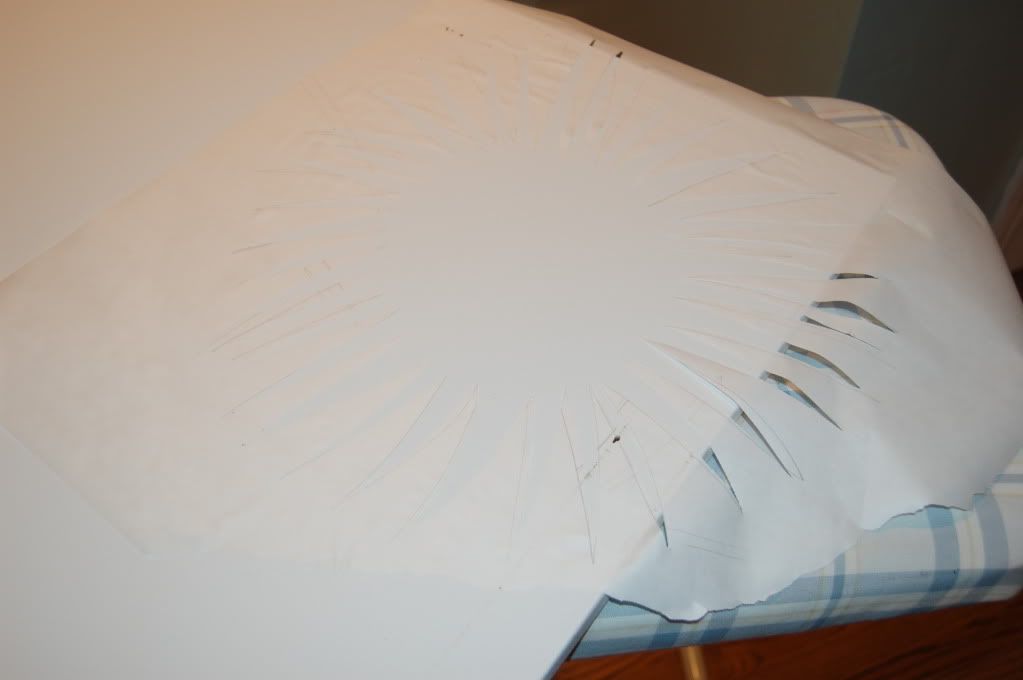 Once you have it properly cut out, iron the paper to your canvas carefully.
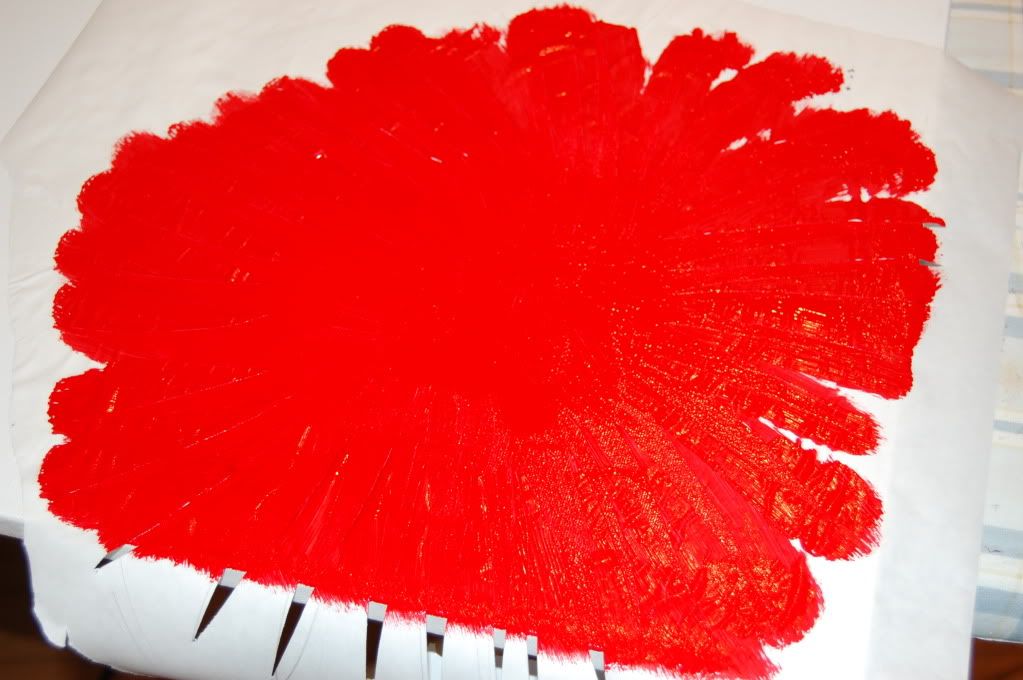 Then carefully paint inside your stencil. Try to pull your paint away from the edges of the stencil outline as much as you can to avoid bleeding. Then while still wet, carefully pull your stencil up.
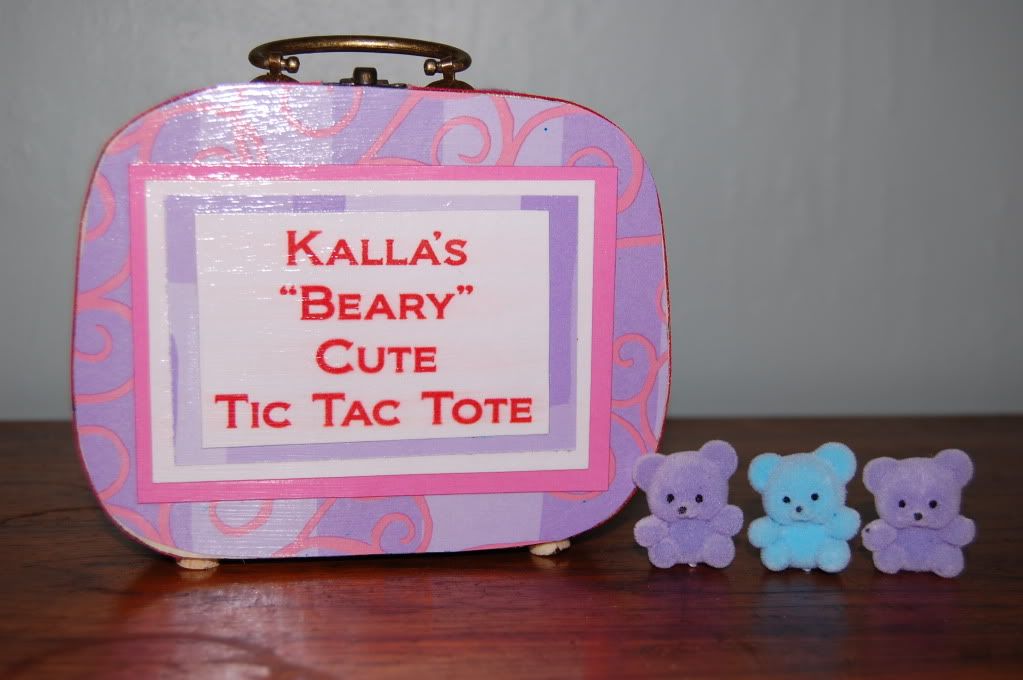 This is Kalla's. It is a small wood box with a handle that she found at Michael's I believe and then mod podged papers and a label on the front.
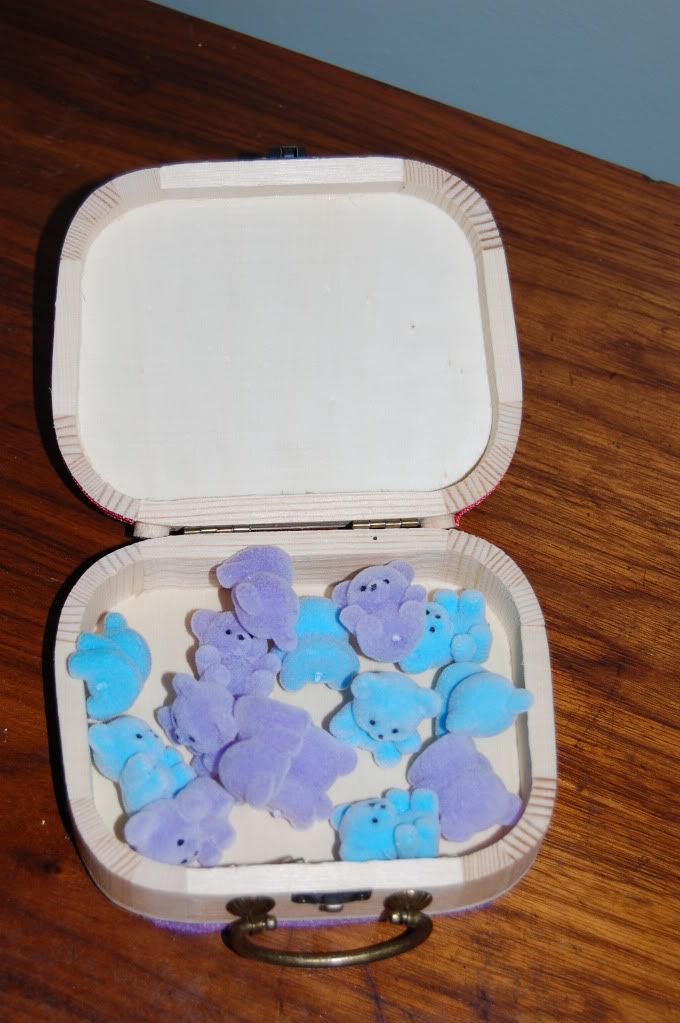 Inside were all these tiny bears (also found at Michael's).
 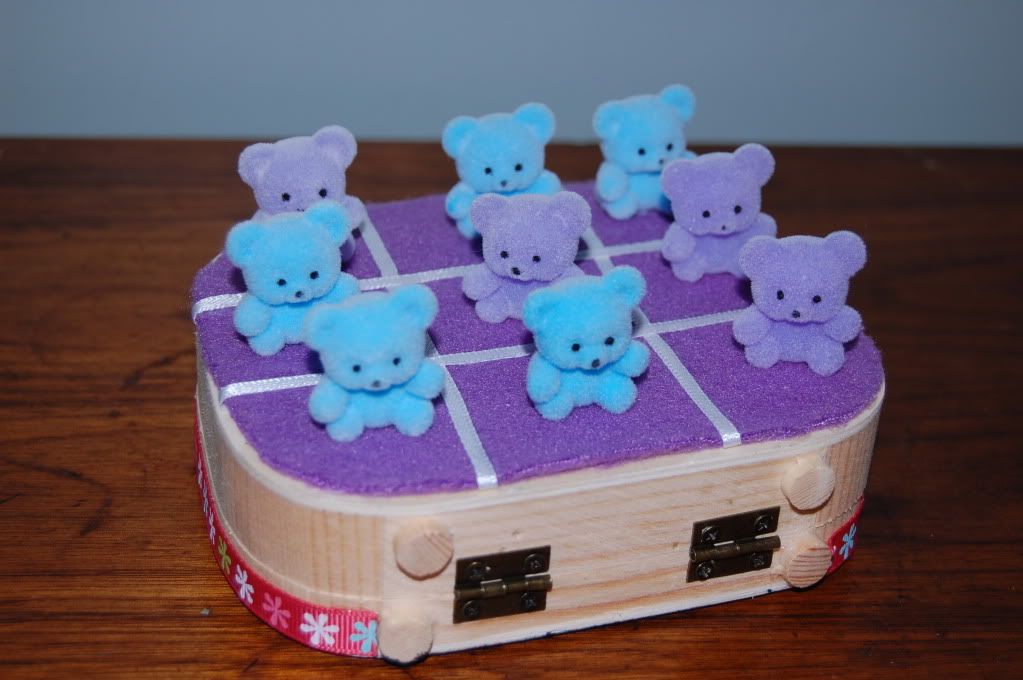 And on the back is felt and ribbon glued down to make a tic tac toe grid.
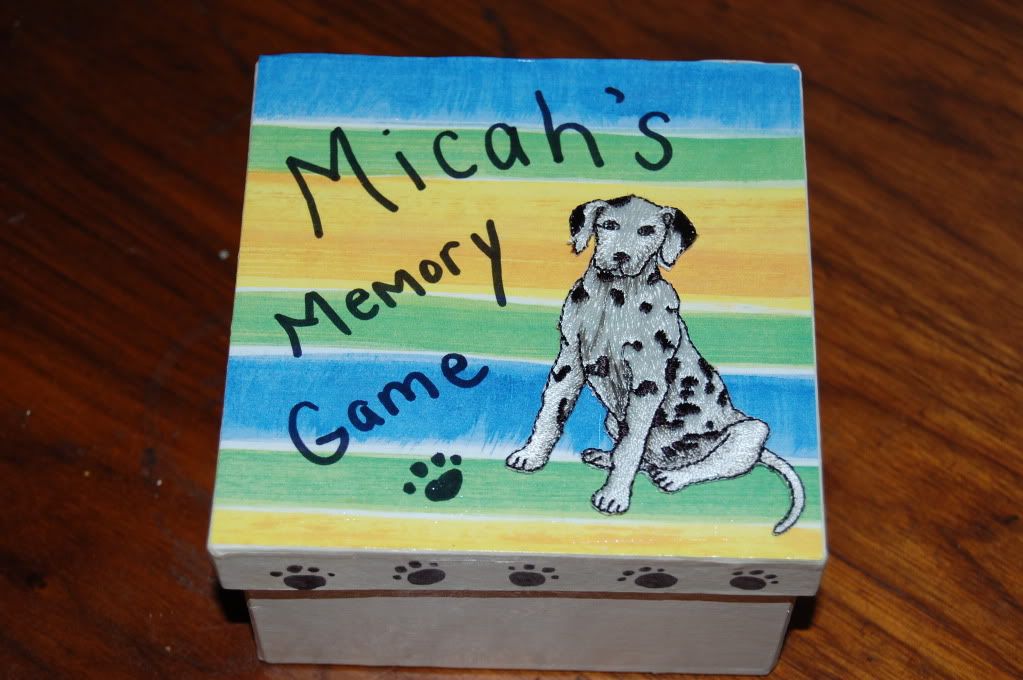 And this was Micah's game. Dog themed of course...she knows my boy well. She decorated this small box with paper and a dog applique.
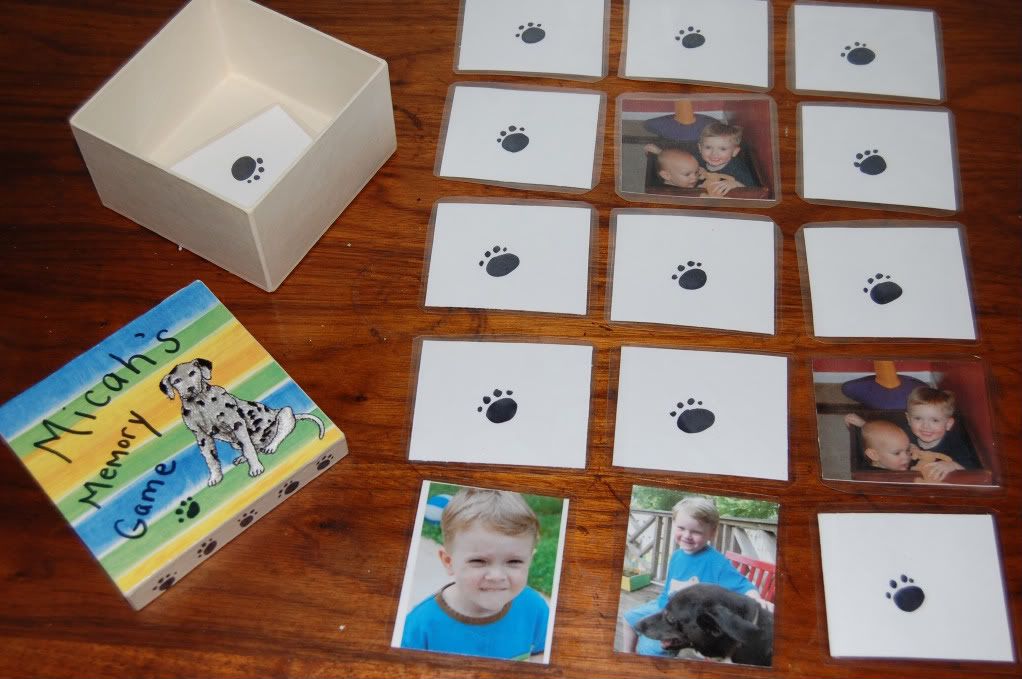 Then inside were laminated pictures of him. There were 2 of each to make for a custom game of memory. Too Cute!!
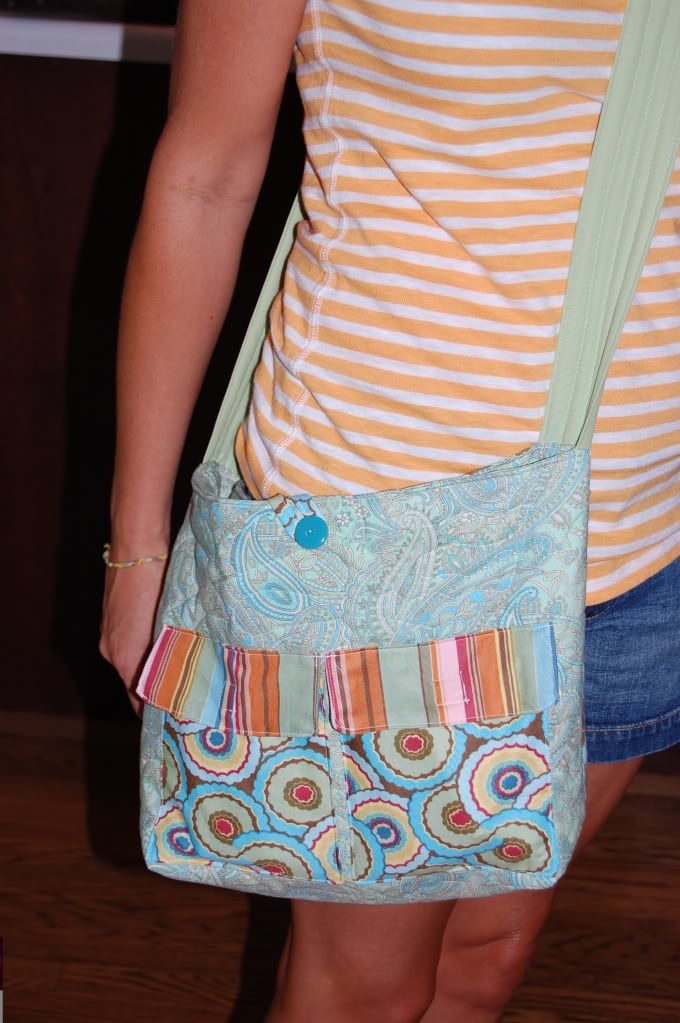 This is what we came up with. A quilted messenger style tote with 2 pockets on the front with velcro flaps.
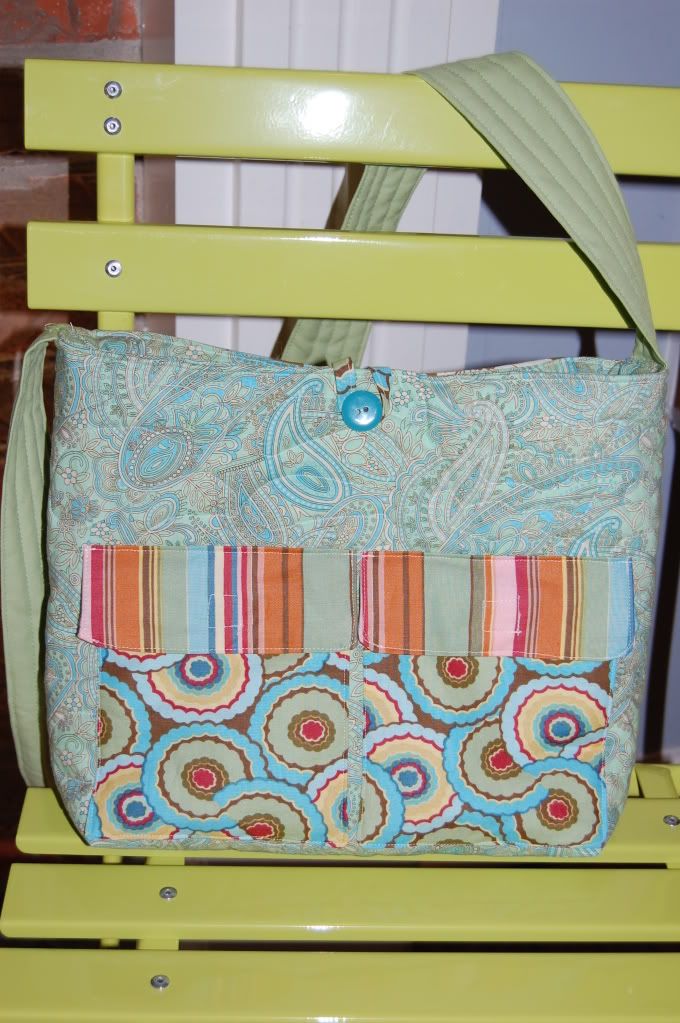 I forgot to take a picture of the back that was the