Wednesday, March 31, 2010

Dresser Makeover~Antique to Contemporary

Here is another project I worked on over spring break.  Weather finally cooperated for me to get this thing out of the garage and give it a work over with the spray paint.  
(For those interested in making your own photograph art work, find the tutorial here).

The hardware gave me the hardest time.  The pre-drilled holes were not a standard size.  This is about the only handle I could find to fit it.  Then the skinny handle went all the way through the hole.  To fix the wobbly handle situation, I used small silver washers on the outside.  Cool thing is they look like they are part of the handle themselves.  So I am satisfied.  ;)

Ok, this is the only before pic I could find...I thought I had a better one or I would have taken a before picture (this is from way back in our old house in Kalla's nursery where I used it as a change table/dresser).  I almost didn't keep the dresser.  It was in Kalla's room after the move, but when we put the girls together and redid their bedroom, the dresser took up too much room.  I really needed another dresser in my bedroom, but I have this thing about mirrors like this in my bedroom...they creep me out in the dark.  So when the dresser got assigned to the furniture graveyard in the garage, I found that the mirror and posts came off with little effort!  Cool beans!  So I doused the thing in white of course and updated the hardware.  Now I know all you antique lovers are probably cringing right now, but I just love the new look!!

Tuesday, March 30, 2010

Make a Ribbon Knotted Chunky Bracelet

Make a fun bright bracelet just in time for summer!

Super quick and easy!  
I made this bracelet for a friend's birthday, but thinking I may make myself one or a necklace like it.

Just need a few basic supplies.
I used a clasp and some rings (sorry I'm not a jewelry maker and don't know the proper names for anything). I got my fun chunky wood beads from Oriental Trading Co (I actually got them to make Christmas ornaments last year).  And I used a skinny grosgrain ribbon cut to 36", though that was barely enough so you might want to add a couple of inches to give more working room at the end.  :)  First attached a ring to the clasp and closed the ends of the ring with jewelry pliers.

Now, fold your ribbon in half and thread the ring on it and pull it to the halfway mark and tie a knot using both sides of the ribbon (in other words make a knot holding the 2 sides of the ribbon as one).

I used some floral wire to make a large flexible needle.

Now here was the tricky part.  The large beads had rather large holes, but still not big enough to fit the thickness of threading both ribbons through together.  So I threaded one side of the ribbon at a time.

Once a bead was threaded with one side of the ribbon, I tightly held the ribbon down and threaded the other side into the hole being careful to go the same direction as the other ribbon.

After each bead tie a tight knot close to the bead.  String beads alternating with the knots until the bracelet is the length you want.

Fold the ribbon under and secure with machine or hand stitch.  Once stitched trim off end of ribbon and heat seal with lighter to melt the ends slightly to prevent ravel.  Now loop on another jewerly ring and close ends of ring again with pliers.  Now you are done!

I also made this scarf for my friend.  It was actually the part of the gift I started with  because when I saw it here (there is a tutorial) I thought immediately of her as one of her fav colors is lime green.  This was super easy to sew and I'm thinking I need one!

And here is her final gift.  Headed to give it to her right now!

Monday, March 29, 2010

Few Other Things

Just a few more things I made while on spring break.  This quilt is for Micah's preschool class.  The kids all drew on a small square with fabric markers and then i made them into a quilt for 'Q' week.


While I was at it, their little doll bed in his class sorely needed a little pillow and blanket, so I made simple ones with some spare flannel I had.


This owl was a gift for an owl lover.  I was inspired by this tutorial.  :)

K, so now I have some other projects on the burner....will post some more stuff soon!

Thursday, March 25, 2010

Gift for a Horse Lovin Little Girl

The other evening Kalla had a birthday party to go to.  So this past week on spring break we brainstormed what to make this little girl. K informed me that this little girl LOVED horses.  So here is what we came up with:
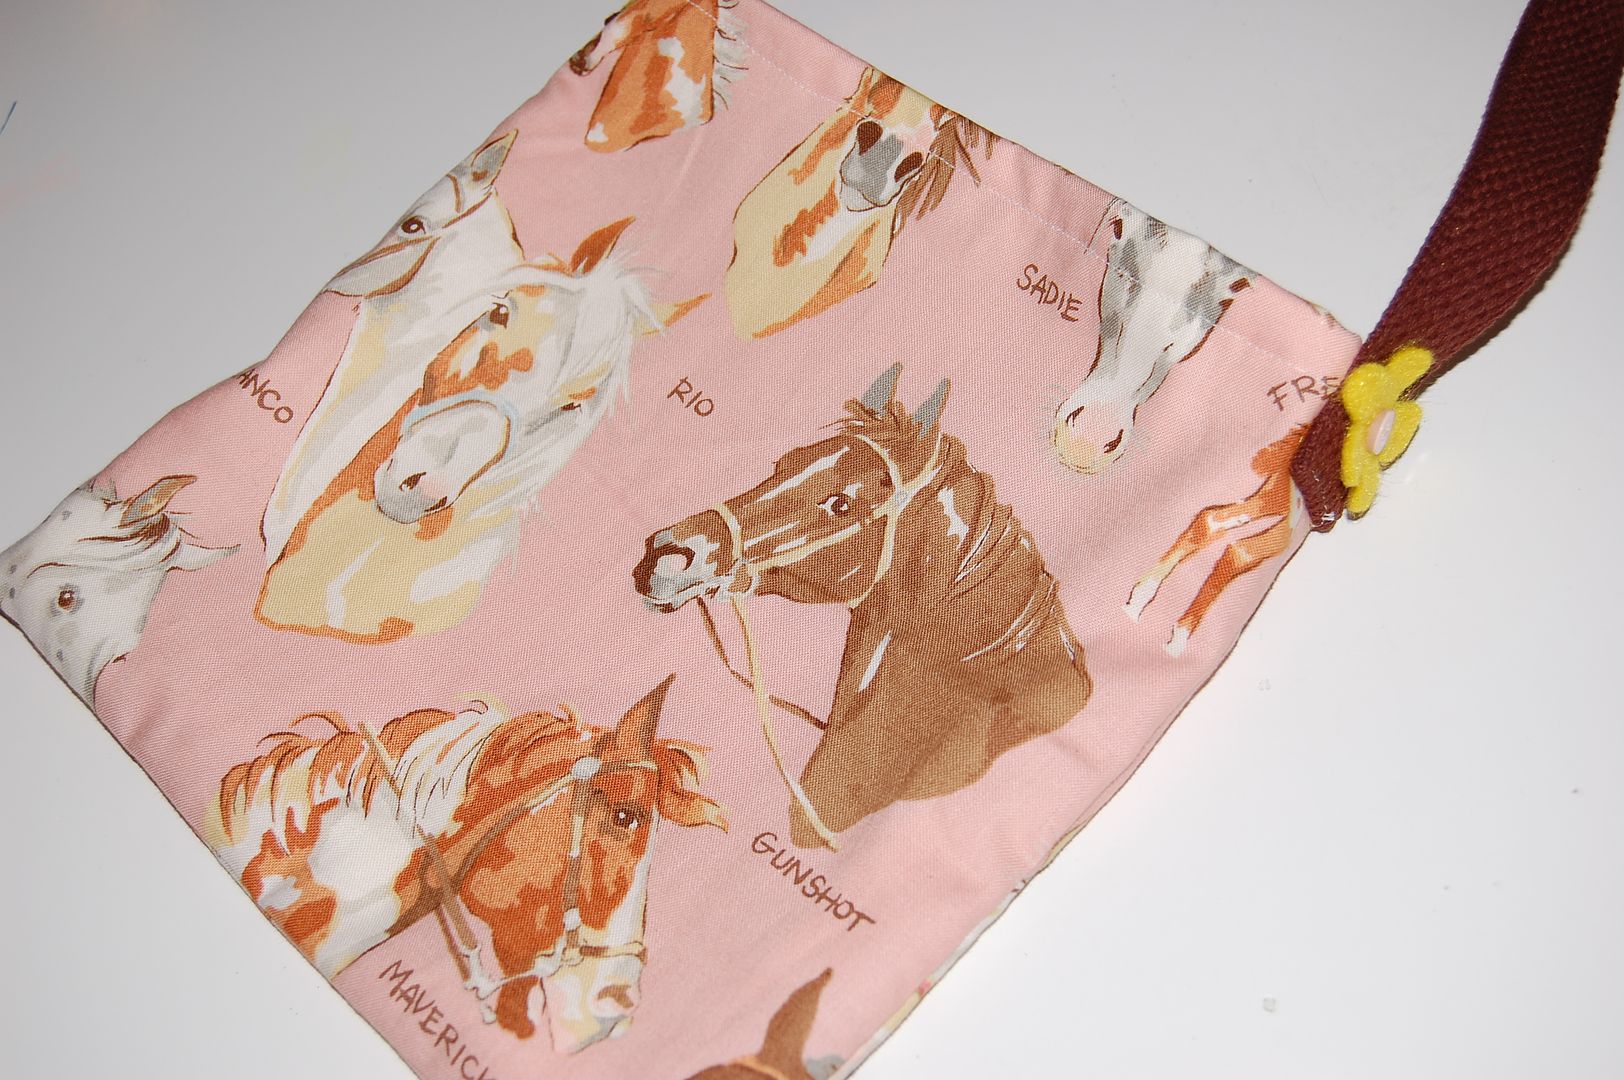
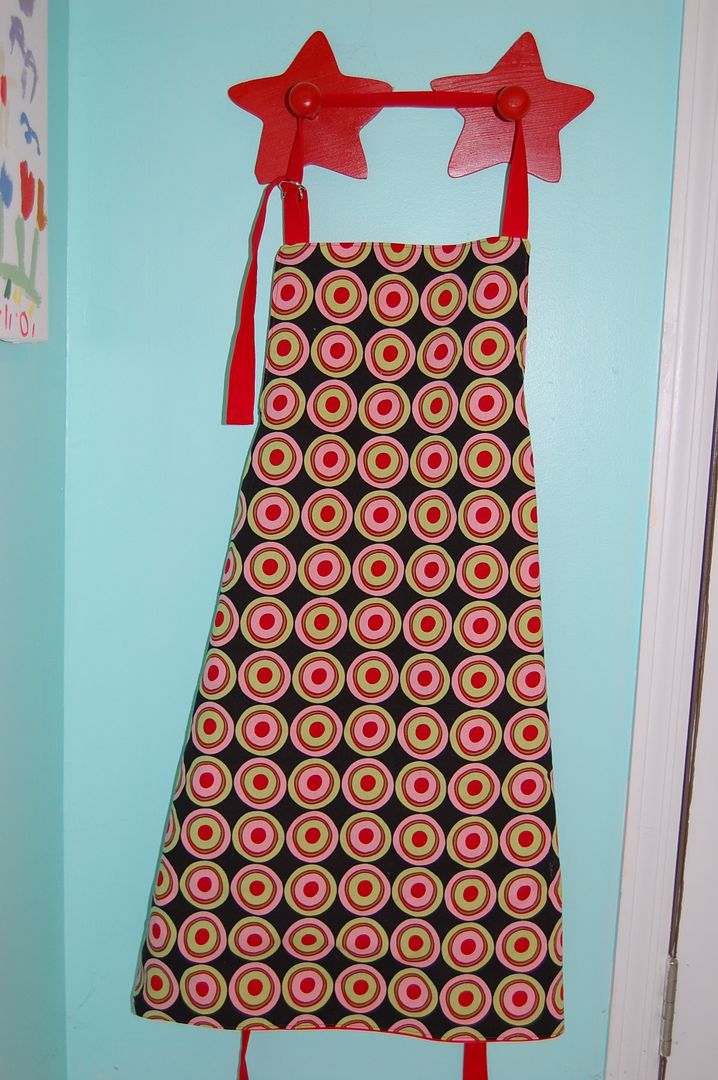
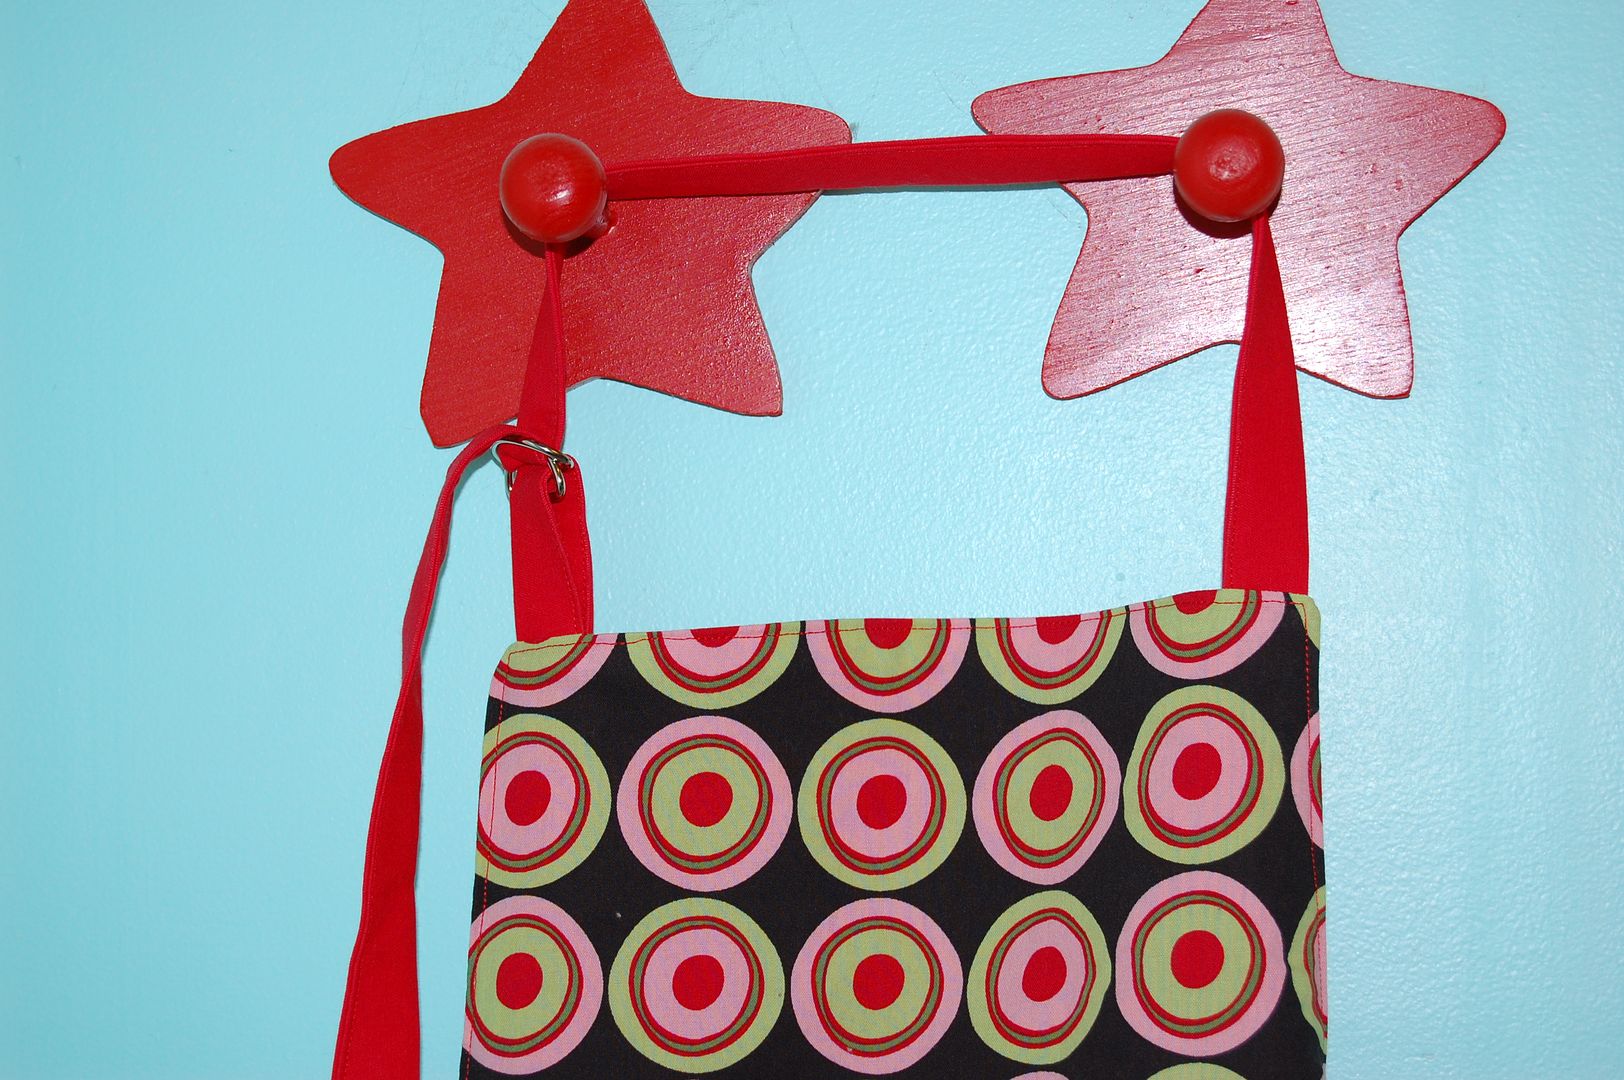
A horse tote, based on this tutorial.  Instead of letting K draw a tote, I already had this gorgeous horse fabric that I thought we'd use.  Added a small yellow felt flower and pink button details on the side where the strap is sew on.  One note if you use fabric with a directional print you will need to cut your front and back separately instead of one big piece you fold like in original tutorial.

Then I got a bag of colorful beads and a pink pony charm and let K string this bracelet on stretchy bracelet elastic to make her this bracelet much like she did for her doll.  To make it look nice I explained to her to make a pattern and repeat it once placing the horse in the middle.  All I had to do was tie the knot.

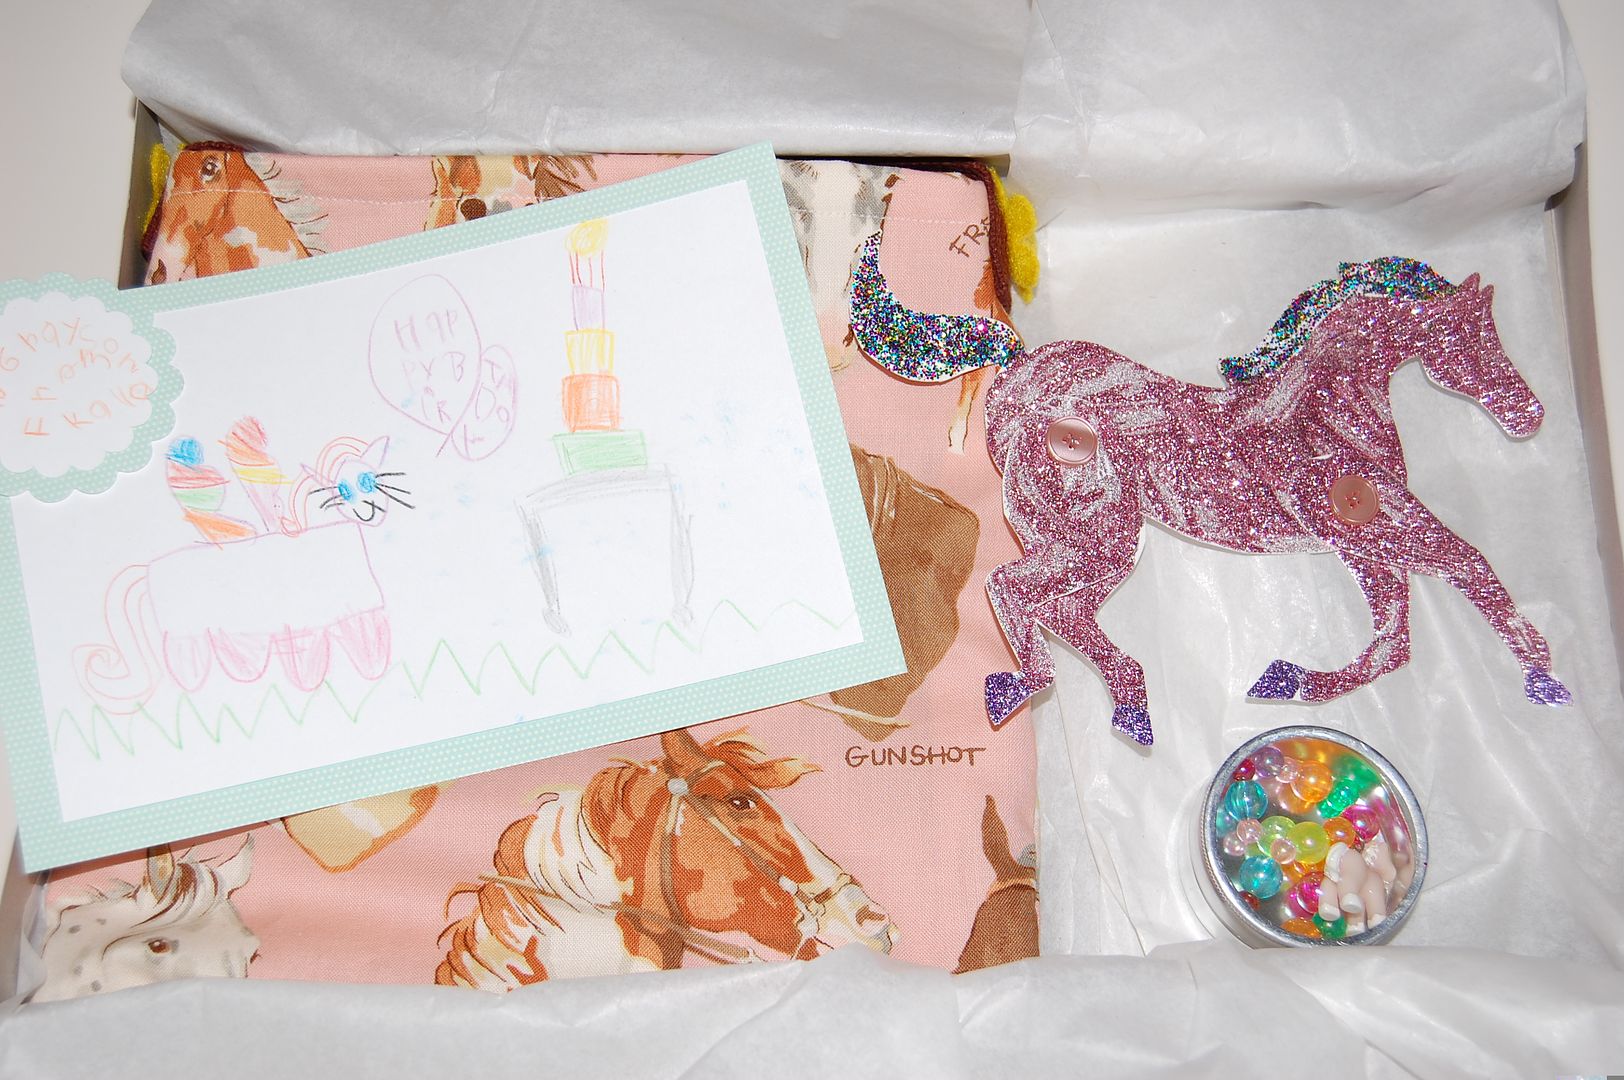
And this sparkly cardboard horse art.  When I saw these horses last year by Ann Wood on Design Sponge, I filed that idea away in my brain to do one day.  We actually plan to add a horn and make sparkly unicorns as the craft at Kalla's unicorn and rainbows party this summer.  So we used the tutorial's template and instead of painting, I brushed mod podge on the pieces and Kalla glittered away!  One note, if you use glitter (especially MS very very fine glitter) once it is dry, spray the pieces with clear acrylic to keep the glitter from coming off and making messes ALL over!  So once you spray the pieces and let it dry, follow instructions on tutorial for adding the buttons and wire hanger.  Cool thing is the legs move and can be positioned anyway you like.  According to feedback Kalla got from the little girl at school the next day, this was her fav part of the gift (though she told K she liked it all).


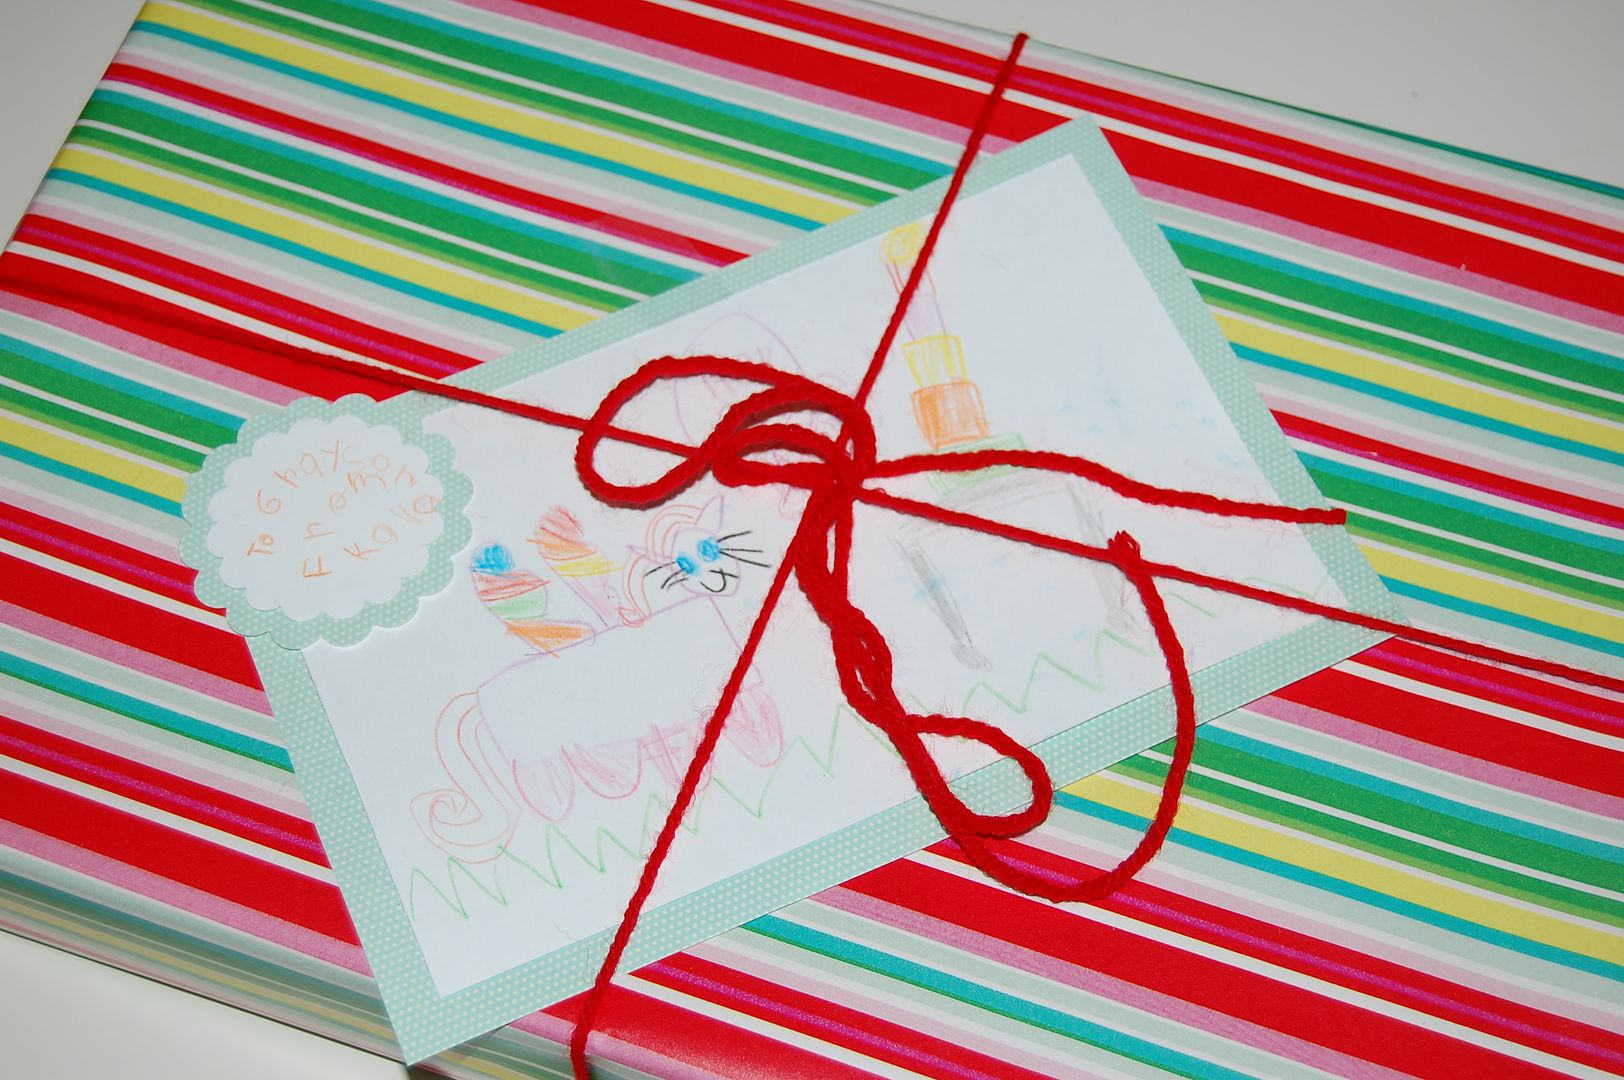
Then I had Kalla make a picture for the card on a rectangle piece of white card stock (my photo is washed out, but it's a pink horse with wings and giant eyelashes--LOVE how she adds eyelashes to all her animal drawings--beside a table with a giant layered cake).  Then I taped it to a printed piece of scrap book paper and used some craft punches to add the "To" and "From".  Bracelet was put in a simple small tin container (I got them in bulk at Oriental Trading).


The benefits of making birthday gifts is many.  First, it is the time that Kalla and I get to spend together crafting, both of our fav activities.  Another is teaching her thinking of others.  Not that you can't do that by shopping together to find a special gift at the store!  ;)  But it just seems emphasized when we talk over all the details and ideas of what her friends would like.  Then sitting making it.  It is so nice to be able to enjoy time spent crafting (cause that's the best part after all!), then the joy of giving it away.

Wednesday, March 24, 2010

A Baker's Gift

Went to a shower the other day and came up with this cute gift.  The "big" gift that other's were giving was a stand mixer.  So I knew I'd be safe coming up with a baking package.


Inside I put this apron I made.  I use an old store bought apron I have as a pattern.  
Mine is NOT nearly this cute!  I keep saying one day I'll make me a new one.  :)

The part I love best that I always copy from my old one is the adjustable strap.  
Just a couple of D rings.

Also included some of my fav baking tools, a cookie scoop and offset spatula  Then some cookie cutters I took out of the package and tied with a ribbon and fun sprinkles.

Also a sampling of my fav baking recipes..copied and pasted from my blog.  ;)

I put all this stuff in a cake box with a window.  Closed it up and tied it with yarn and a handmade tag.

Tuesday, March 23, 2010

A gift and an Easter Bunny

Did some sewing and crafting over spring break.  Namely for gifts or others.  
Will be sharing the next few days while I'm finishing up a big project (for moi).  :)

First up is a gift that Maressa took to a friend's birthday party (also 3 yrs).  Even though I was planning to make the whole gift, I did end up getting a store bought gift.  It was something that M got for her bday that she just loved.  It's this Leap Frog Text & Learn.  Yeah it's electronic, but it fits nicely in my tote and entertains her in the car and shopping and it's educational.  She loves the little dog on it and it cracks her up often and it's totally age appropriate with the games and teaching the alphabet.

Anyway, I had to make something.  So when I saw this tutorial I just knew with Easter approaching it had to top her wrapped gift.  Our particular friend has lots of food allergies, so this felt bunny was the closest thing she would get to a chocolate bunny.  It was so easy to whip up and I just love how it looks.  I have some more chocolate and white chocolate ones cut out too ready to sew up and put in a few baskets.  Only thing I changed is I didn't bother with the leg piece.


Also, instead of buying a card I went to this free printable art site and printed a small version of one of the art and used it for the card.  I let Maressa color on the inside.  :)

But speaking of precious Easter handmade gifts, check out these tutorials:
Adorable bunny finger puppets
Fun felt egg design book (kids can design all kinds of things with egg shapes and loose felt pieces)
and of course my bunny alphabet coloring book
these candy jars on Martha Stewart would make fun teacher gifts

Now I'm brainstorming ideas to make for party favors for Micah's upcoming preschool Easter party.   I've got little peat pots, but haven't quite figured out what to put in them (definitely NOT candy as they will have more than they can eat between egg hunts and other party favors I'm sure!)

Monday, March 22, 2010

Our Spring Break

Ok, I do have some crafting I did to share with you all, but first I'm going to share pics from our laid back spring break.  This is mostly for the grandma's and family that occasionally take a peek at my little blog. ;)
(Hi Mom, Hi Sis!)    

First we took my IL's to the Tennessee Aquarium.  This was the kids second trip, but I think only one remembered having gone.

Checking out some funky looking sting rays and a shark-eel type thing.

Then they pet a possum.  They are almost cute with all nice and clean and fluffy...not like the ones we find in our yard or on the side of the road..ick!

Loved the penguins!


And they even 'pet' some sturgeon.  Fun times!


Then at the end of the week it actually felt like spring.  We spent 2 days straight at the park.  


Husband took Friday off to play with us (and of course coincidentally Clemson's tournament game was on that afternoon...at which time we promptly packed up our park gear and went home).
We had a 'fancy' picnic where I made brownies and deviled eggs!


My boys playing some bball with the neighbor boys.


I swear this one must have pedaled a few miles that day!!  She rode and rode and rode around the park only taking a break to swing a little.  

Friday, March 19, 2010

Winners

Hi guys!  We've been enjoying the sunshine today!!

Just dropping by quickly to announce the winners....

Comment # 6  Kim for the first set

and

Comment  #8  mkdesigns for the second set

Email me with your addys and I'll get them off to you!

Thanks everyone!

Wednesday, March 17, 2010

Happy St Patrick's Day

Enjoy this short video of the story of St Patrick done Veggie Tales style!


Don't forget to enter the giveaway...2 winners announced on Friday!

Tuesday, March 16, 2010

Teeny Tiny Giveaway

Hey guys!  We're in the middle of spring break here...though spring hasn't showed up yet.  Took the kids up to Chattanooga (my birth city) to the aquarium yesterday as a mini field trip.  We had a great time and the penguins I think we the unanimous favorite.  The rest of the week we're going to play and I've got a few projects, home and craft, on my to do list.  Friday, husband will take the day off and the weather is supposed to be real nice so we'll be picnic-ing and park playing.  So I won't be around here this week.  But to keep you busy I am having a little giveaway.   :)

***Contest is now closed**************

The other day I found these adorable tiny collectible erasers called Crazerasers.  I thought they were just TOO CUTE!  So of course I had to buy the whole collection (I have issues).  Then I picked up a couple extra.  Thought you guys might want some.  :)

I have TWO sets to giveaway:

This chair set and toothbrush set, along with those vintage type button candies.


And a two fast food sets and some blue button candies.

To enter just leave a comment.  Feel free to share your spring break plans.  Giveaway open to US residents only.  One entry per person.  I will pick TWO winners with a random generator on Friday morning.

Have a great week!!

Friday, March 12, 2010

Project Repost: Super Simple Mommy & Me Tote

I know most of you guys have seen this tutorial (I got lots of link love on it a year ago), but thought I'd put it up anyway.  I think we are going to make a larger version this year for a tote for the grandma's for Mother's Day...will share when we get them done.

This coming up week is our spring break.  I have a couple of kinda big projects I wanna do and lots of playing too, so I won't be posting much aside from a spontaneous Teeny Tiny giveaway I decided to do on Mon.  So come back and check it out!


So here is a project K and I did last year:
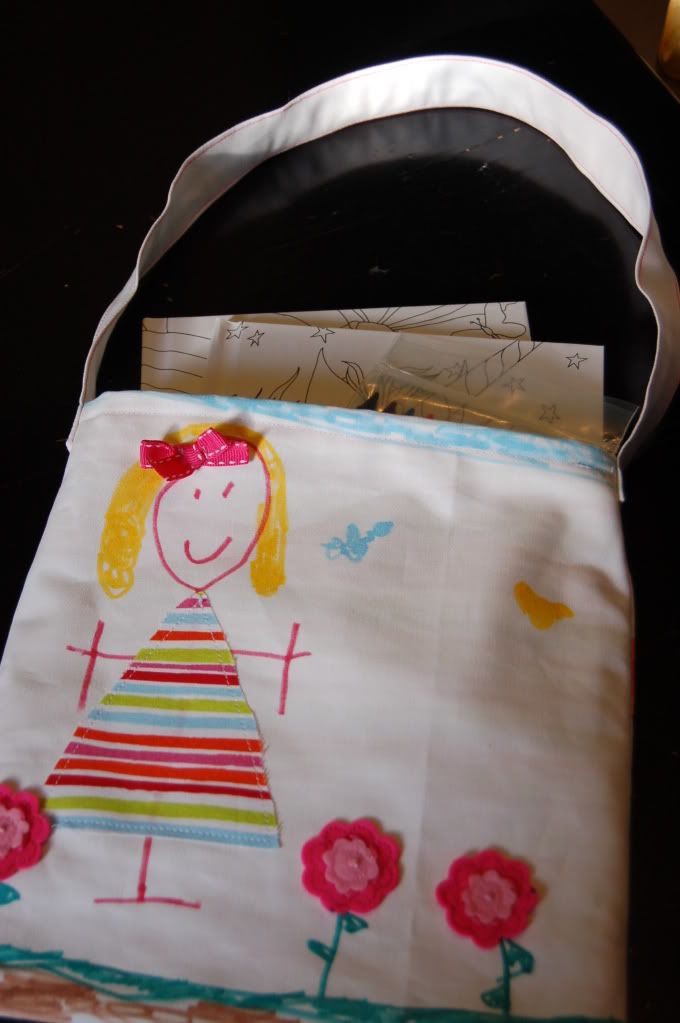
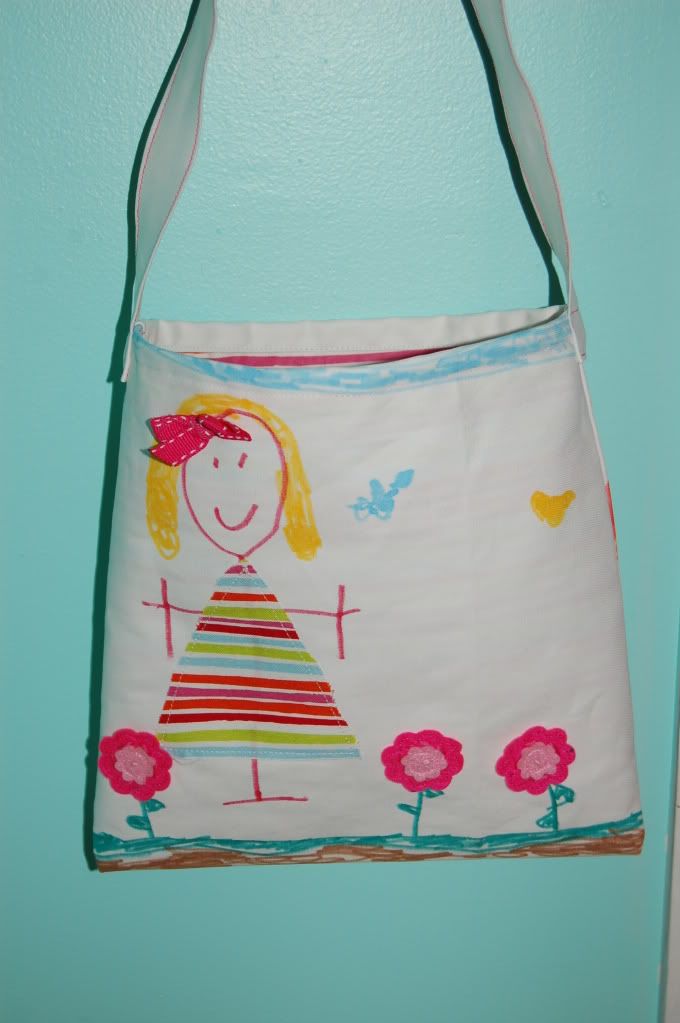
My big girl of 5.5 years is learning to sew. So for her first project we decided to make a simple little tote. This is for a school friend whose birthday party Kalla is going to this Friday. We are giving her a couple of Bare Books and Bare Crayons (which my 2 oldest absolutely LOVE themselves) and decided to make a personalized tote to put them in.

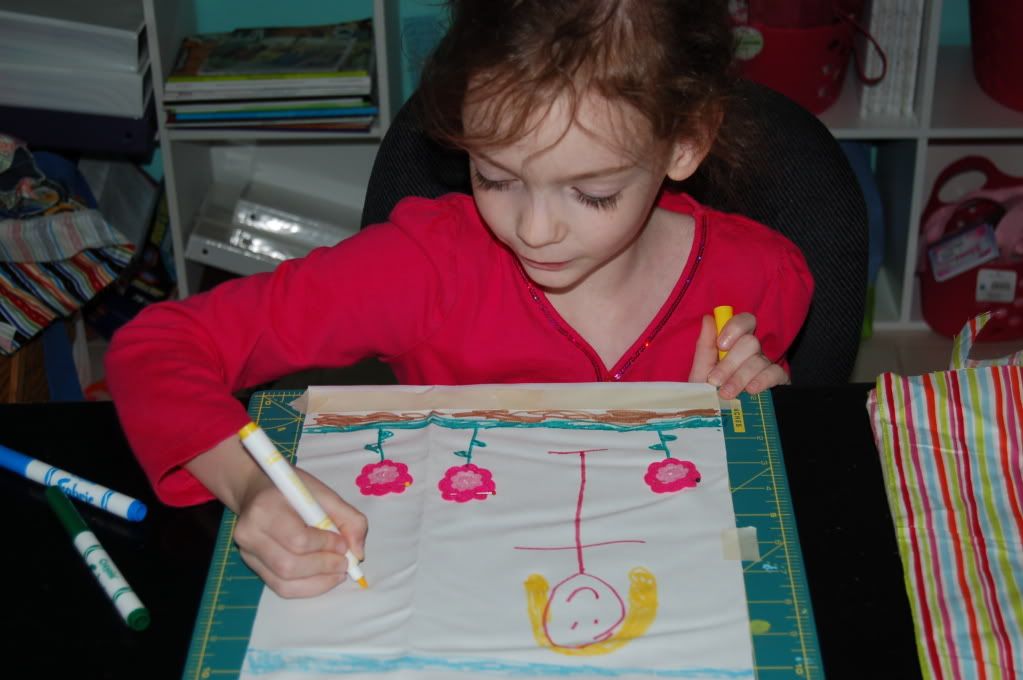
I used some off white twill fabric and cut a piece 10" X 20". I taped masking tape in the middle and folded it under a cutting mat and taped the top half down and let her make a picture with fabric markers. She drew a stick picture of her friend and sky, grass and stems for some felt flowers I had on hand. Kalla picked out some fabric for a dress for the girl. I cut a small triangle with the fabric and ironed it on with wonder under lite and then a topstitch. I hand stitched on the felt flowers. Then I cut a piece of fabric in the same print as the dress for the lining 10" x 20".

We also picked out a ribbon to make a bow for the girl's hair and I sewed it on after sealing the ends. Kalla also drew a big rainbow for the back and I sewed on some fun colorful buttons (back not pictured).

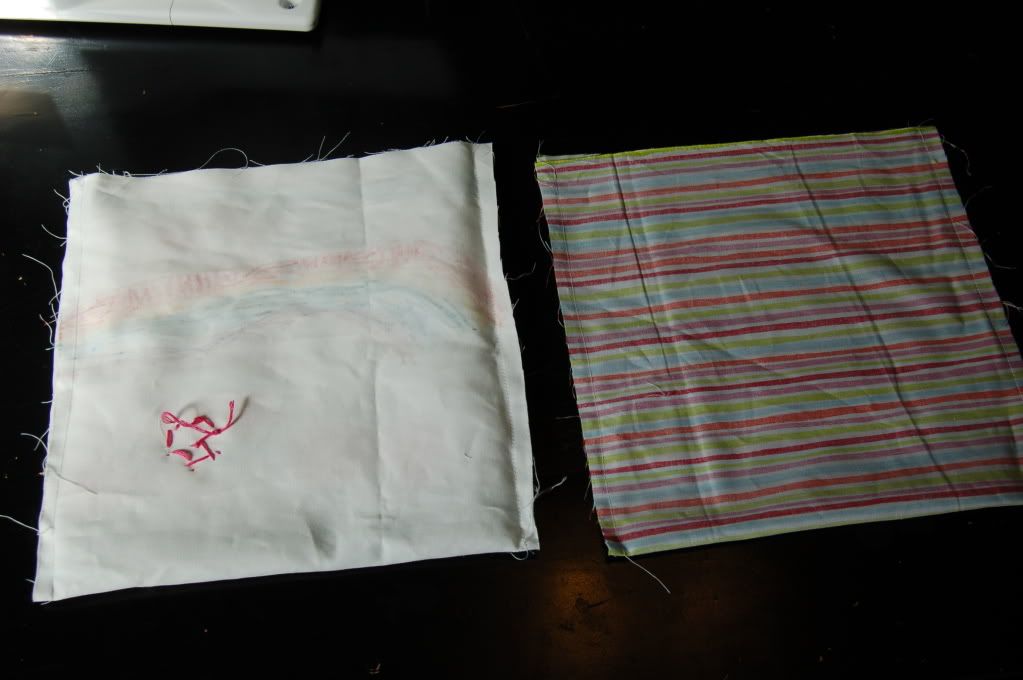
We folded the fabric in half to be sewn. With my machine on the lowest speed I let Kalla sew the sew the side seams of the tote and liner.

Turning the outside fabric right side out, we fit the lining into the bag and straightened it up. I folded and pinned the opening down to make a hem along the top. Then I sewed it down.

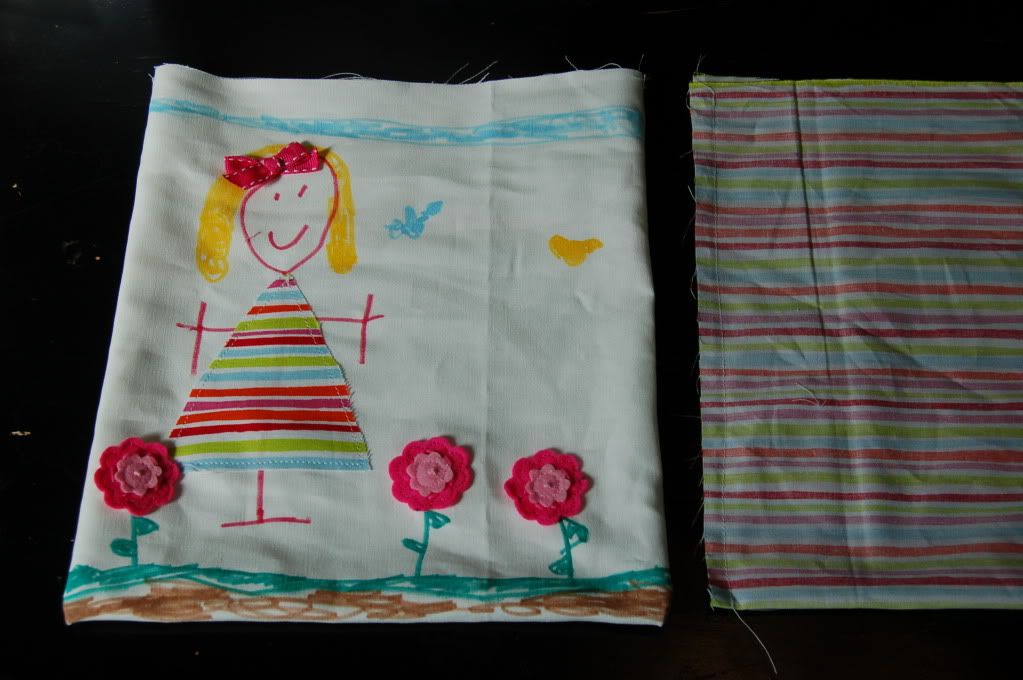
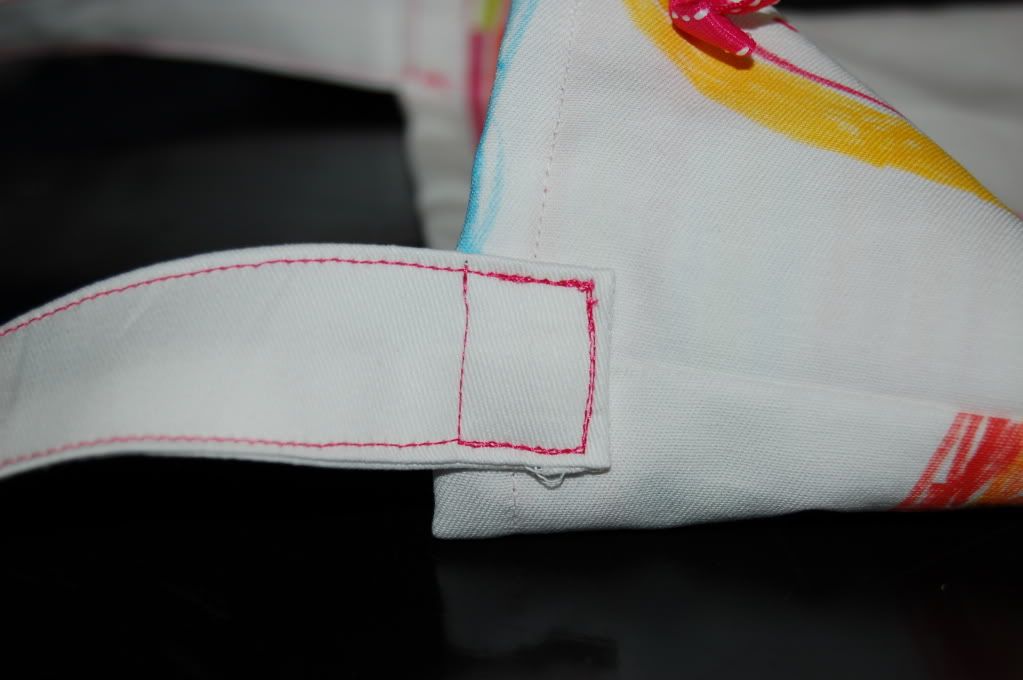
We made a simple strap simply by cutting a piece of twill 26" X 3". I ironed it in half and then folded the edges in and ironed then pinned down.

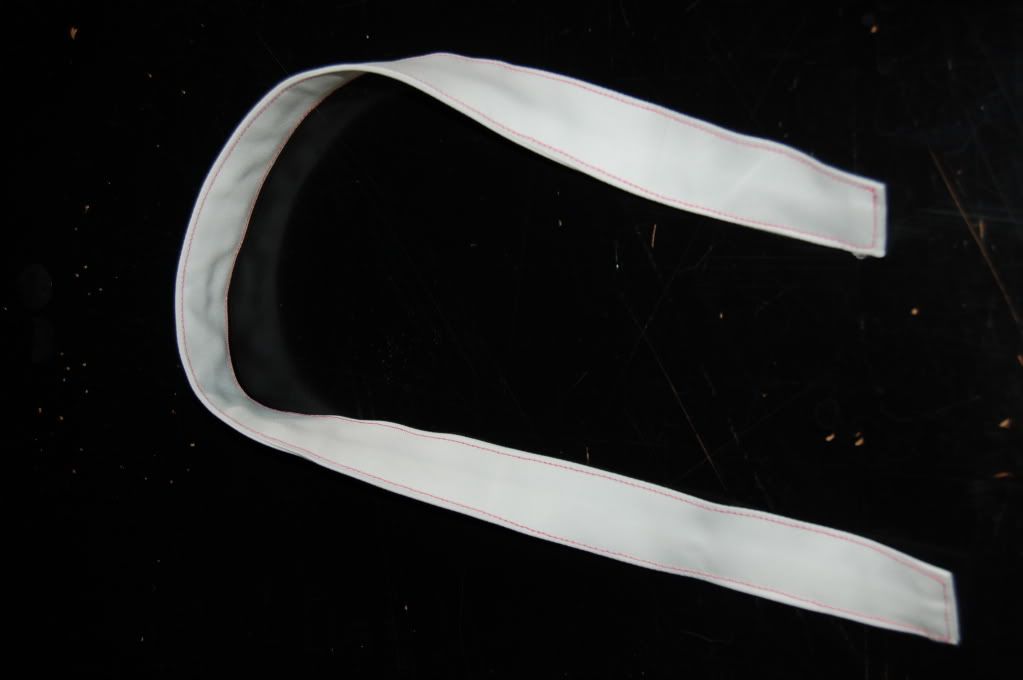
I then sewed along all the edges with dark pink thread.

Then I secured each end onto the outside sides of the tote with a stitch all the way around. It would be cute to sew a big bright button here too for extra embellishment.

This particular bag is for a gift and we put the books and crayons inside. We have one cut and colored ready to make one for Kalla. She has multiple girls on hers and they are waiting for their dresses at the moment. :)

This bag can be made a bit bigger to make a pool/beach tote or library tote.

LinkWithin

Related Posts with Thumbnails