Wednesday, June 30, 2010

My baby no more

My sweet baby boy turned 5 yesterday.  How did it go so fast?

Yeah for now he still has his sweet baby face with all his little baby teeth.

And he still gives the best cuddles EVER. 
 And puts up with sloppy mommy kisses and neck nuzzles. 
 I am still #1 (shhhh don't tell the Daddy).

But I know the day is coming.  Very soon.  Where he'll wipe off every kiss and they will be met with a groan. He'll be off with the big boys doing important guy stuff and the Daddy will be his #1.  And as it should be.


Doesn't mean I'll have to like it.  ;)

Monday, June 28, 2010

Start Your Engines...It's a Race Car Party

Saturday we celebrated Micah's 5th birthday with a race car party.  We threw his party in our backyard with games, lunch and cupcakes.  The tables were covered in checkered plastic tablecloths from Hobby Lobby.  Cones from Target dollar section and black wrapping paper in the centers.

The kids ate on a picnic table covered with the same things.


I made cute little food baskets using this tutorial/template from Zakka Life.  Each had a hotdog, chips and used oversized cupcake wrappers to hold sliced apples and grapes.  I put extras and plates on the serving table for adults and siblings.

I wimped out on making a race car shaped cake and did simple cupcakes.  Found the road printed wraps at a local cake decorating shop.  Flag toothpicks from Party City.  I just made chocolate cupcakes and frosted with red homemade buttercream frosting and a big '5'.


I got a large checkered pennant banner at Oriental Trading.  It was so long I was able to cut it up and hang it all over my deck and fence.

When the kids arrived they all got a pit pass.  I made these pit passes on a publishing program.  I printed them on white card stock paper and then laminated them.  Punched holes in the top and tied on a plastic string.

I moved our race car track on the deck with a basket of cars.  This was a big hit for free play.

Other activities is we played Red Light/Green Light where I hot glued scrap pieces of fabric to dowels to make red and green flags.  I also added yellow flag where they had to move slow motion.  And we had car races.

We already own 4 plasma cars (thanks to Grandma).  I got 2 of these cute little helmets here.  They took turns racing across our patio.


I used my fav ice cream trick.  The night before, I scooped ice cream into cupcake liners in a cupcake pan, covered them up and served them at the party.

Chocolate is Micah's favorite...boy after his mama's own heart!

Then we did the race car pinata.

Favors were slinky jr from Target dollar spot, rubber jacks from Target party section and a plastic pull back race car plus and couple of Disney cars silly bandz

Thursday, June 24, 2010

Make a rainbow spectrum of clippies~super quick simple project!

I wanted to make littlest one a new clip to match her new skirt the other day.  I like small and simple for my fine haired Maressa.  So rummaging through my crafty supplies this is what I came up with.  It was just perfect for her and SO easy to make that I made a whole bunch!

These snap barrettes can be found at Hobby Lobby by the bag full.  The little felt flowers were found at Target dollar spot (though I'm sure you can find similar at HL.  The buttons I got a bagful from Oriental Trading Co.  At the large end of the clip are a few holes.  They were perfect for sewing on the button and felt flower with coordinating thread.  No sticky glue.  No machine sewing tiny little clip cases.  Just a needle in thread during a favorite night time tv show.  :)  Thinking these would make great party favors or gifts.


Wednesday, June 23, 2010

Speedway play table

Inspired by Micah's upcoming race car party I decided to turn our train table into a race track.  This table we found several years ago at a garage sale for the awesome bargain of $2.50.  The boards on top had a land and water scene.  No, I did not paint on top, but simply flipped them to the plain wood back.

And in the evenings I have been painting this race track.  I drew the track in pencil then used acrylic craft paints to paint it all on.  The kids have been playing on it ever since.  I plan to touch up the black paint today and then seal it all with clear acrylic spray.  The kids love it and Micah has been telling me how awesome it is.  lol  I plan to move it to the deck during his party this Saturday and a basket of cars for free play.  :)

And if they ever get the urge to play Thomas again, we just simply have to flip the boards.  :)

Monday, June 21, 2010

Another birthday party sneaking up on me

Our June has been so busy it has flown by!  Micah's birthday has kinda snuck up on me.  We're celebrating his 5th (that's FIVE  years people...my little boy is going to be 5!!!  when did this happen??) birthday this Saturday with a big race car themed party.  We will have it in our back yard as usual.  I'm super excited for all the fun stuff we will do.  

Here's stuff we have planned:
Red light green light game
Races on a 'track' on our patio using the plasma cars and these cute race car play helmets I got
Maybe a craft~making vanity plates
Train table converted to race track and bunch of matchbox cars free play
Race car pinata
Bouncy, sand box and swings as usual
Hotdogs, chips and fruit cup served in cute little paper trays
Cupcakes and race car cookies

Of course I'll post a full report with links after it's all over.  :)

As for the invitation I made above, I used publisher to create the top part with the checkered border.  Printed that on white card stock and used double sided tape (oh how I LOVE double sided tape!!) to put on top of the red card stock.  Then I found this race car image here (click on the race car template link), reduced the size and  printed it on white card stock.  Oh and the original car has a number 1 so I made a five to tape on top of it.  Because of the layout of the words I couldn't fit the whole thing so I cut off the back.  The wheels were printed separately and I used tiny black brads to affix them to the car.

Friday, June 18, 2010

Make some yummy fresh salsa!

When I first had my mother in laws salsa years ago I knew I needed the recipe.  I had not been fond of salsa to that point as I'd really only had the jarred stuff (yuck!).  It took me a while to get the recipe as she's one of those I-don't-use-recipes-just-throw-stuff-together cooks.  I finally got the basic recipe written down.

My fav part of this recipe is the cilantro.  If you've never bought it before, it's near the parsley bunches and looks similar, but is not the same at all.  It has a distinct smell.  yum.  Be sure to pick up the right stuff.

Here's the basic salsa recipe:

1 bunch cilantro (I usually don't use quite the whole bunch)
1 med onion
2-3 cloves garlic
3-4 jalepenos (plus the juice if you like your salsa spicy)
1 can whole tomatoes

Wash and pick the leaves off the cilantro and put them in your food processor.  I like to put them in first so the other ingredients weigh them down to the bottom.  Add everything else in.  Blend.

Now pour in a resealable container and add 1 14oz can diced tomatoes and small can diced green chili peppers.  This last time I made the salsa I used a rotel diced tomatoes with chili peppers and lime.  You can tweak this recipe to your liking.  I've backed off all the onion and garlic because we don't like tasting garlic and onion in our mouths all day.  I used about 1/4 red onion and sometimes no garlic.  It's still just as great.

I love to pair this salsa with yummy organic blue tortilla chips.  Three out of four of my kids love salsa.  All will eat it somewhat, but the 2 littlest will eat it every day if I have some!  :)  Makes a great afternoon snack!

Thursday, June 17, 2010

Kids Craft: Our Fairy Wands aka Zap Wands

A year and half ago K went to a birthday party where they made fairy wands.  Cute wooden flat butterflies glued to a dowel and they painted them and decorated them with gem stickers.  Maressa had taken a fancy to it.   So of course there is fighting over the one wand all the time.  So for a while now I had been promising we would make some fairy wands.

I got supplies I already had on hand.  Some wooden dowels, wood balls with big pre-drilled holes and acrylic paints.  I had the girls paint both the sticks and balls with the paints.  Btw, mini cupcake liners make wonderful paint cups.

Since I was using what was on hand, the holes in the balls where way too big for the diameter of the dowels.  To fix that I glued and wrapped a bit of tissue wrapping paper on the ends of the dowels once the paint was dry.  Just enough for a tight fit for the balls.  I pushed the balls over the tissue paper on the every end of the dowel.  Then we painted over the balls with mod podge glue and glittered them.  Then I coated the whole wand with clear acrylic spray to keep the glitter from shedding. Once they were dry we glued little paper flowers (I got them a while back at the Target dollar spot) at the top where there was a hole in the top of the ball. Once that was all done and dry we simply tied some pretty ribbons to the underside of the ball.

This project is good and bad depending on your child's patience.  It required layers that had to dry.  This is good for the child who wants to always be crafting (like my 6 yr old Kalla) in that there was something to work on for several days.  But kinda hard on the I-want-the-end-product now crowd.  ;)  Of course you can pre paint this project and use it as a party craft to decorate them.

Regardless the girls enjoyed making these together.  Oh and they actually use them to zap each other.  Yep, Dora princess movie.  ;)

Wednesday, June 16, 2010

A Few of my Favorite Tips for Traveling with kids

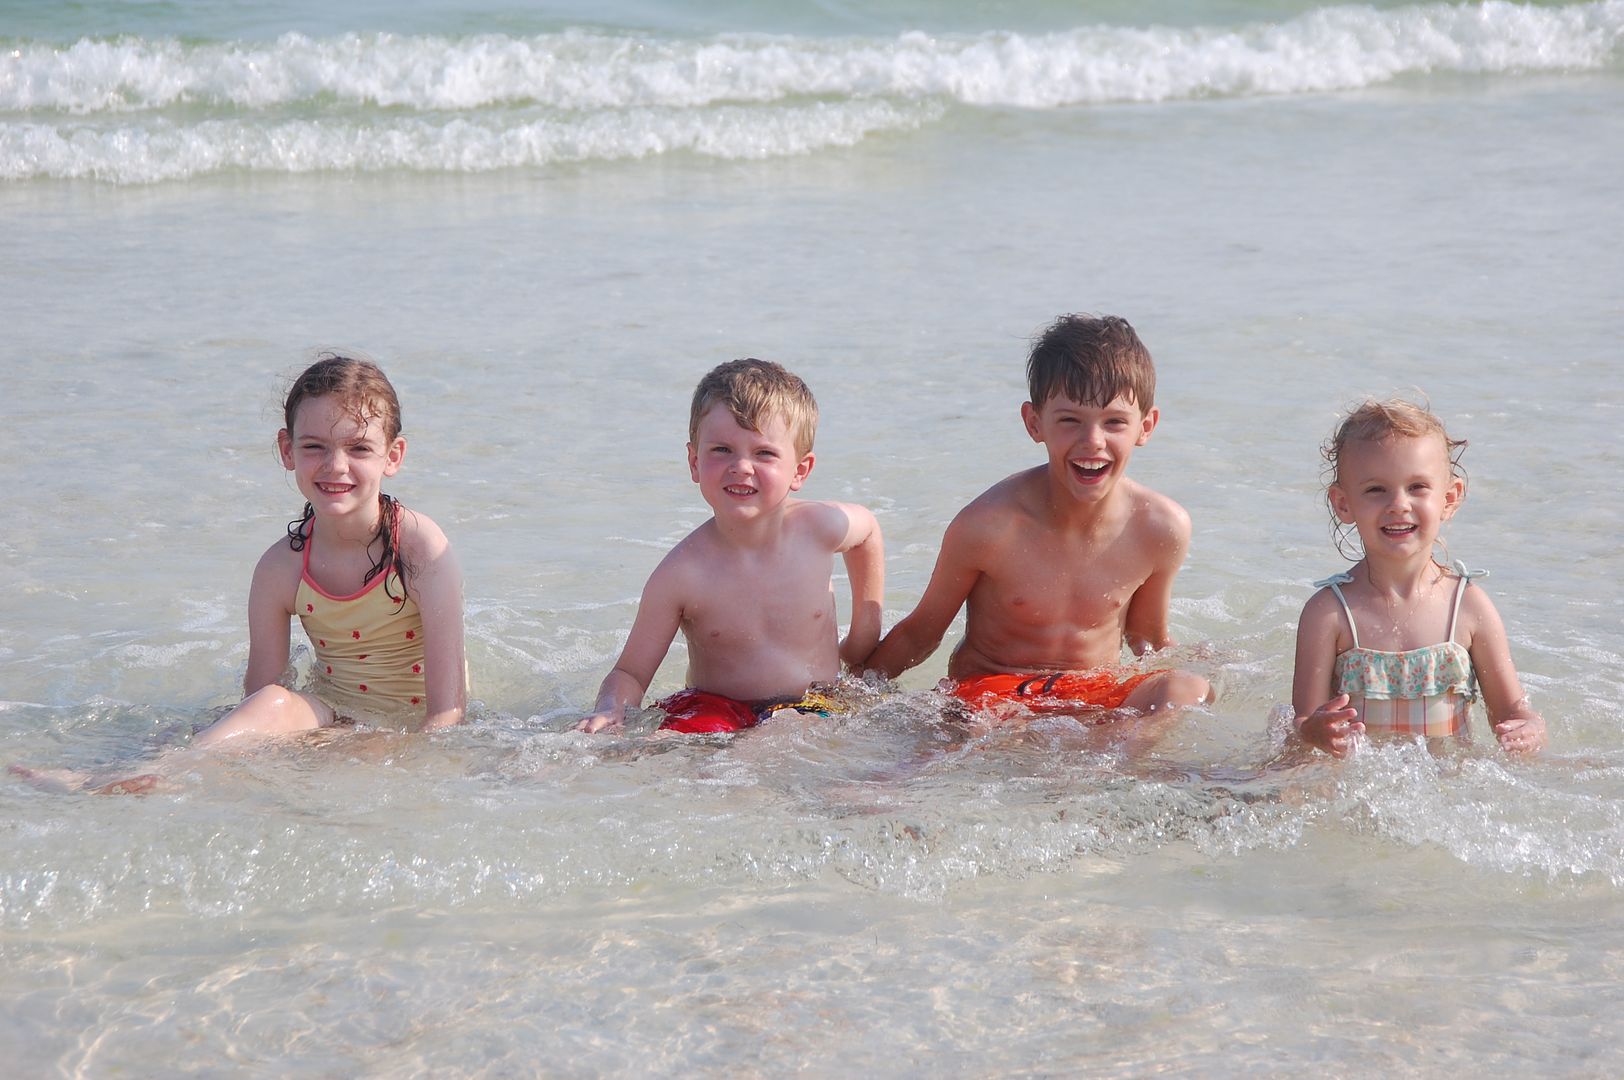
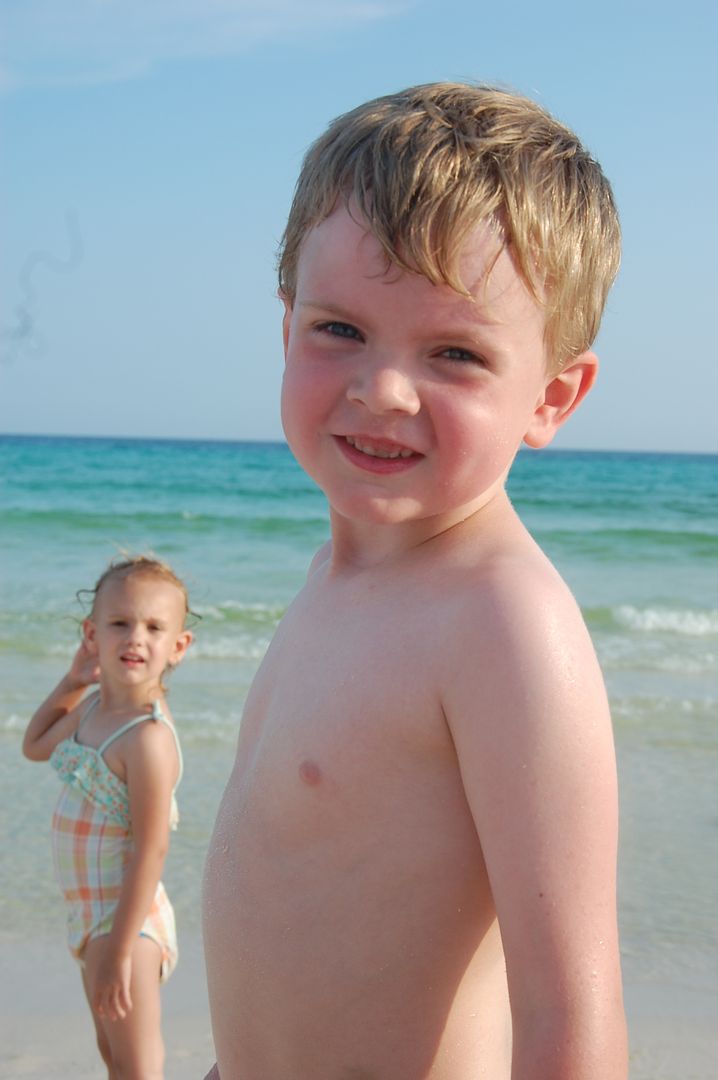
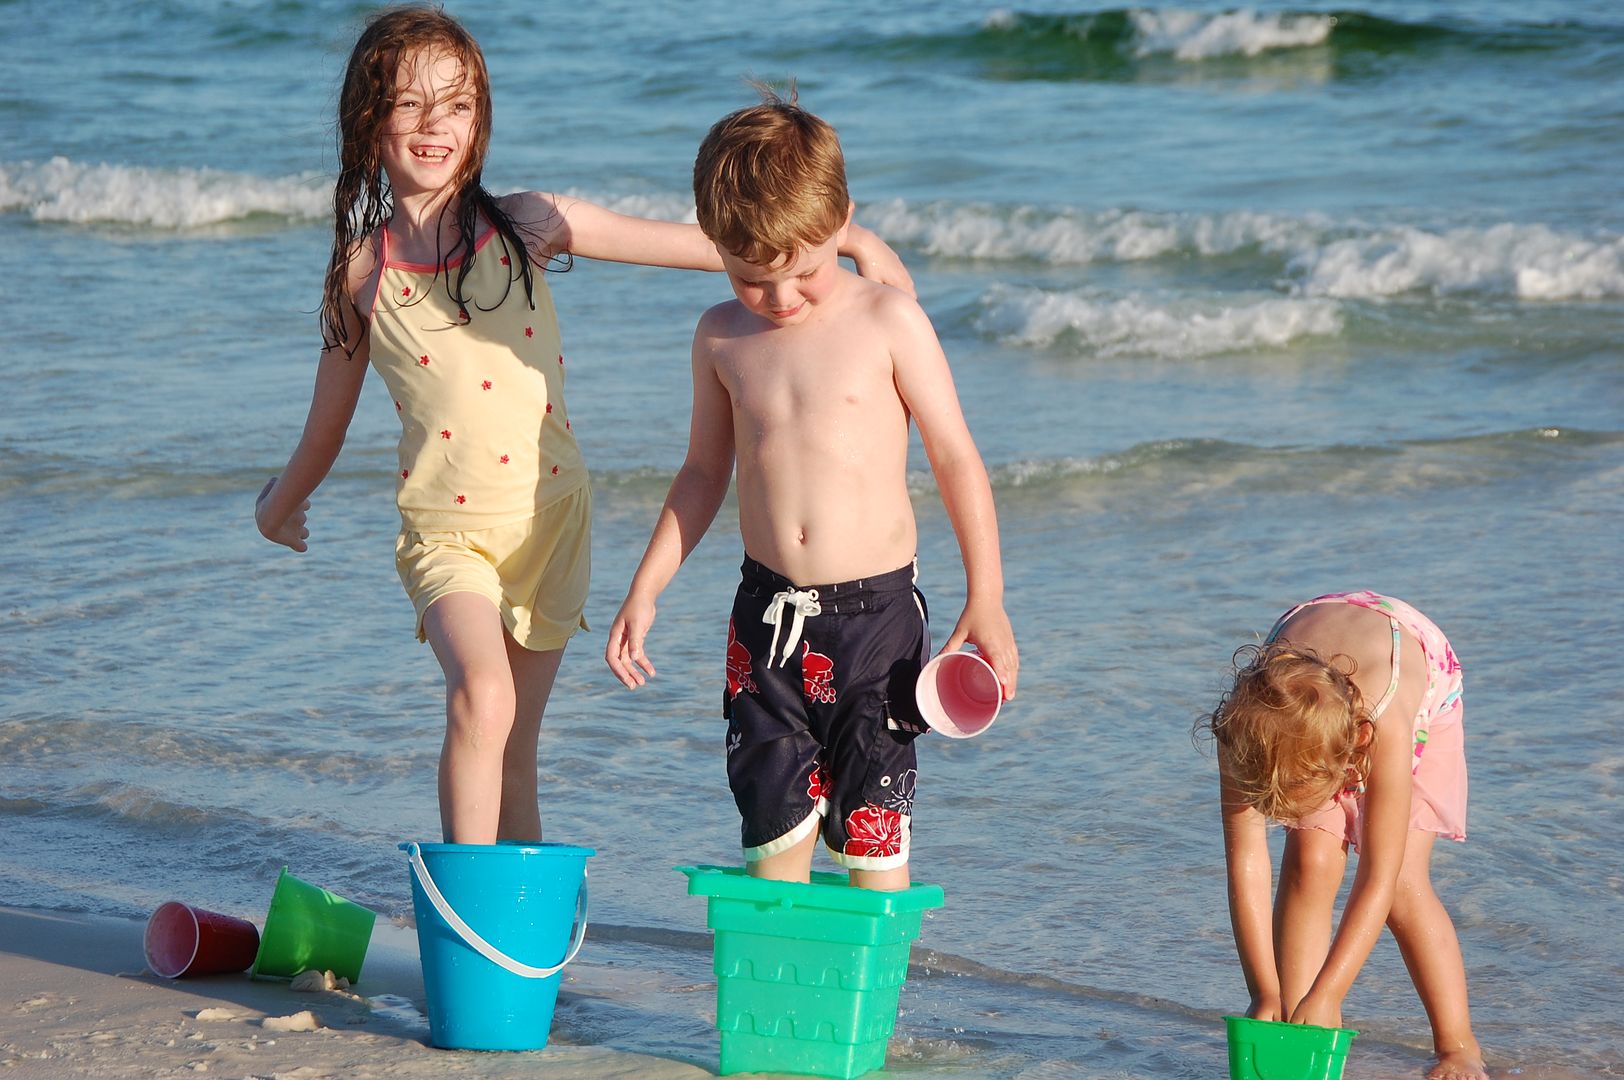
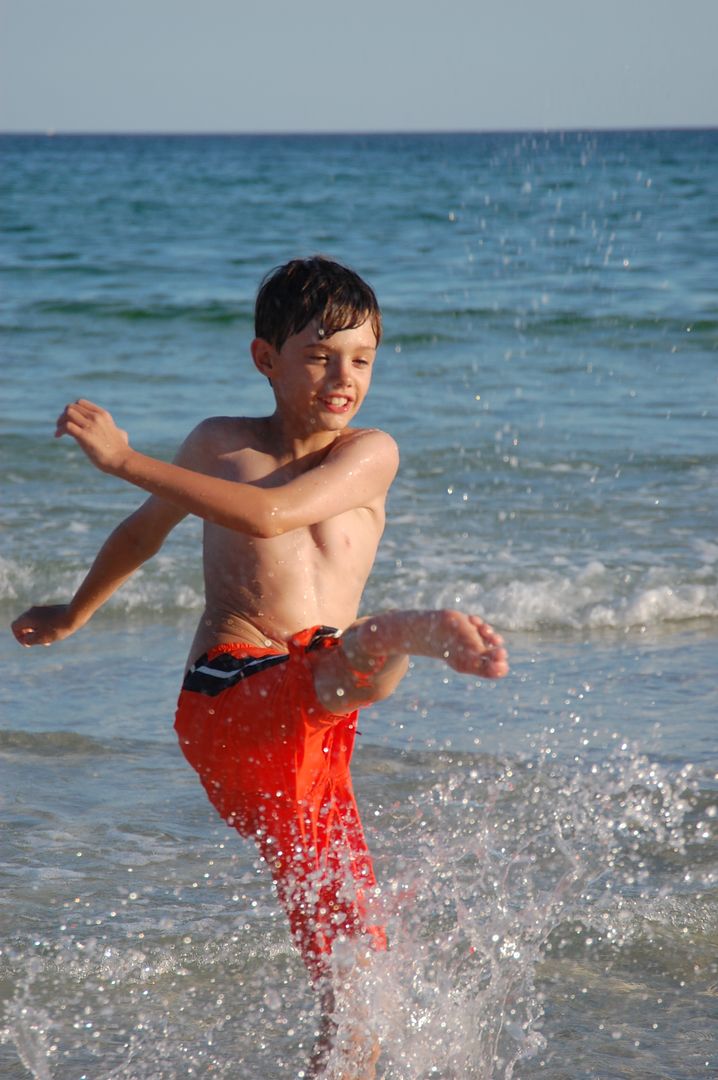
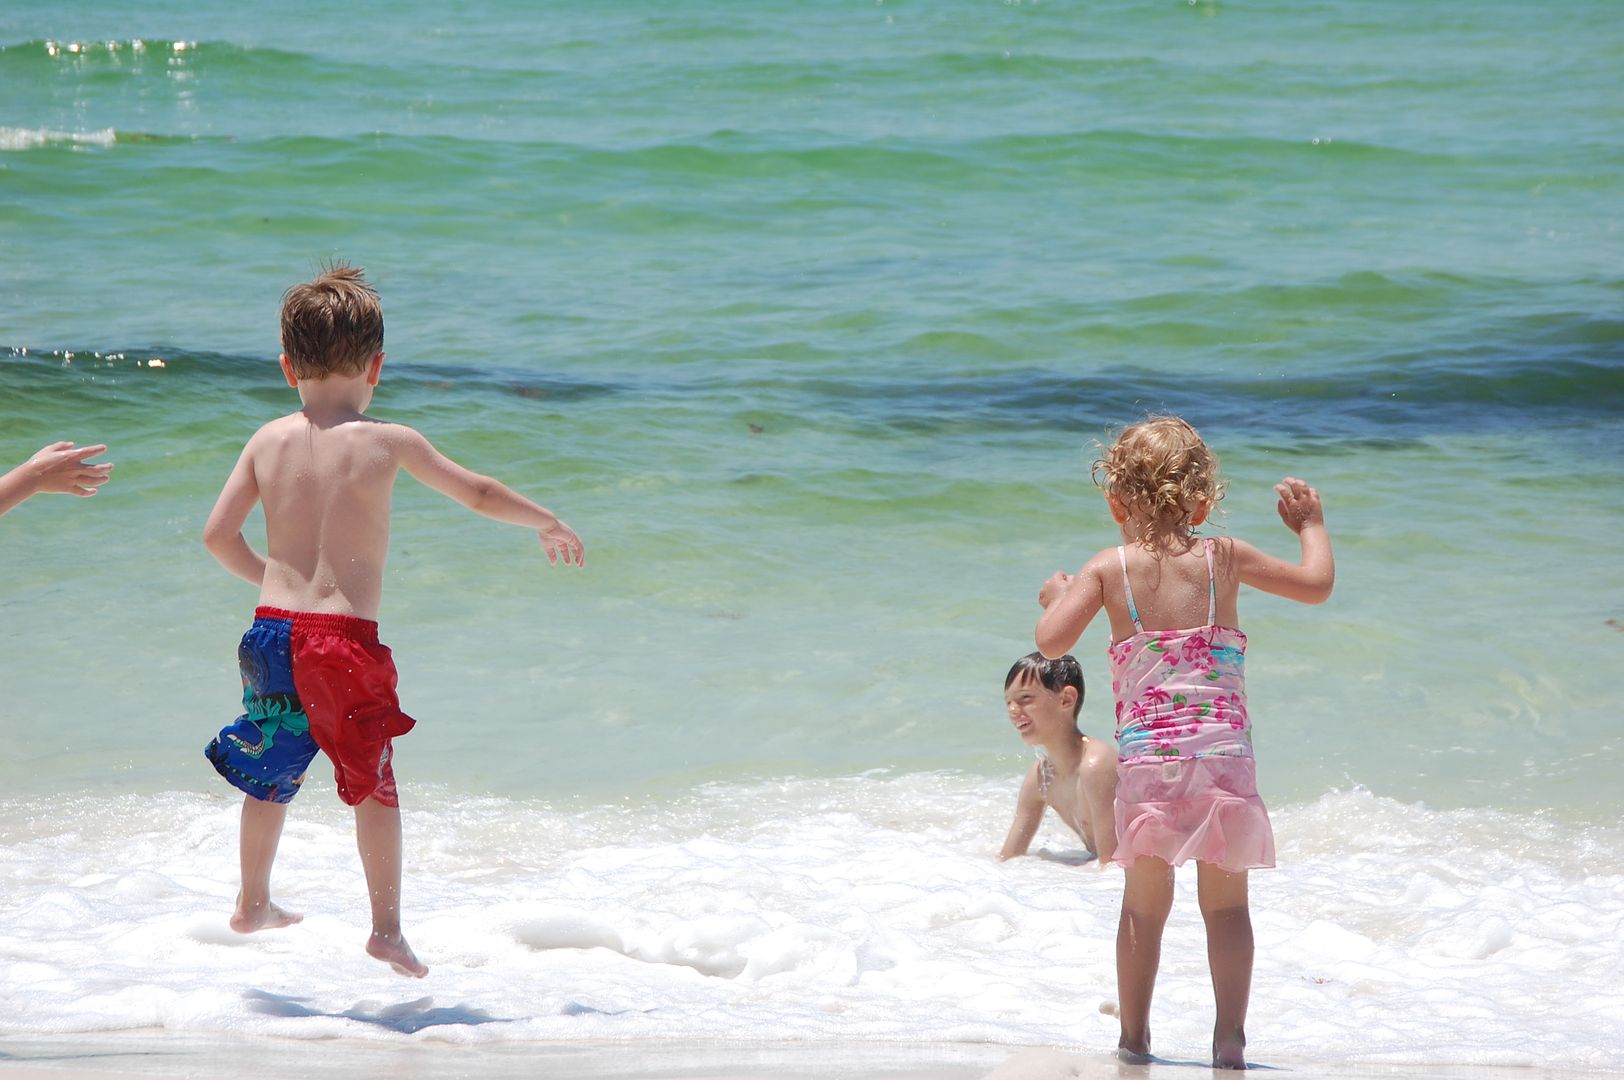
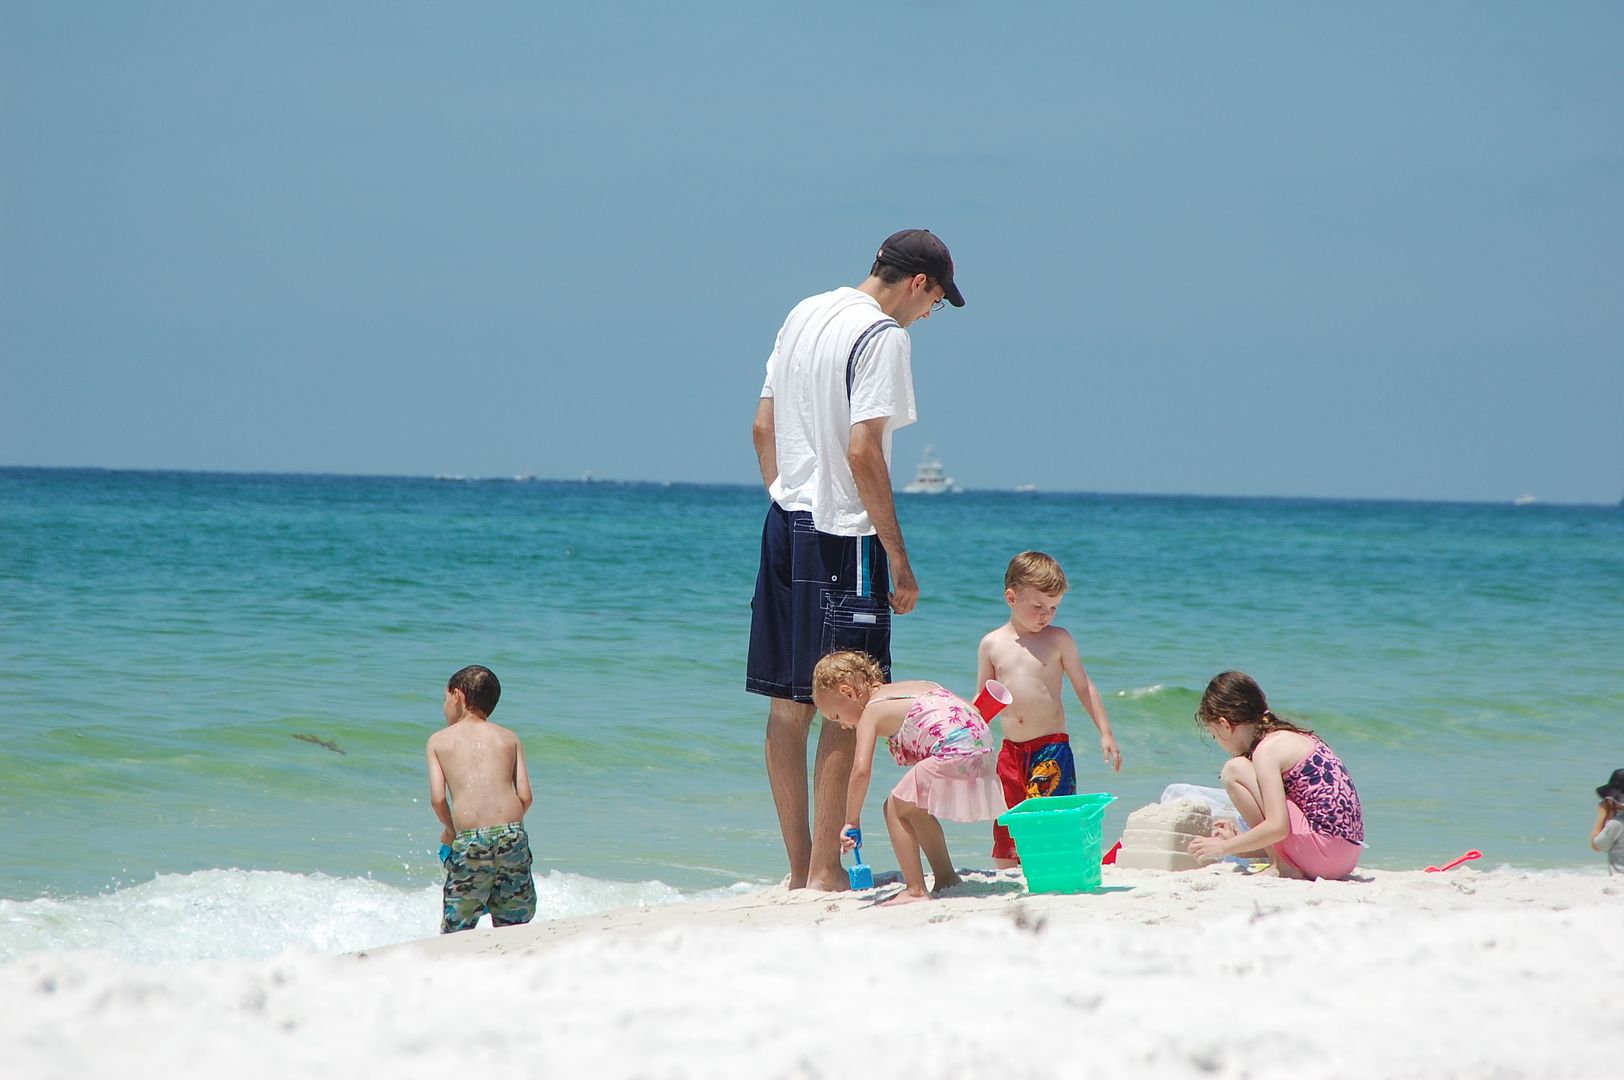
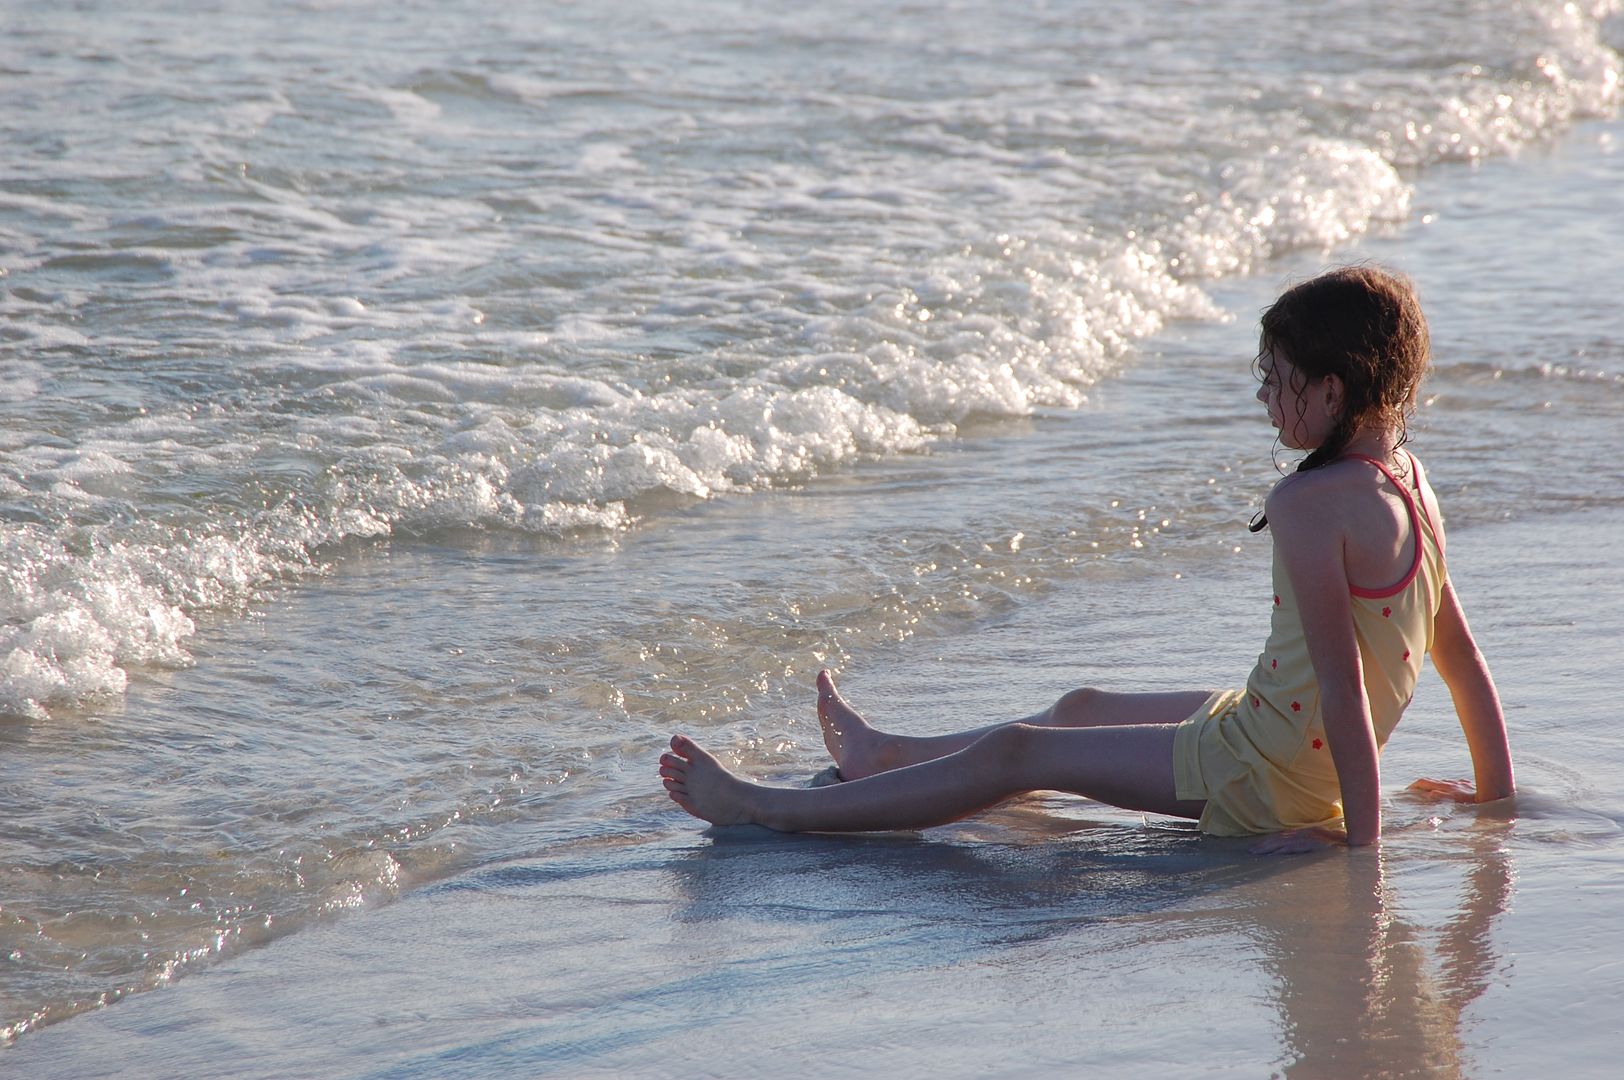
We just got back from our lil family vacation to the beach.  We went to Destin and it was just beautiful.  I really hate to think what it will be like when the oil will hit these gorgeous white beaches.

We only travel a few times a year in the car with the kids (usually to visit our families).  They aren't the hardiest of travelers.  We learned the very hard way that our oldest gets car sick very easily.  And Kalla gets a bit uncomfortable too back in the third row.  So we always have to start off with some Dramamine (of which is either a swallowing or chewing pill...both of which Z can't stand, but is getting more tolerant as he gets older).  

But to keep from the never ending 'when do we get there??' I keep a few tricks up my sleeve.  And yes we watch a few videos here and there which is a giant help.  

But this time around I gave them all a little notebook to keep.  Then every half hour if there was NOT any fighting, whining, complaining, crying or 'when are we there's' they got a sticker.  And believe it or not, just marking the half hour seems to make the trip go quick.  But of course there are rewards.  This time was for every 5 stickers they received a silly band.

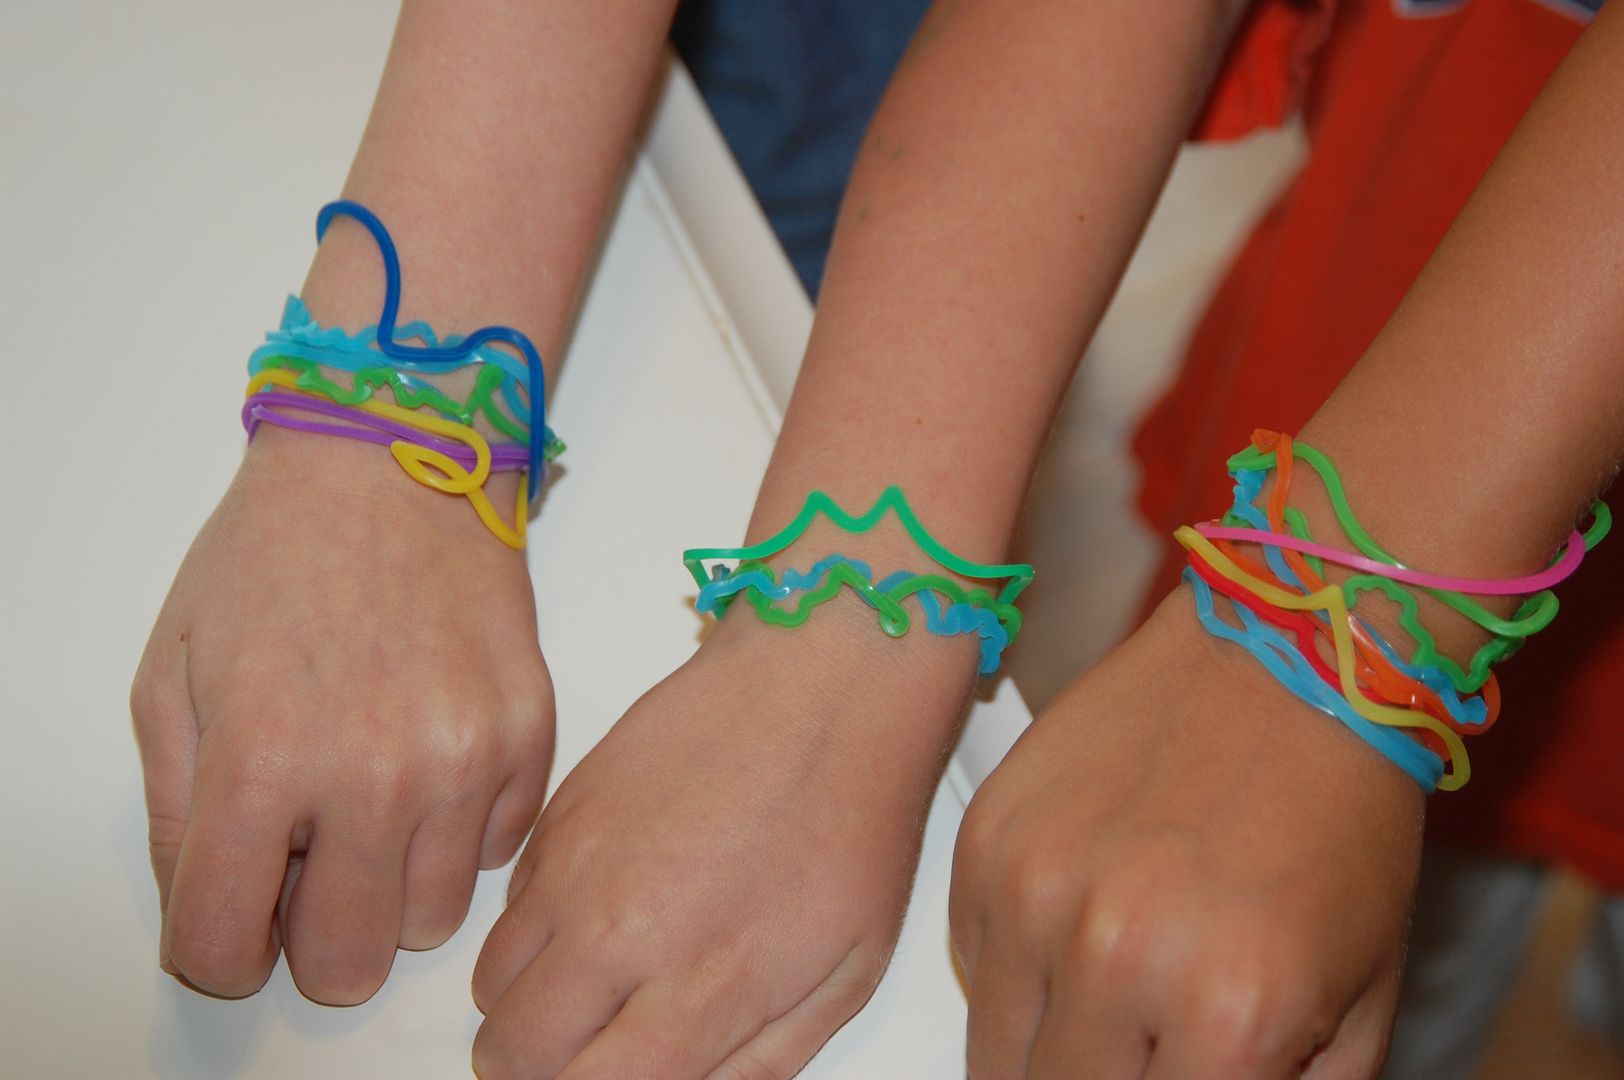
I brought a couple of packages of silly bandz.  When they received one, they played with them, wore them and stuck them on the windows.  lol  Not sure if this fad has reached your area or not, but those who have know all about them if you have kids in elementary school.  They hit hard here in northern AL last year.

Now this method of marking the 30 mins and rewards works really well for my four.  Z even says it helps it go faster.  Another way I've done this before was I made key chains for the kids using a key ring and plastic string and various pony beads.  I tied a long string to the key ring and added their names and tied a knot to hold it on.  Every 30 mins I gave them a fun pony bead to add if they earned it.  For every 5 beads I let them have a dum dum sucker.  That one I used on a 11 hour trip and it worked like magic!  ;)

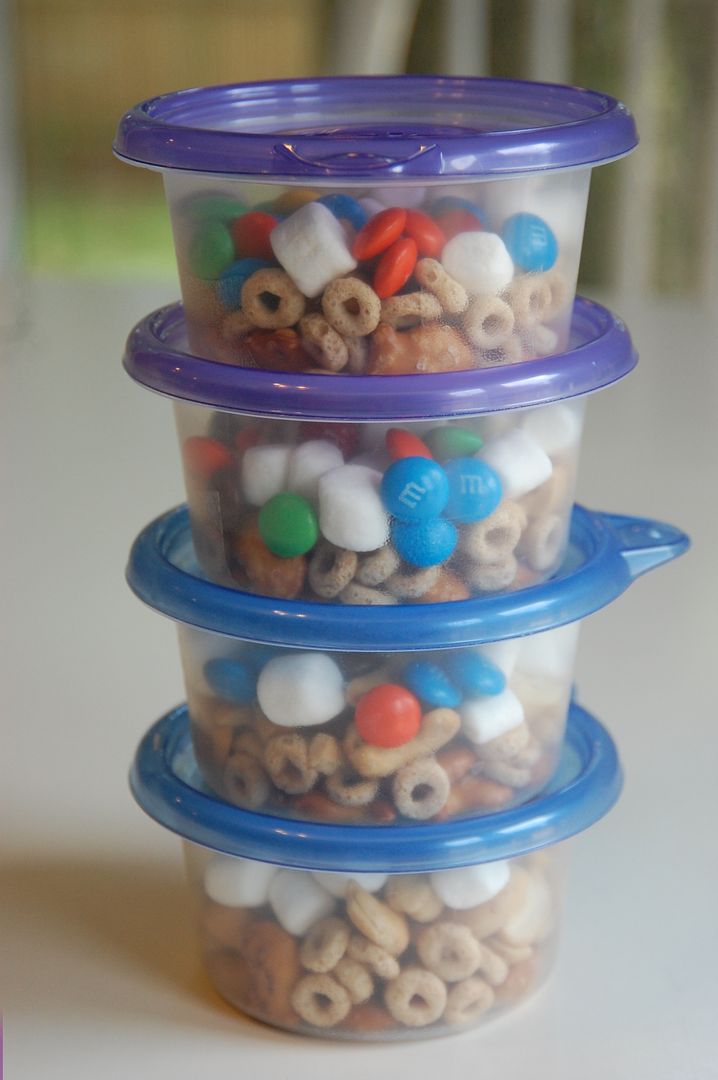
Something else I like to do to make road trips special is I make a special trail mix snack.  Simply just some dry snacks mixed together in their own little bowls.  This time I used pretzel goldfish, cheerios, unsalted cashews, mini marshmallows and M&Ms.


As far as actually being on vacation away from all their precious toys and not wanting to pack any of them I just brought a few things for them all to share that all would enjoy.
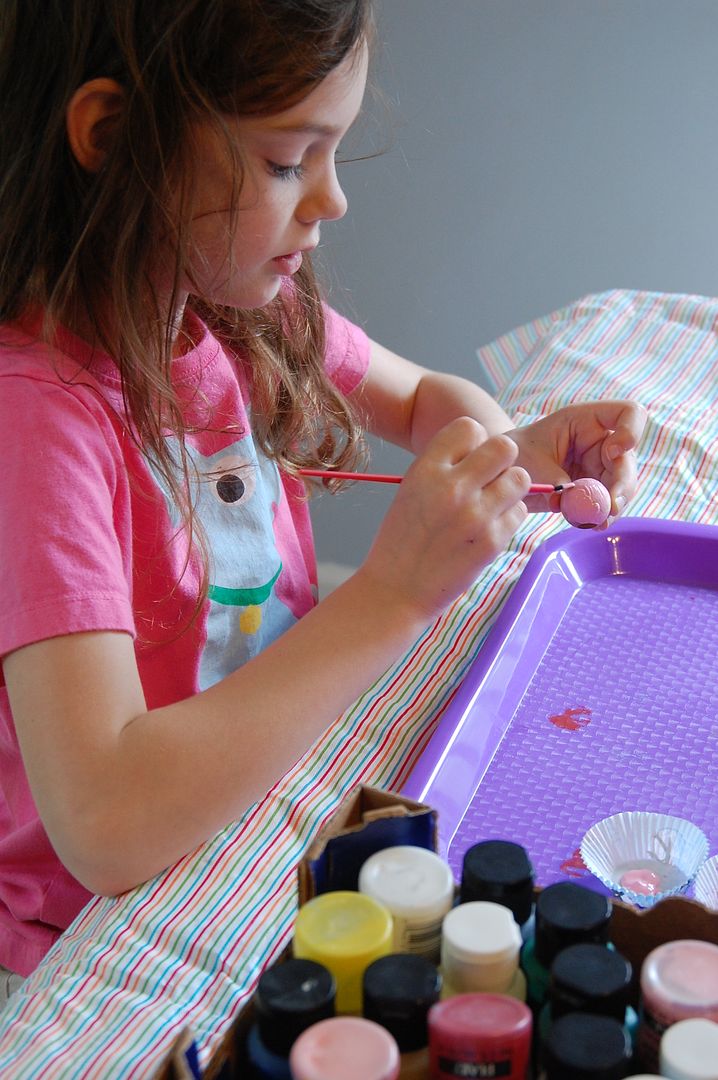
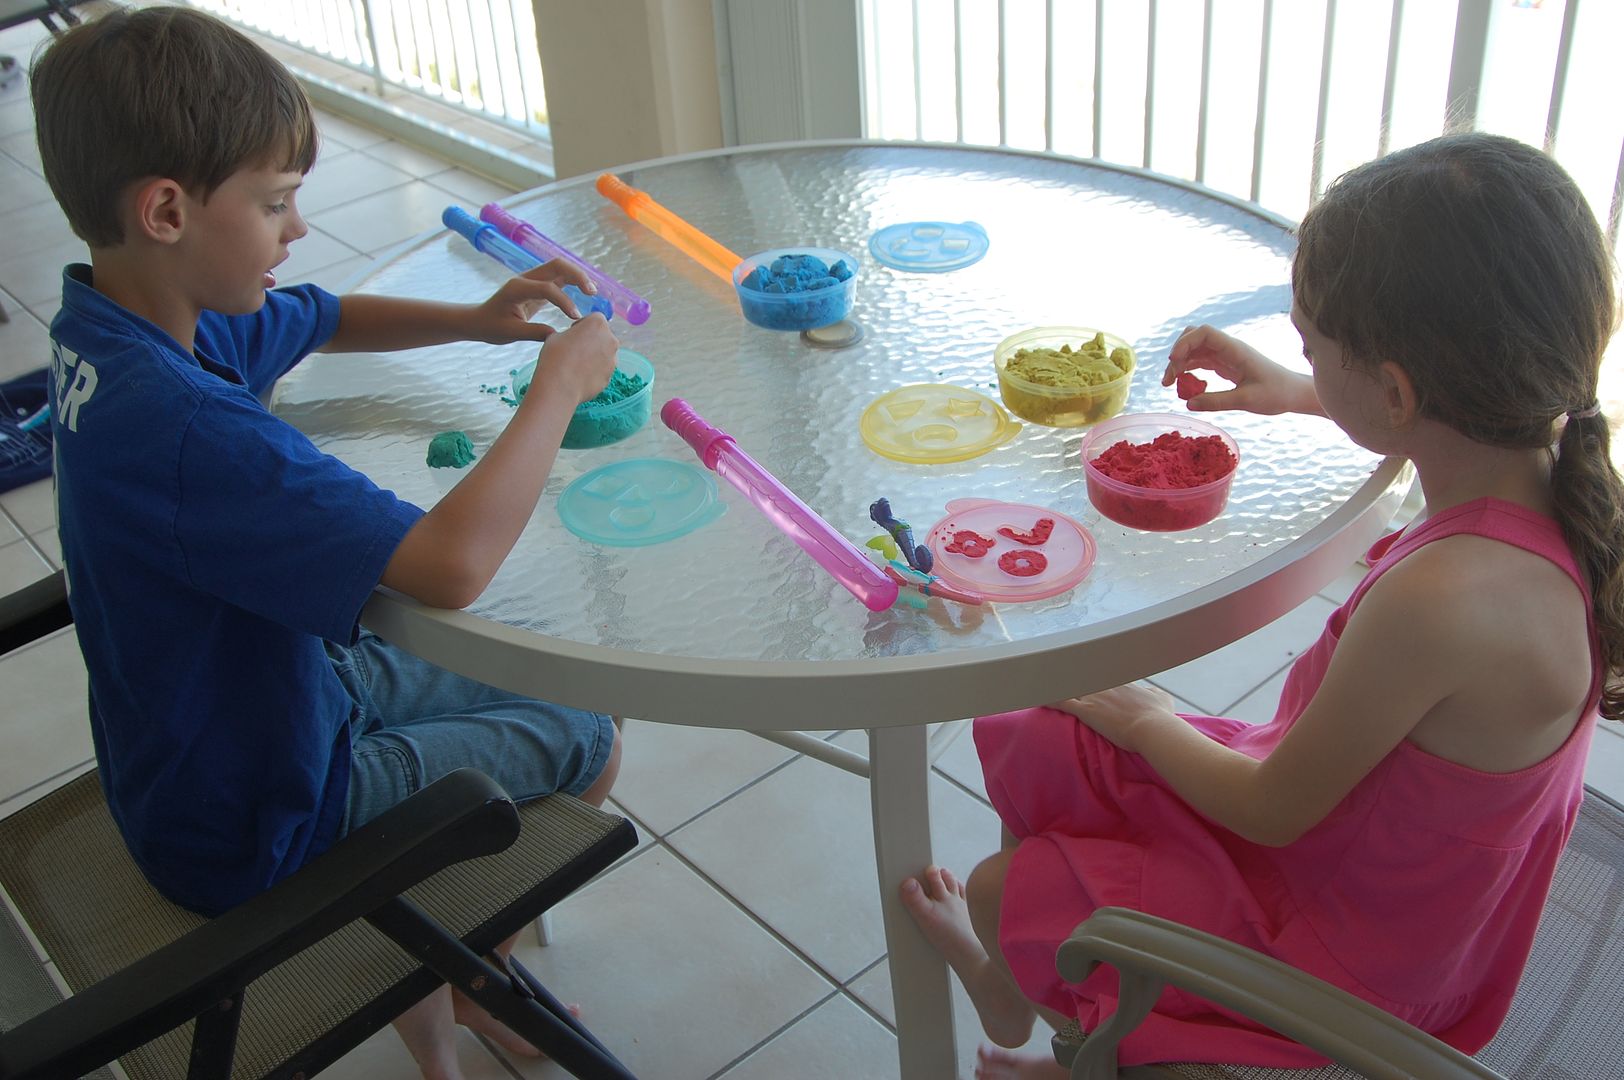
This moon sand really saved us during down times (when the little kids were napping) and impatient mornings...they wake at 6am every morning so by 7am they wanted to go swimming!  So during those times we played moon sand and blew bubbles off the balcony.  :)

But then I was scolded when they ran out of white paper quickly with the small stash we brought for the car.  So one of the grocery trips we picked up a ream of copy paper and they were happy as clams making all kinds of fun beach scenes.

Anyway, thought I would share some things that worked for us.  Anybody else have some road trips lined up this summer??  For us the rest of the summer will be people coming to us, so that was it for us for a while!

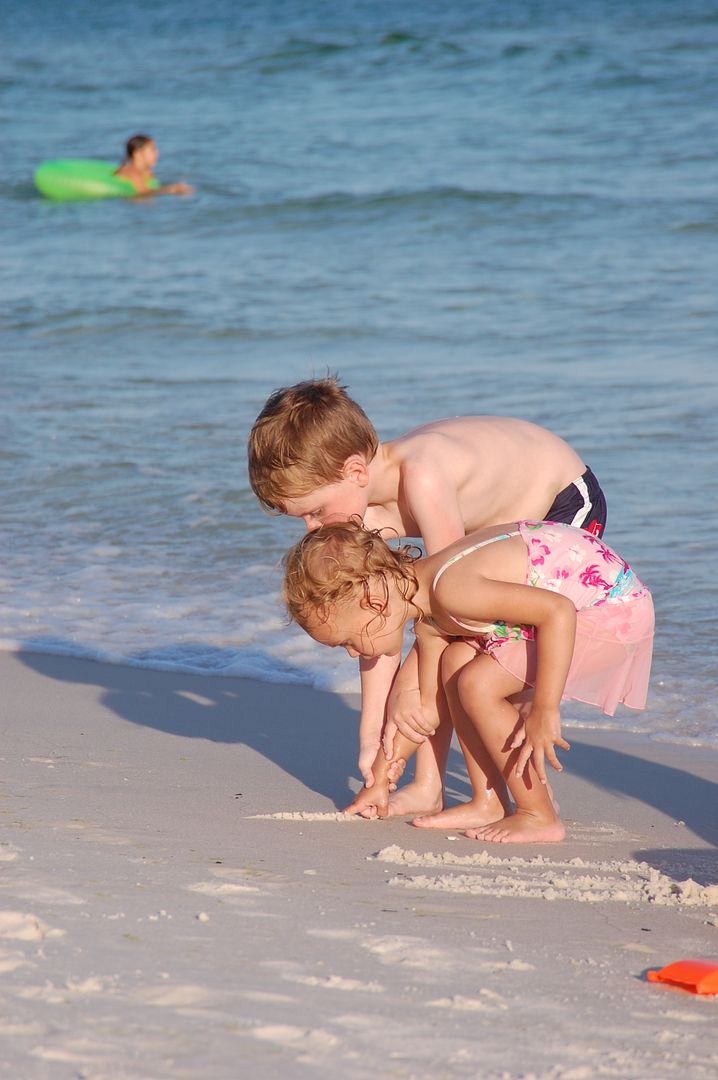
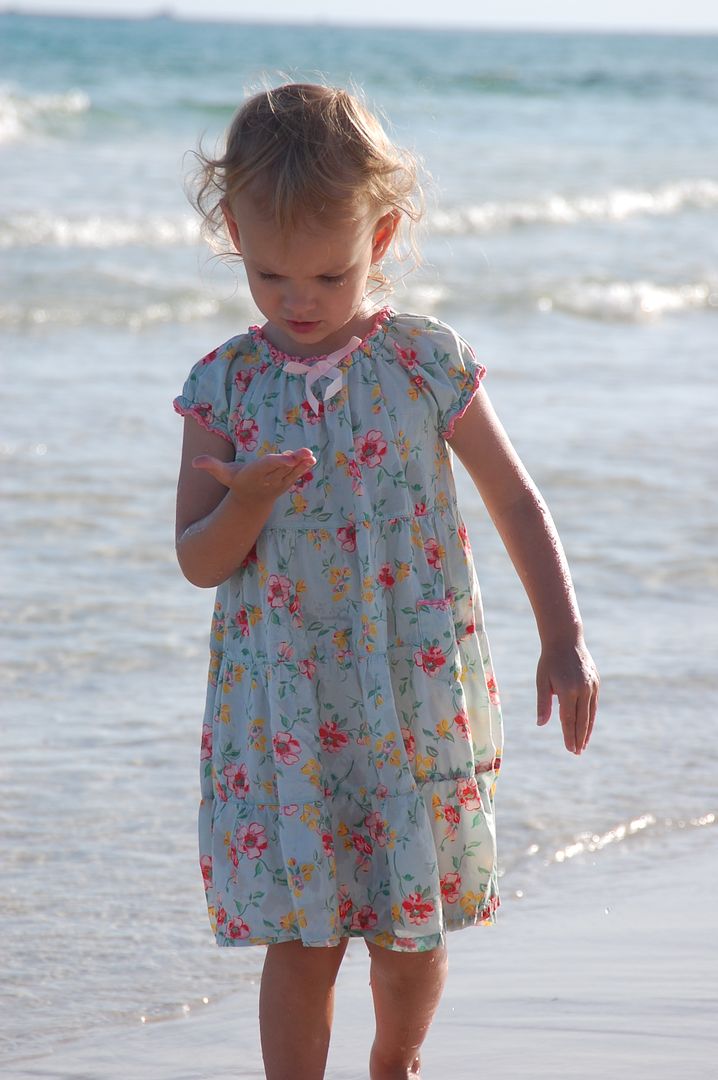
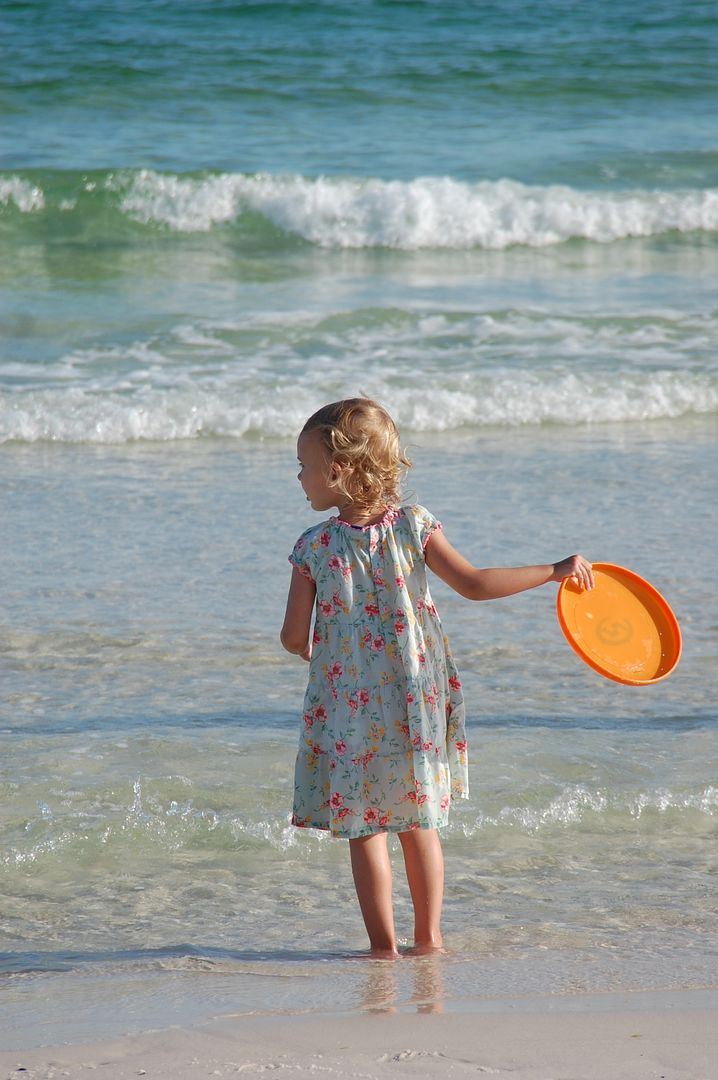
And........you know I have a share just a few of the 265 pics I took in 3 days...lol  :)


LinkWithin

Related Posts with Thumbnails