

Our kitchen/fridge seems to be our family's main hub. And anything we want/need to remember/need to not lose goes on the fridge. So it has gotten pretty cluttered and messy looking. I used to have a small framed chalkboard on my fridge for years for making grocery lists, but it fell and broke about a year ago. So since I've almost finished making over the kitchen, I decided to make some cute stuff for the fridge to coordinate my colors. I got a small memo pad and added scrapbooking paper and a strip of magnet to the top. I'm working on making a magnet clip for every member of the family (I need to run get some more wood letters as I don't have a 'K') and I made a little catch all for coupons about to expire or whatever. How to's for all are further down in the post.
 I love the clip type magnets to hold our stuff. Here is Z's clip holding his bible class stuff we need to remember to do. We also use it during the school year for permission slips, party invites, etc. Now instead of the few metal ones I've had, everyone will have their very own.
So here's how I made it all:
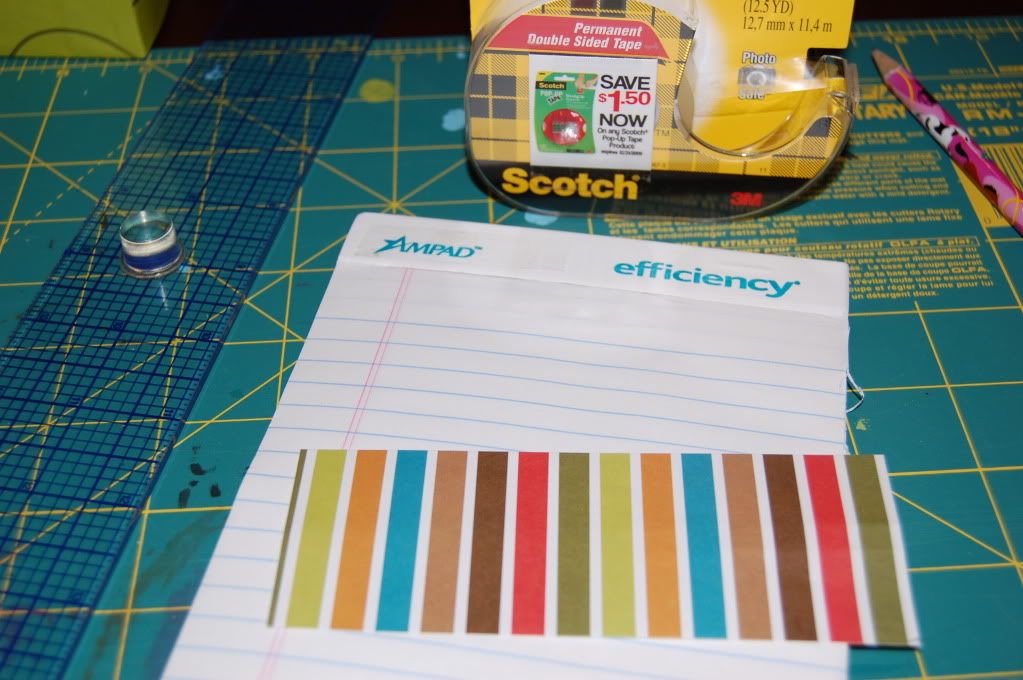 Simply bought a package of pads and used a strip of paper and double stick tape to cover the top.
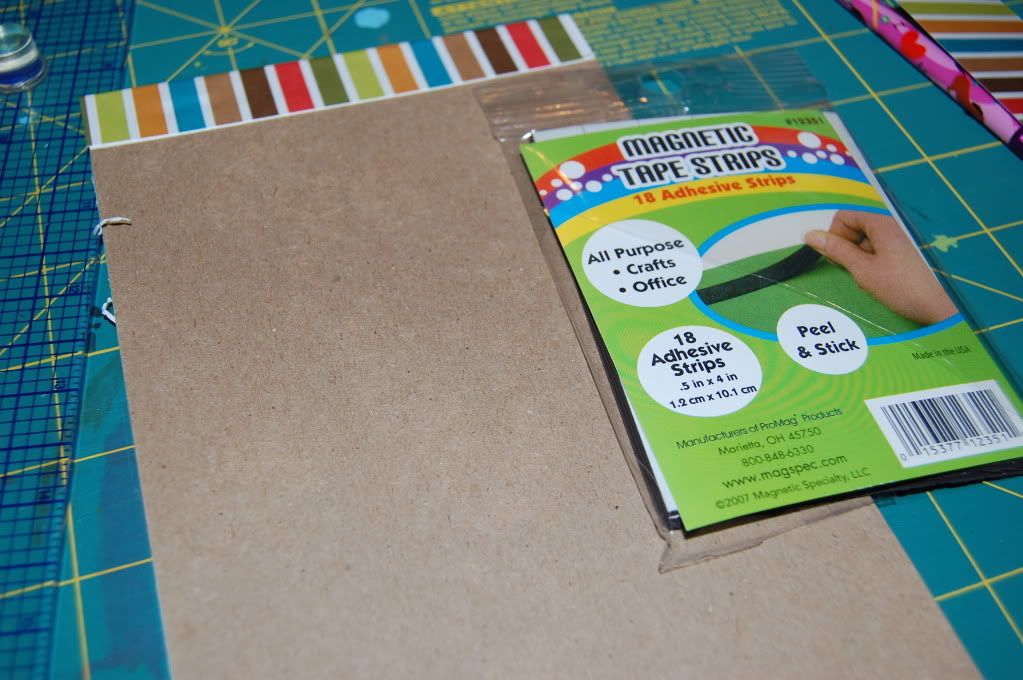 Added a strip magnet to the top back. I got this package of magnetic tape strips at Walmart.
To make personalized clips I used wood clothes pins and small wood letters. I got a bag of wood letters at Hobby Lobby. I covered the front of the letter with mod podge and placed on the back of my paper. I used a sharp blade to cut around the edges.
 Once the extra paper was cut off, I covered the top of the letter with glossy mod podge. I used the same technique to cover the flat front of the clothes pins as well with a coordinating paper.
 The magnet strips were just a little too wide for the clothes pin, so I made it thinner by scoring down the side and broke a piece off the magnet. (I later used the skinny piece of magnet to stick to a pen to use with my list).
 To make my little catchall box I used the bottom of a cereal box for the base. I used paper and mod podge to cover it.
 To cover it I found that it was best to cover the inside first. I did the short sides then used one big piece to cover the inside sides and bottom.
  It helps to make folds where the creases will be before gluing it in. You kinda just have to play with the sizes according to the size of your box. I used the 12.8 oz size of Cheerios. To finish it off I cut 3/4" strips of another paper and folded them in half to trim off the top edge of the box (the inside edge of the strips I glued to the inside of the box and then left the outside flap open a little).
Other kitchen crafts:

2 comments:
Very cute! I love to clips...what a great way to stay organized!
Just WOW. Love your ideas!
Post a Comment