
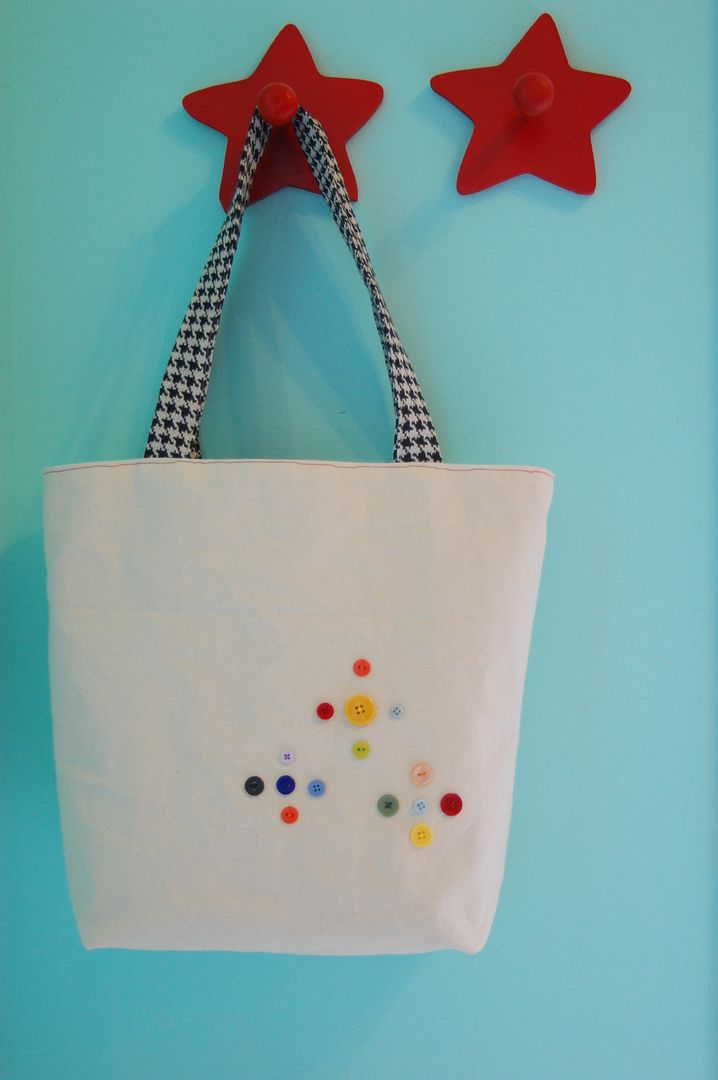
 Make a sturdy tote to carry your crafts and sewing projects in. This project features lining, heavy weight fabrics to avoid using interfacing, easy no-turn straps and specialty pockets to hold your scissors and supplies.
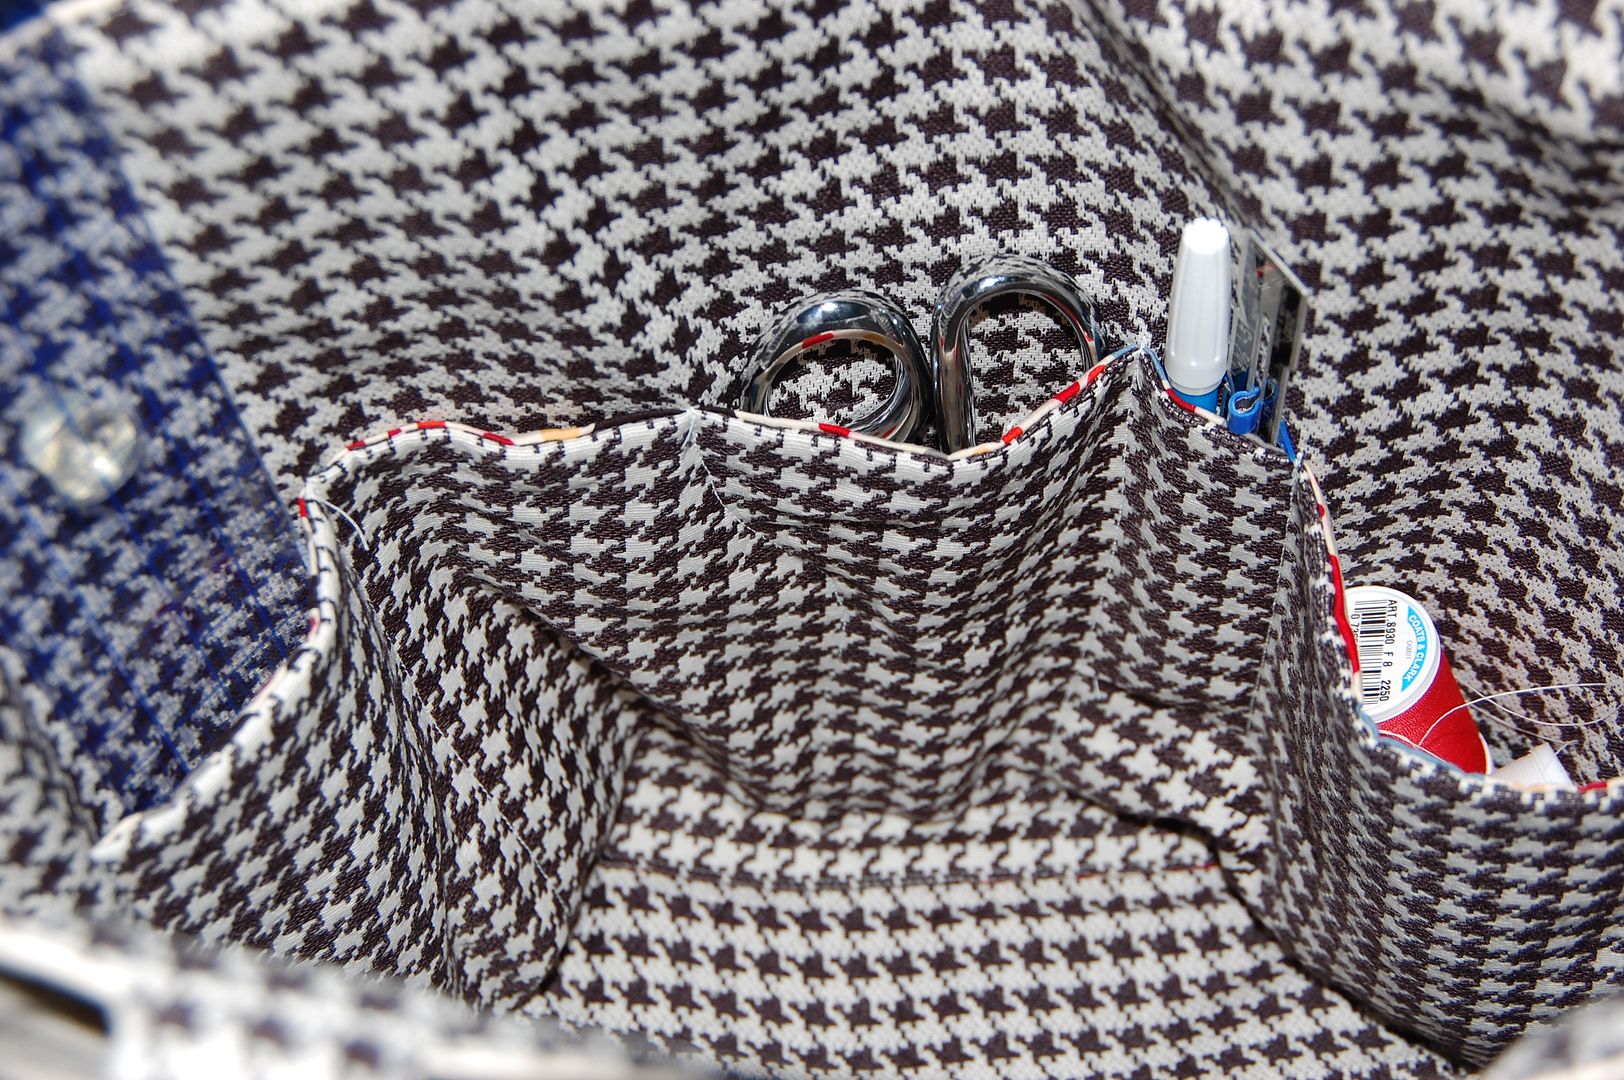
What you need to make this tote is:
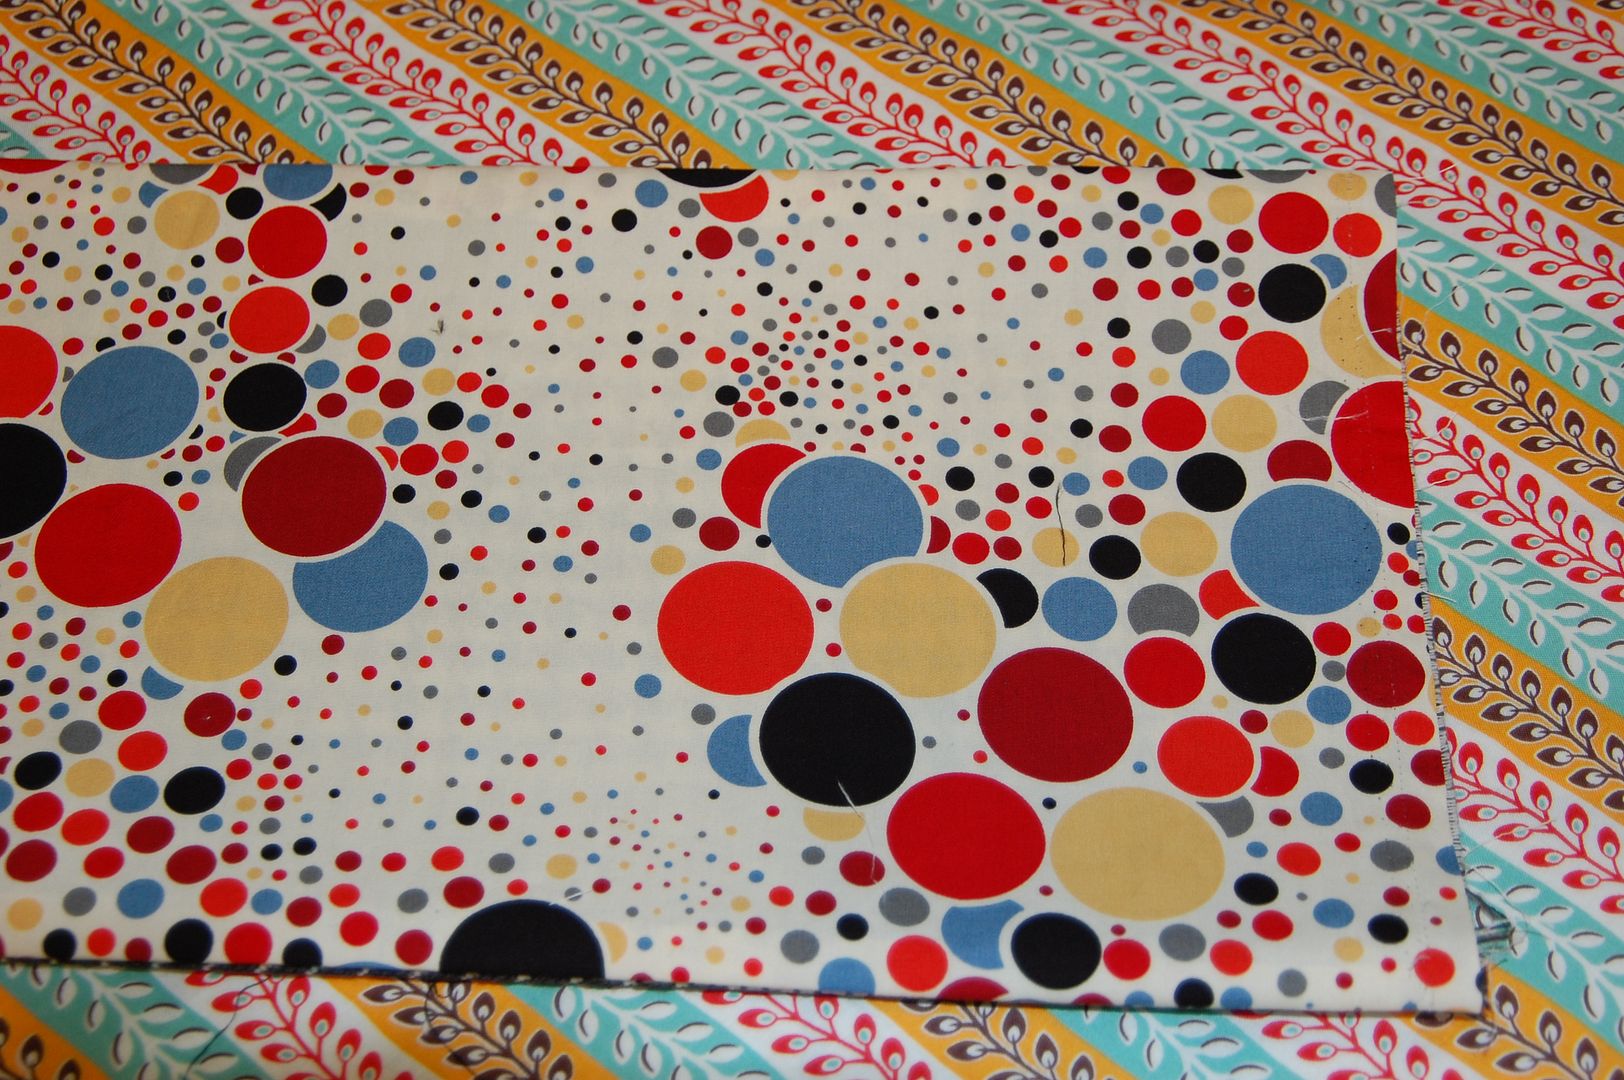
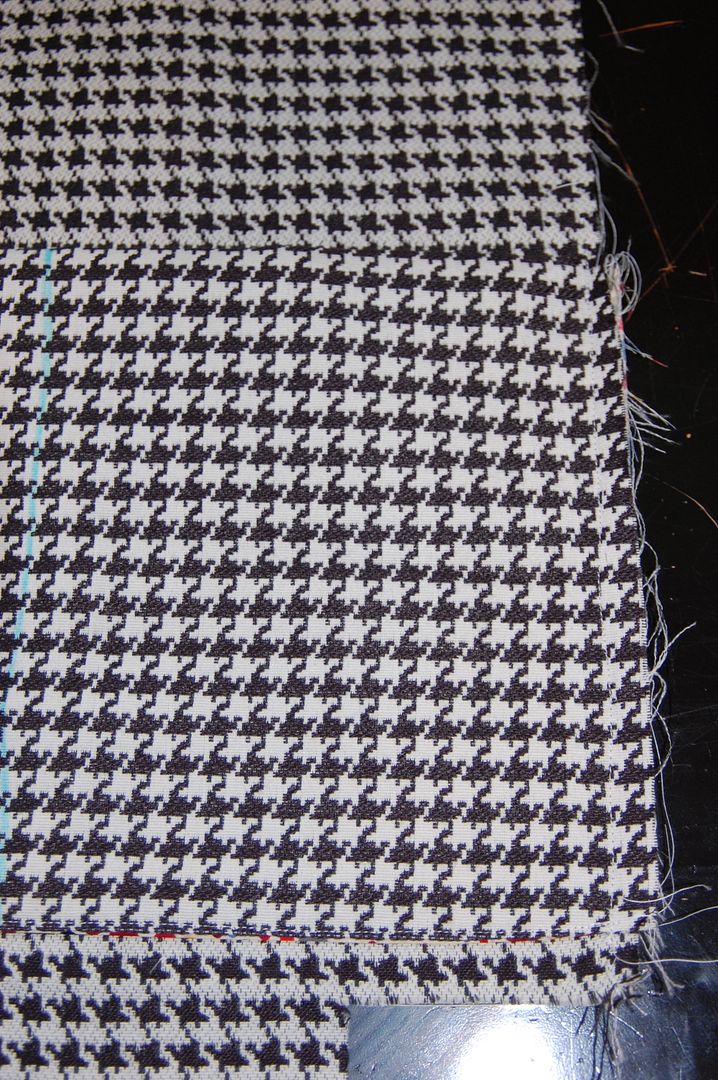
*heavy weight fabrics like canvas, twill, denim or home decorator~combine prints/fabrics for outside, lining and pockets as you wish
*coordinating threads
*soluble marking pen or chalk
Cut:
2 17"x17" for outside
2 17"x17" for lining
2 9"x17" for pockets
2 4"x24" for straps
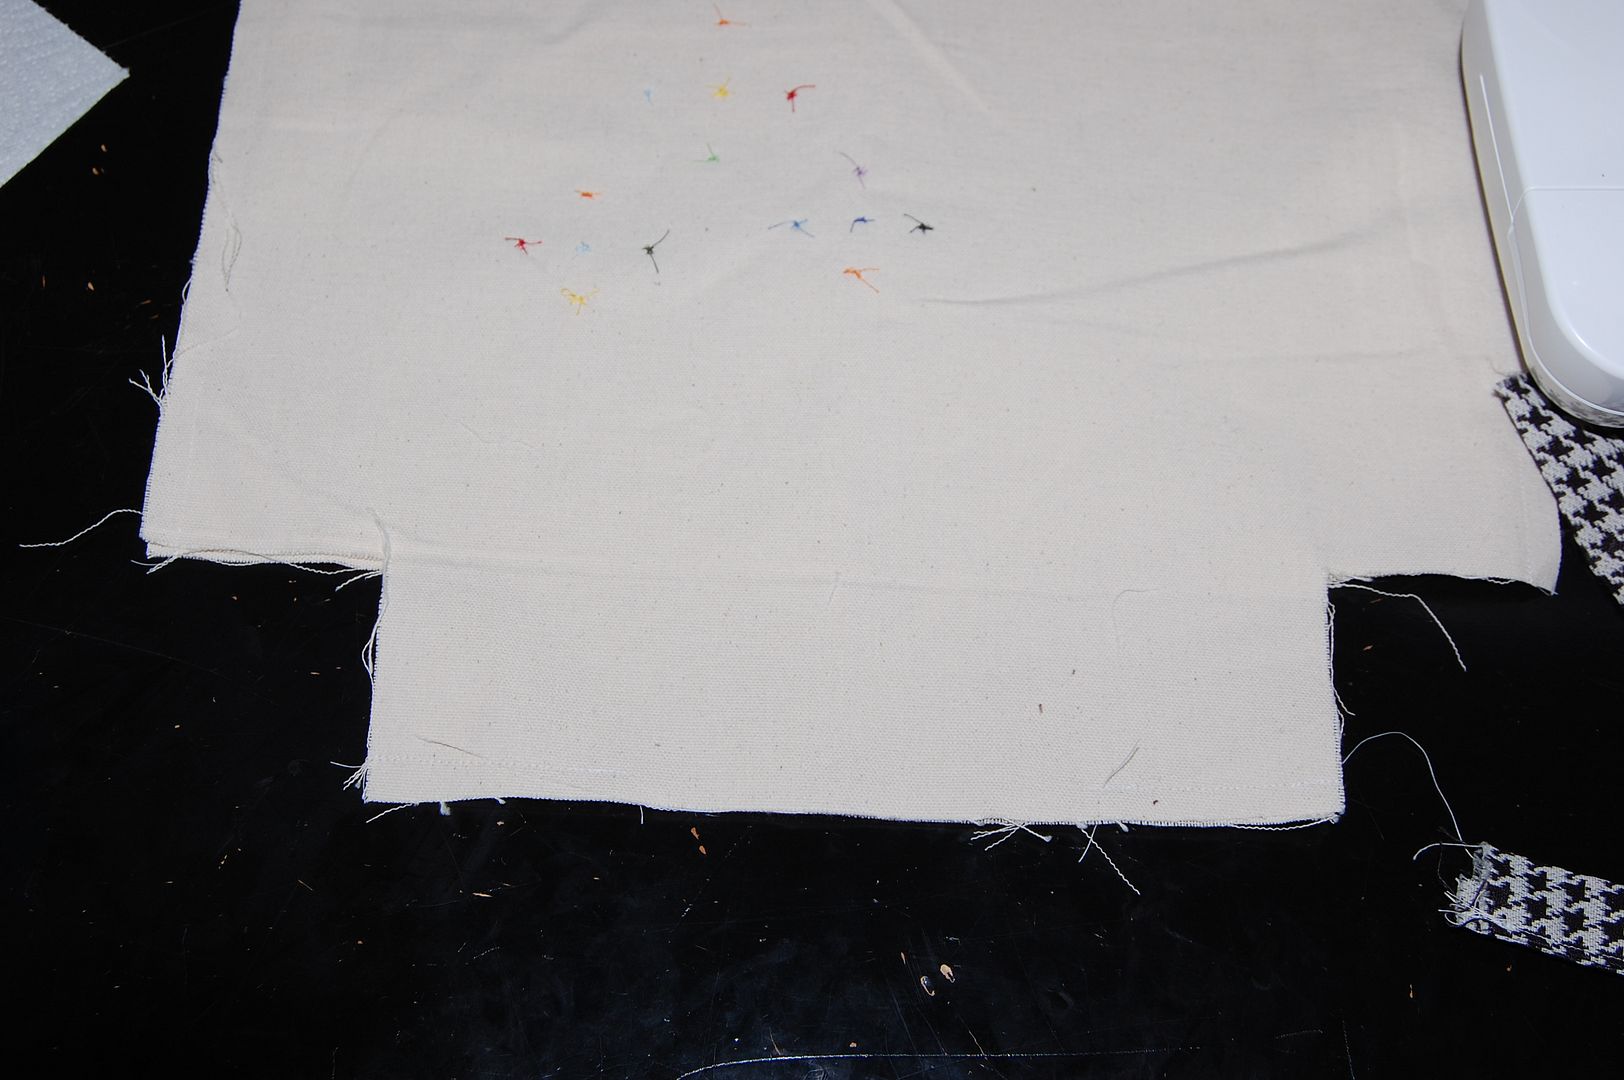 On the 2 bottom corners of the outside and lining pieces cut 3" squares.
If you want to embellish the outside with buttons, embroidery or applique, do that first before sewing together.
Now lay outside pieces right sides together and sew down each side and along the bottom. Do NOT sew along the corner cut outs.
Do not sew the lining together yet. First make your pockets.
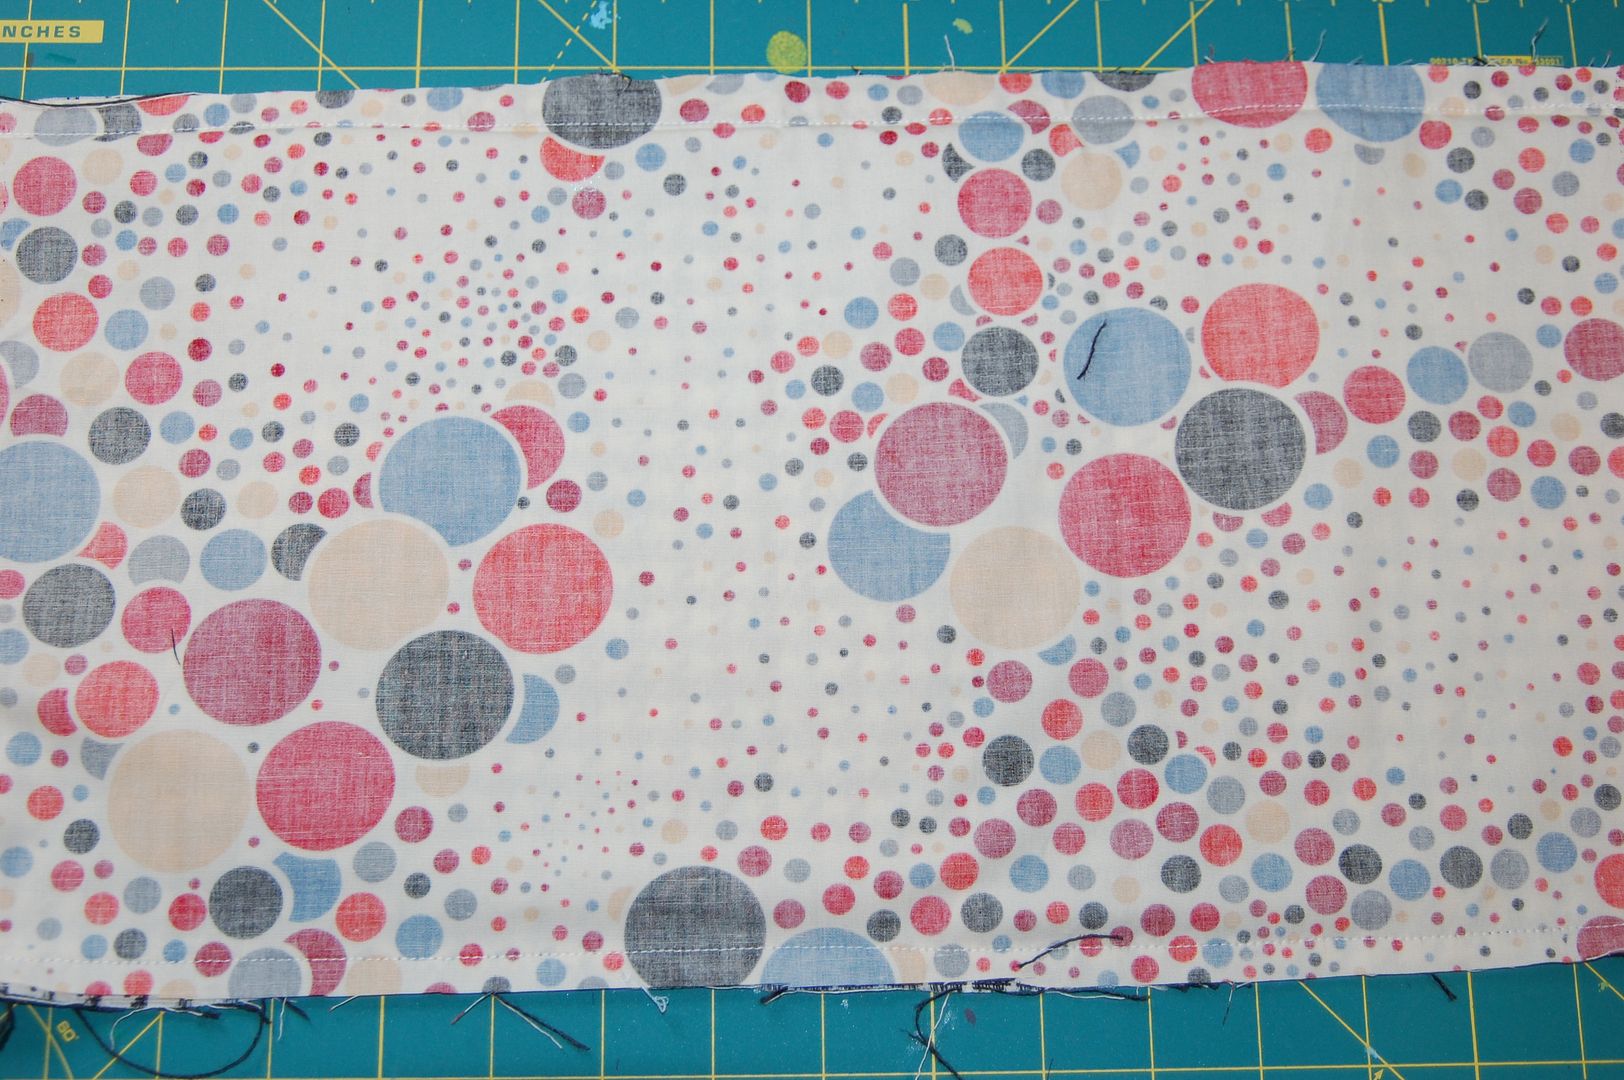
Take your 2 pocket pieces (I used 2 different fabrics so it is easier to see down my pockets since I used a dark, busy print for my lining) and lay right sides together and sew along the long seams.
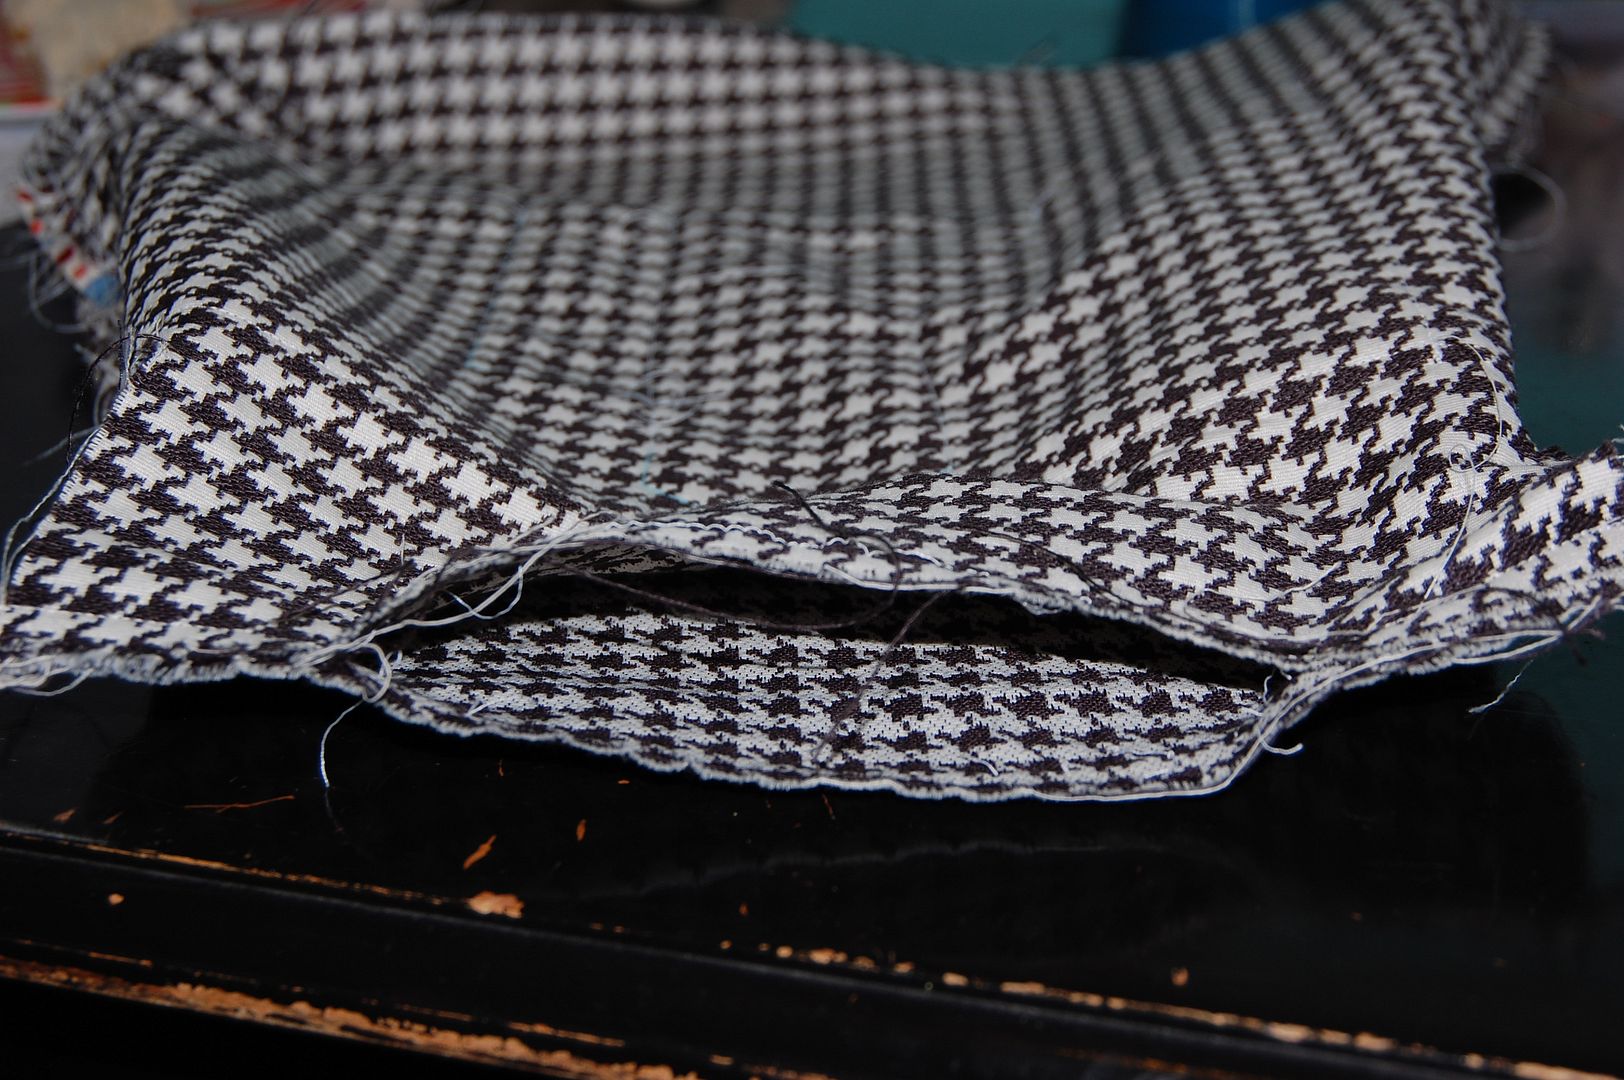
Turn it out and press.
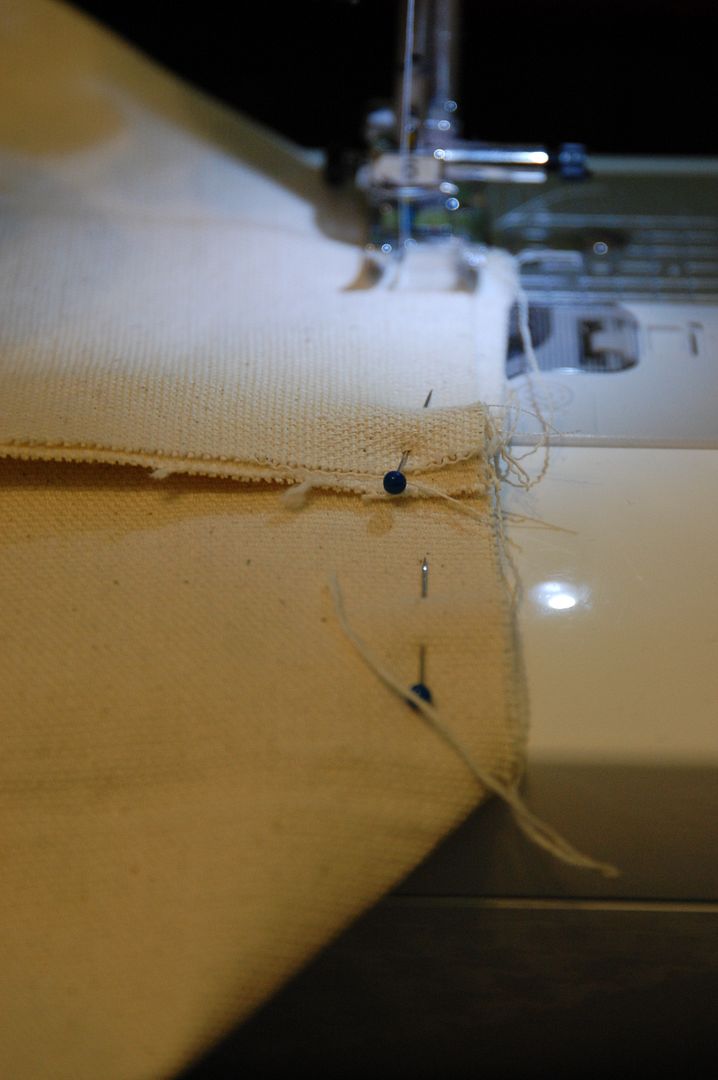
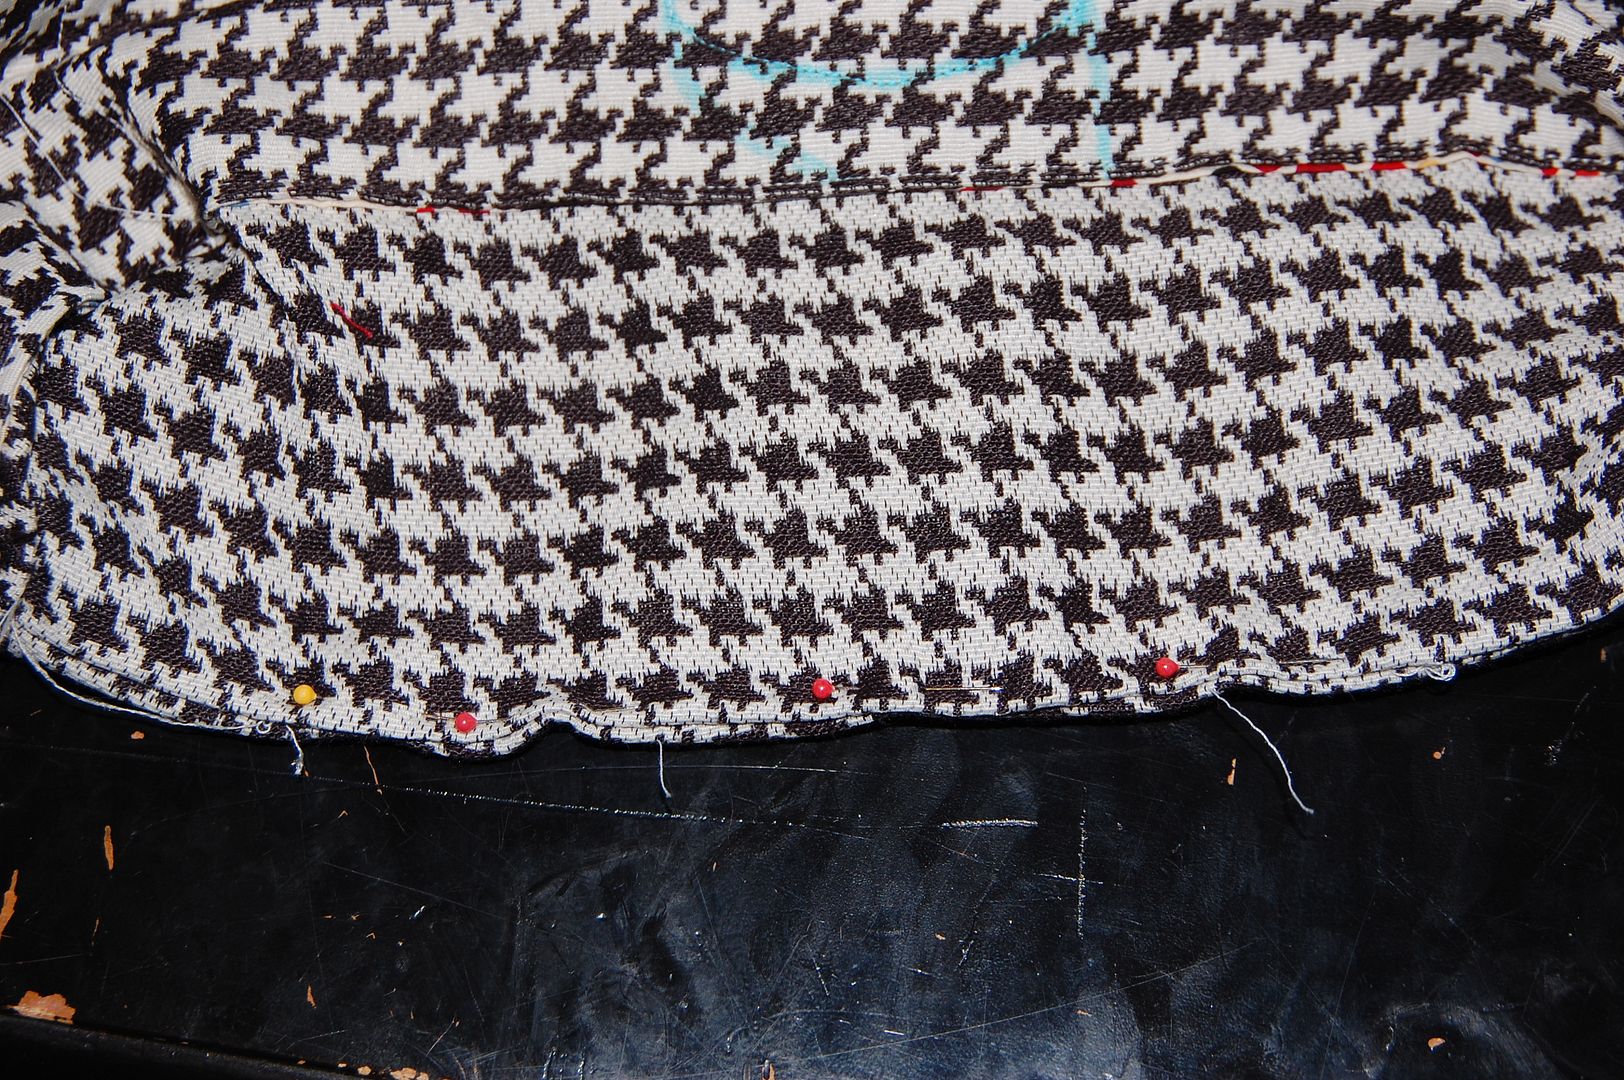
Lay your pocket on the lining of your tote lining up the short sides with the sides of the lining leaving about half an inch above the corner cut out. Sew down the bottom of the pocket only.
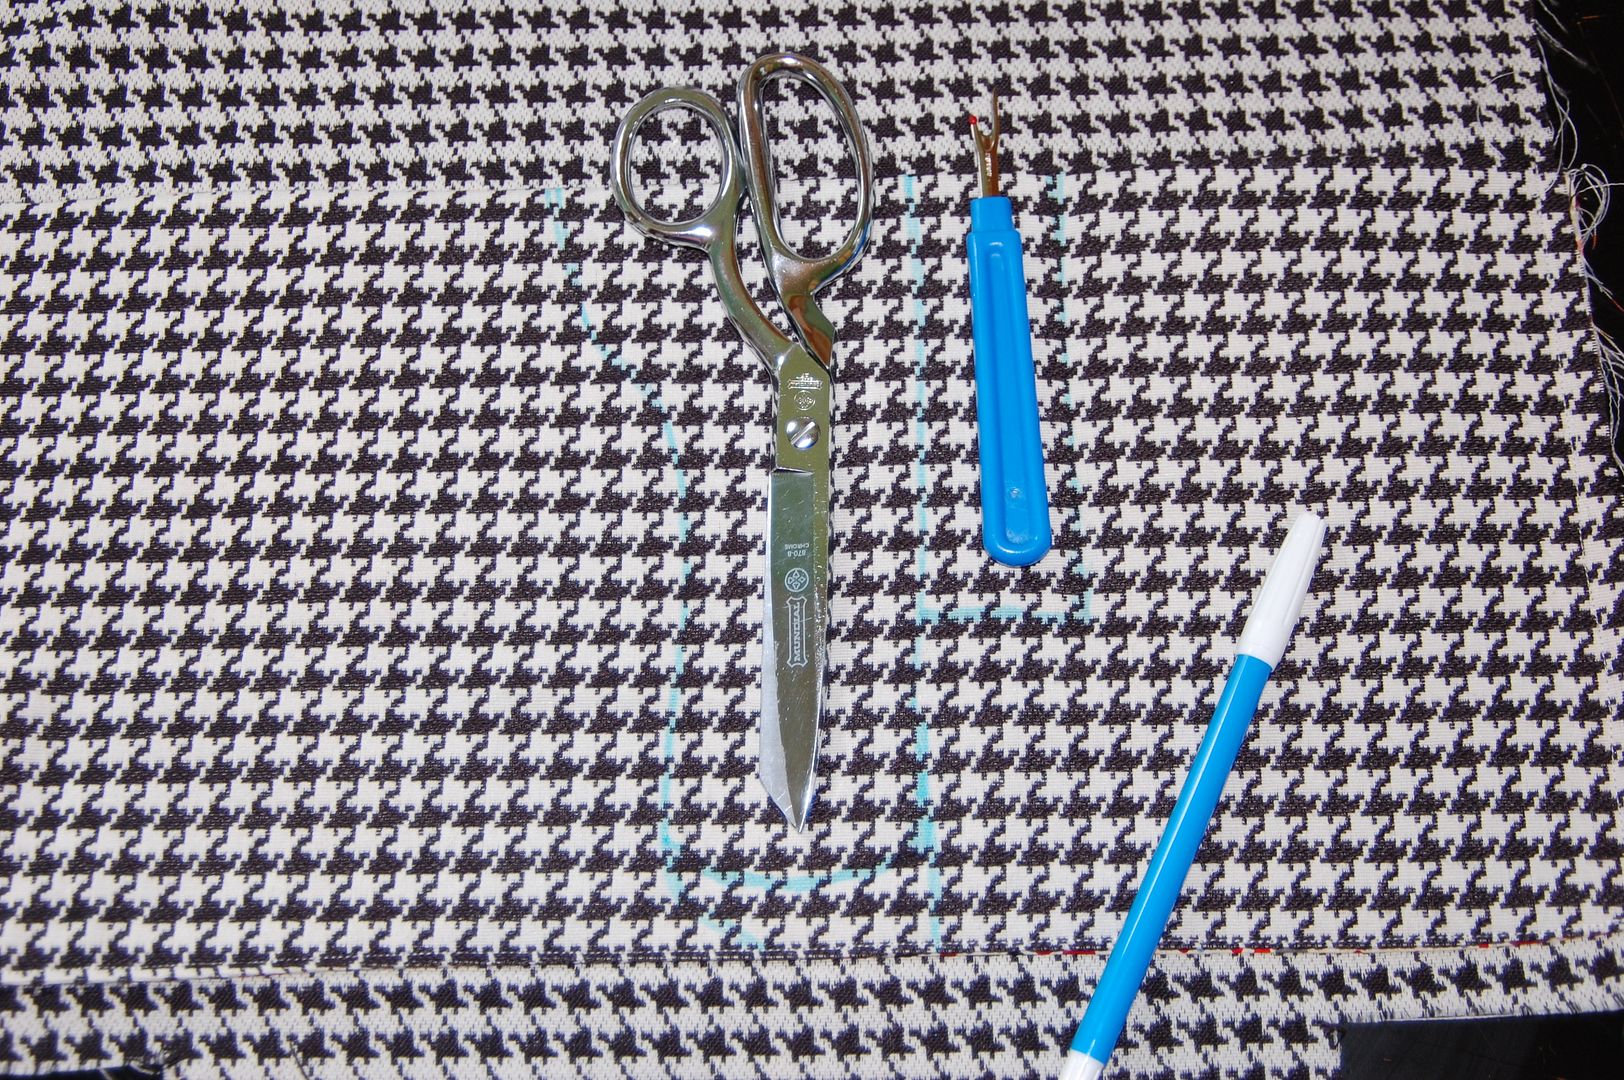
To make a special pocket for your tools, lay down what you plan to use them for on the pocket. Trace around with a soluble pen.


Now follow your pen marks and sew down leaving the tops open. Make a few specialty pockets, then sew a few straight ones starting from the bottom of the pocket up for misc things.
Now sew together your lining pieces as you did the outside pieces EXCEPT leave a generous opening in the middle of the bottom.
Now make our straps.

I use a hot iron to help me make these simple straps so I don't have to turn them. Take your strap piece and fold in half and iron.
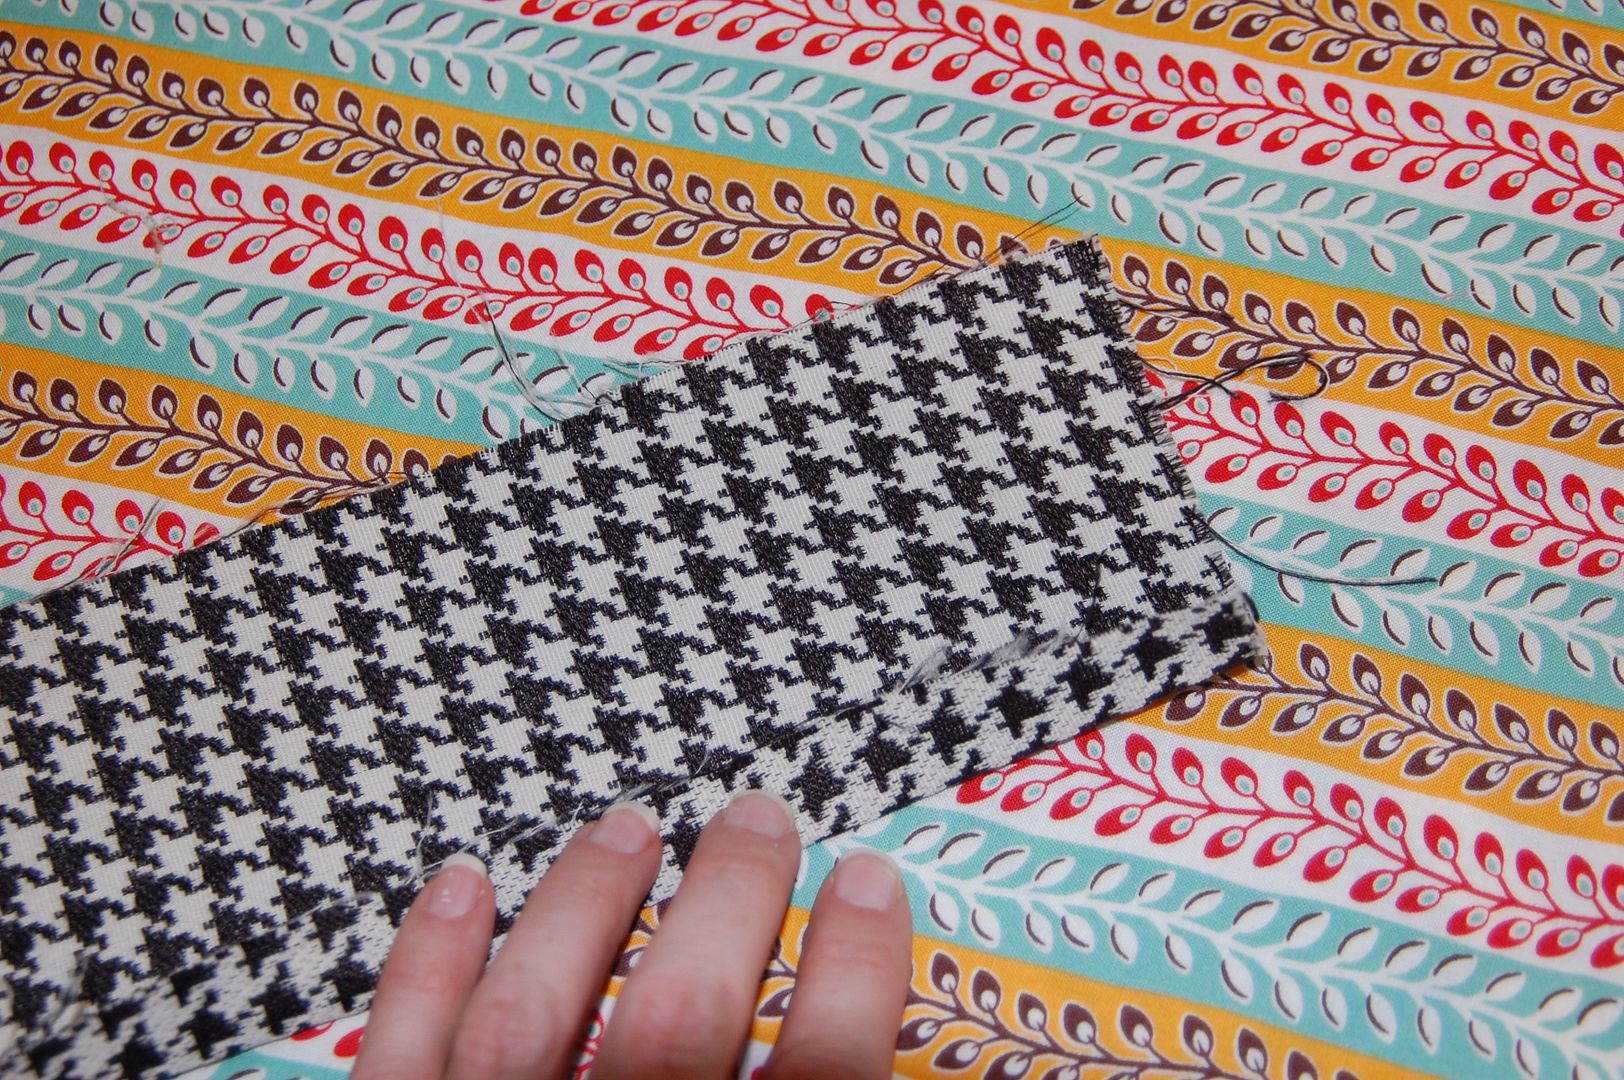
Unfold and now iron 1/2" fold along the edge.

Turn over and fold in the middle and iron 1/2" in along other side so both raw edges are tucked neatly in. Iron entire piece down.
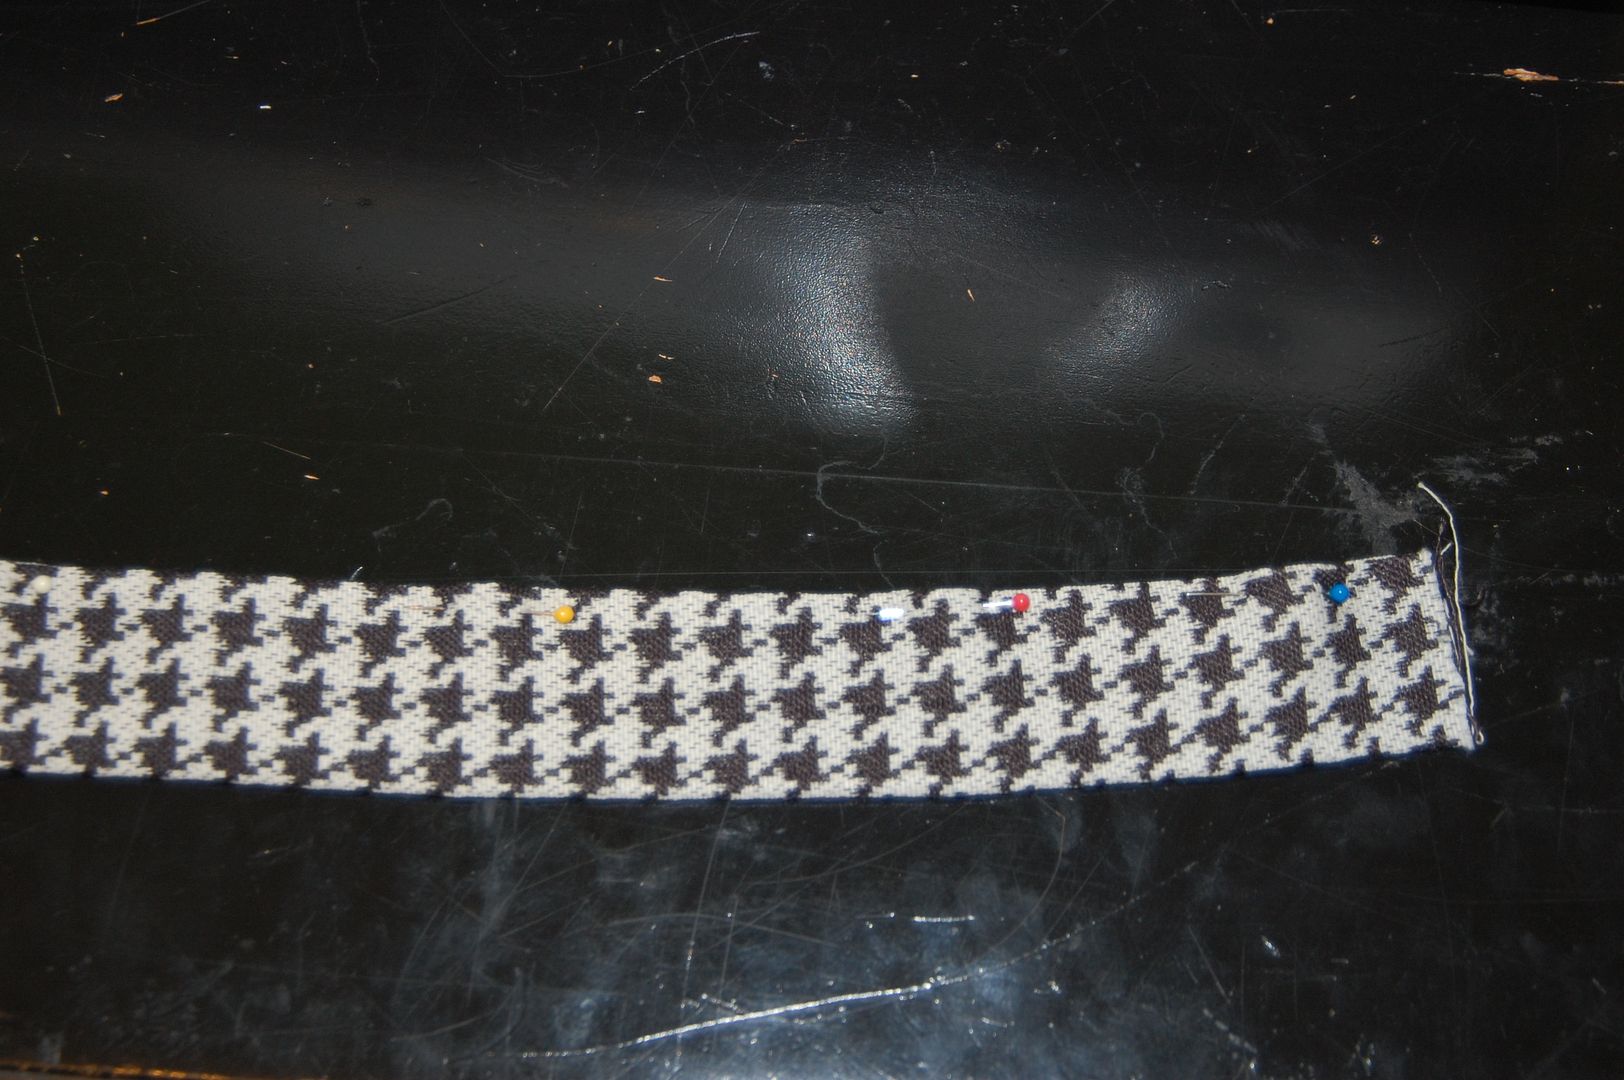
And pin it.
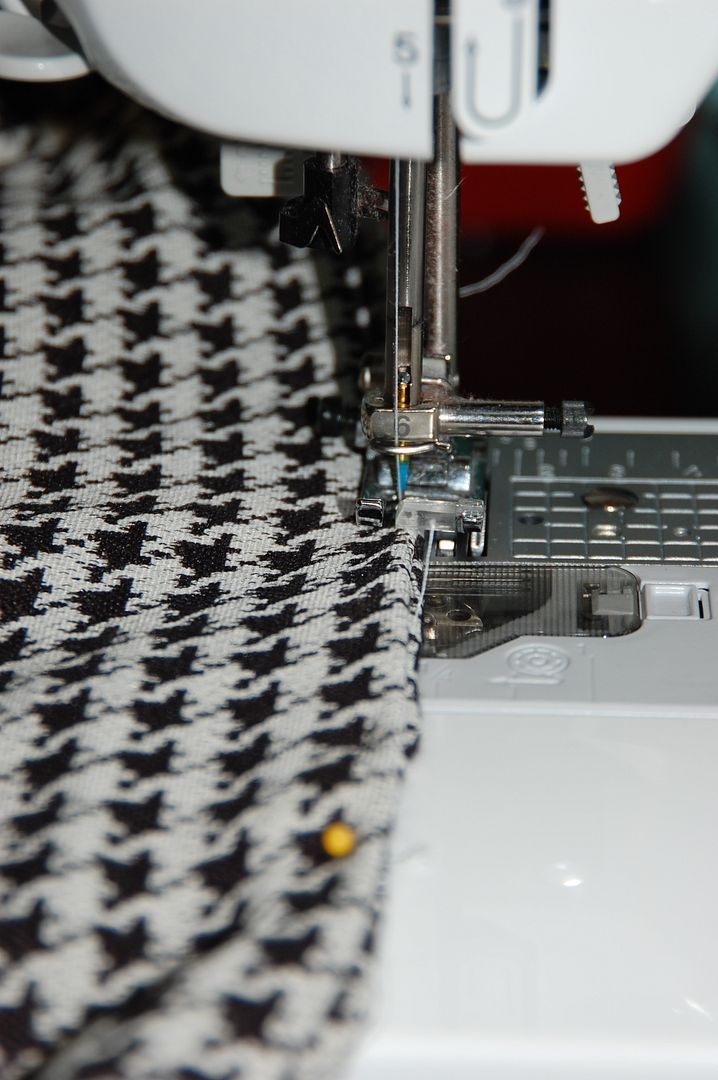
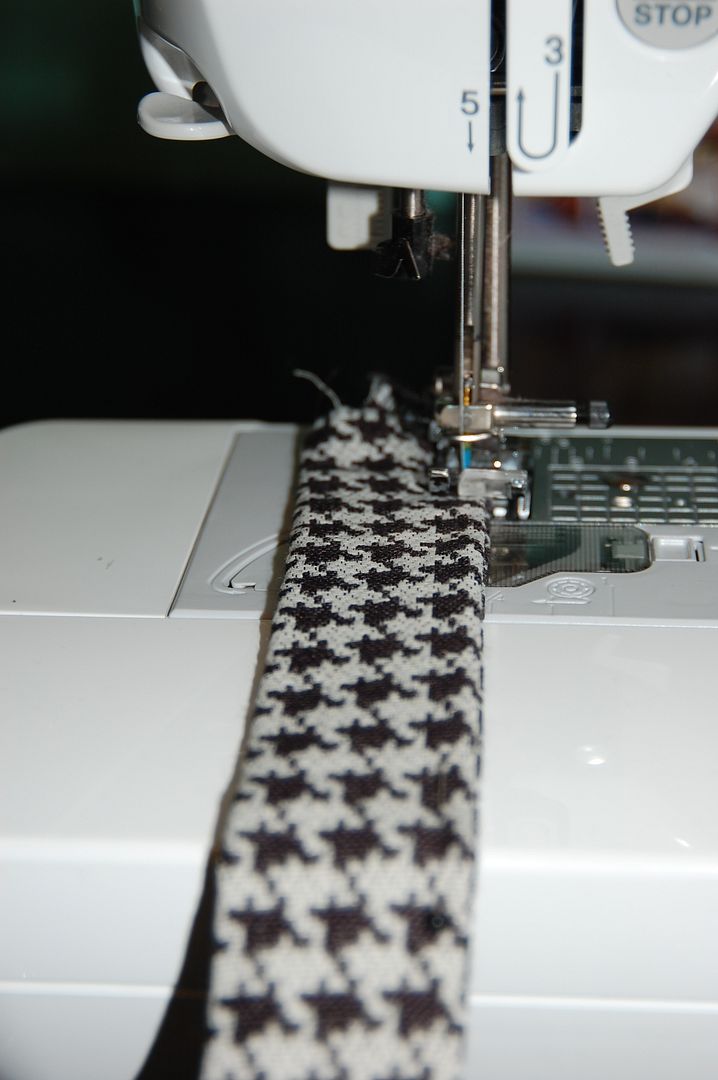 Sew along the seam. If you are using light colored fabrics and can see your stitch well, you might like to topstitch down along folded side.
Now back to your outside and lining pieces.
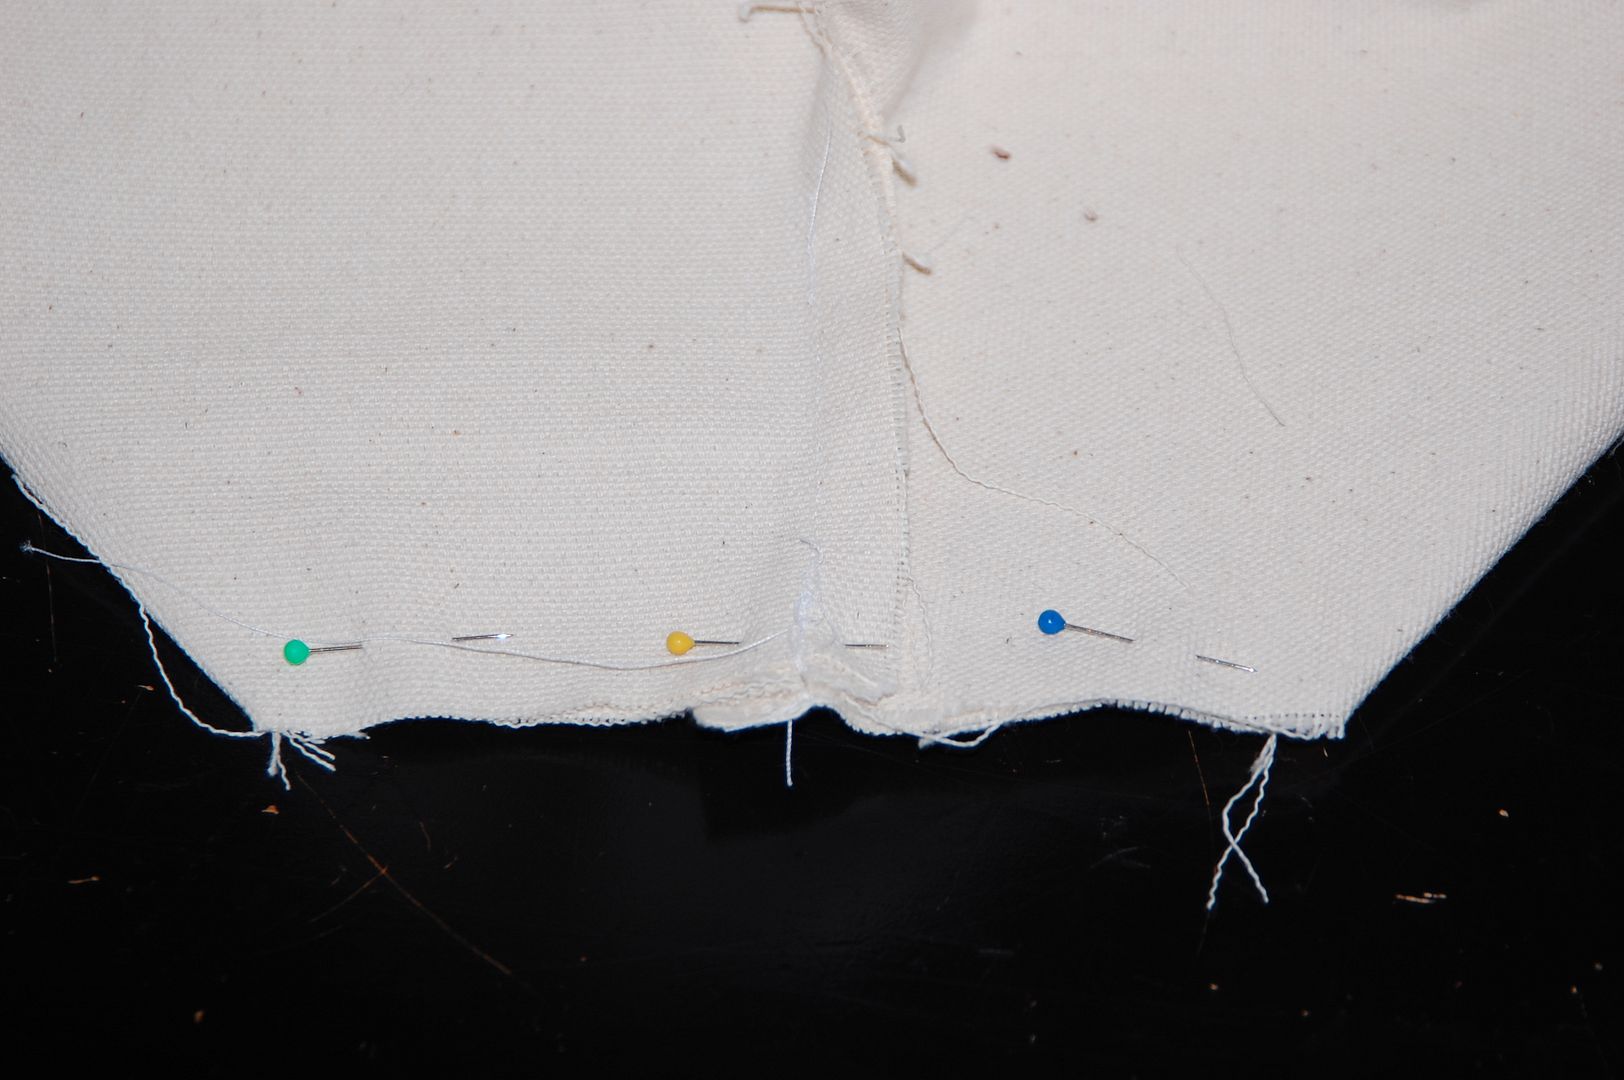
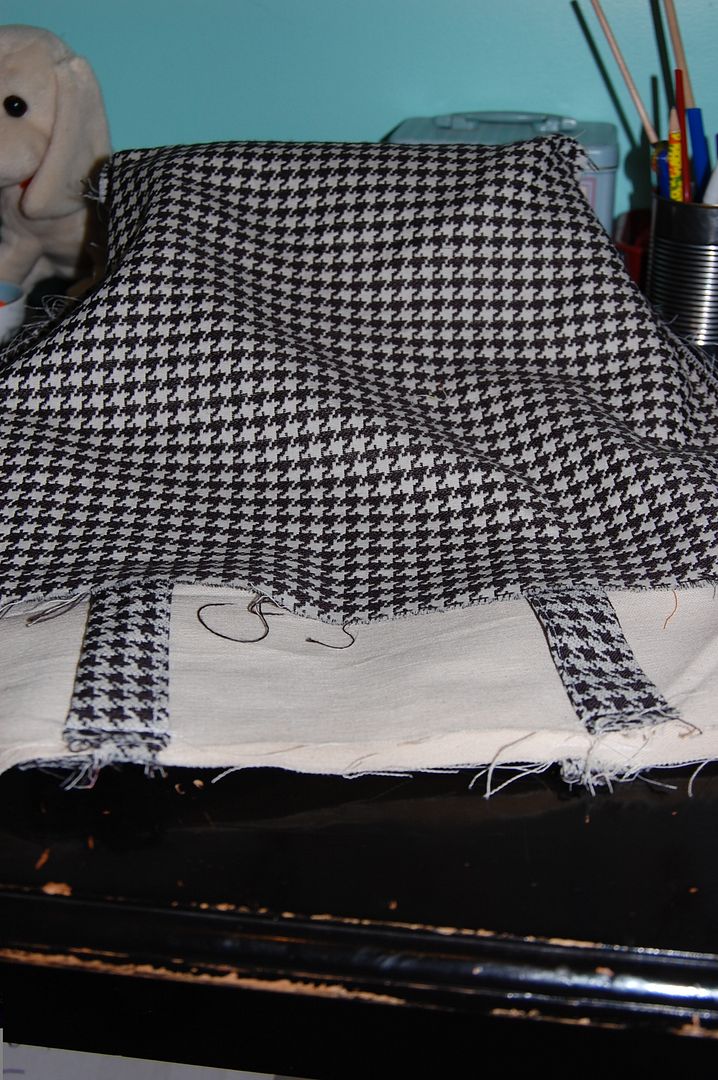
You need to square your bag. It's really easy to get it right with the cut out squares. You simply lay your bag on it side and line up the side and bottom seam and press flat and pin.
 And sew it up. Do this for all corners of the outside and lining piece.
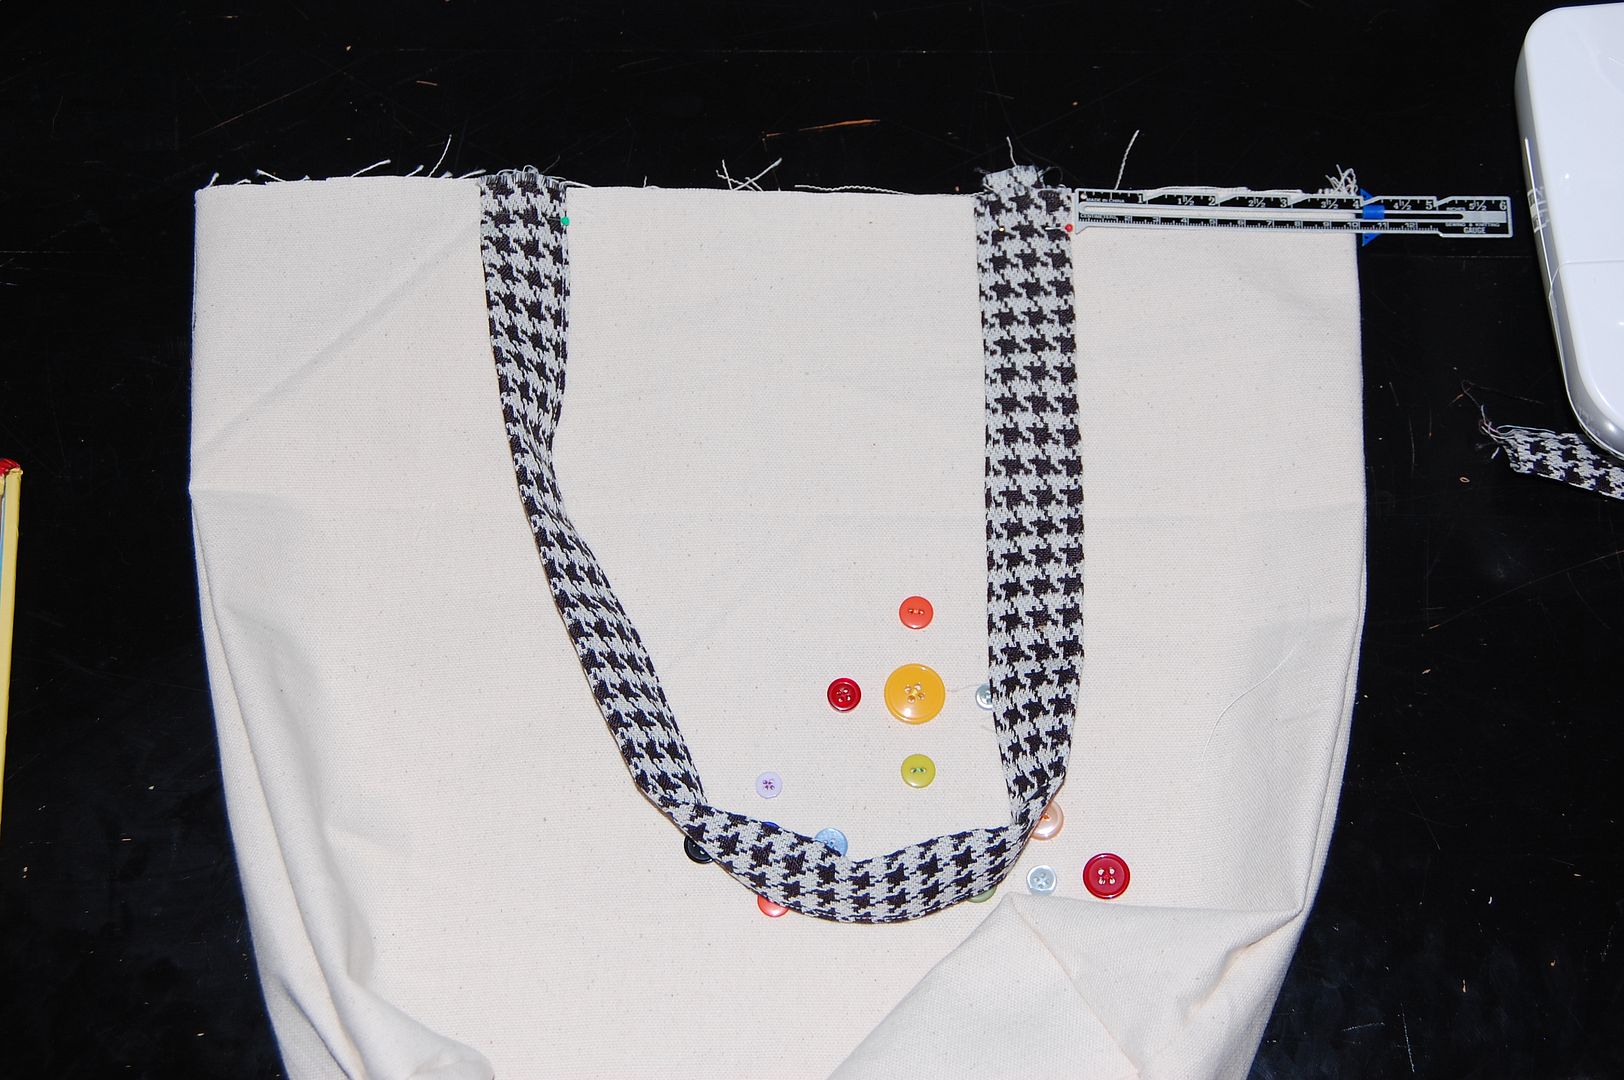
On the front of the outside piece pin the straps as seen above 4" in from the side seam. Be sure that they are not twisted.
 Sew them on going over them several times to secure them. Do this with both sides.
Now we will attach the lining and outside.
With your lining turned right side in and your outside piece turned right side out, insert the outside bag into the lining. Pin and sew. Then pull your entire bag out through the hole in the bottom of the lining. Be sure it all fits together nicely.
Now pull the bottom of the lining out and find the hole. Fold in the edges and pin up the hole.
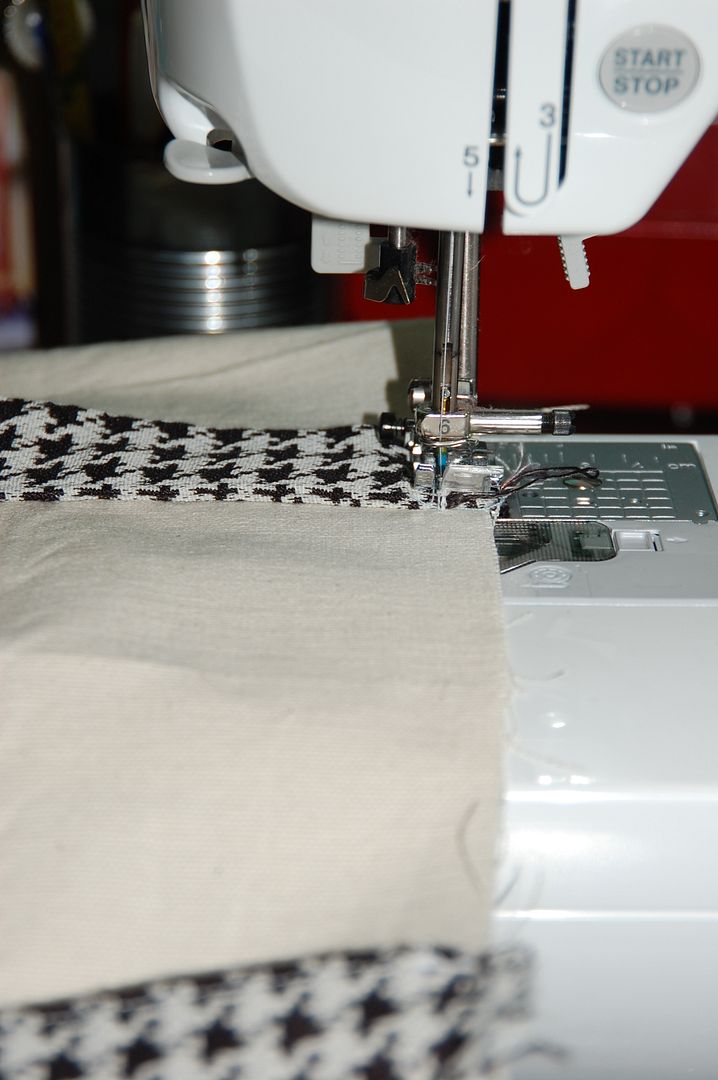
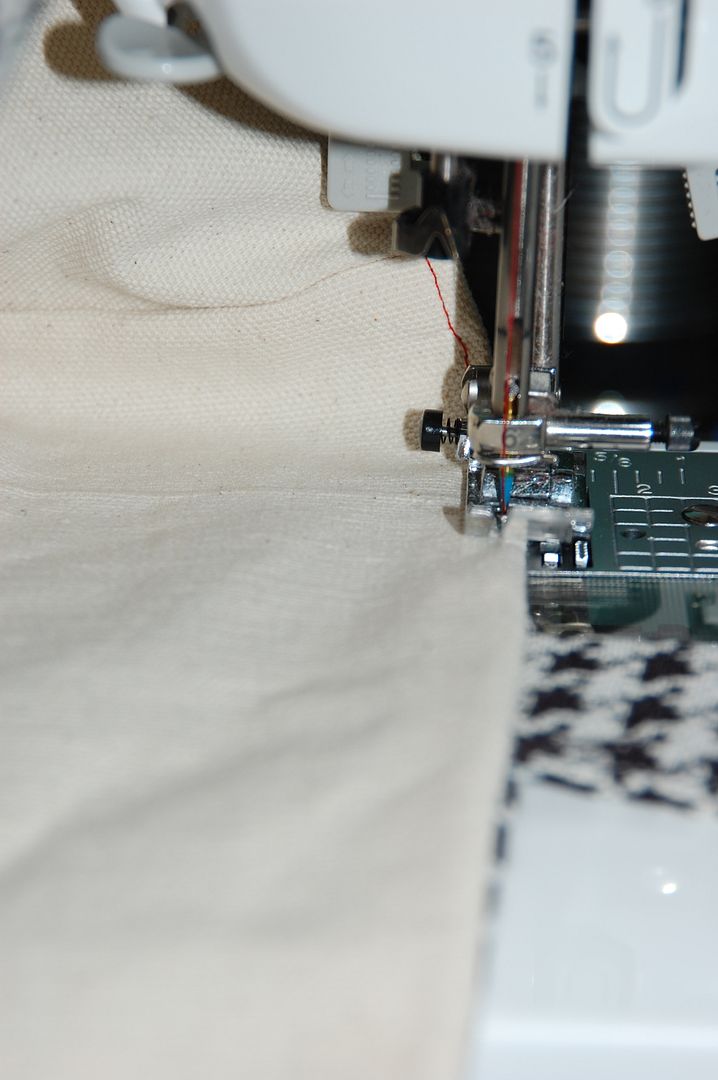
You can slip stitch your hole, but I am lazy and machine stitch an edgestitch along the hole to close it.
Push your lining back in and straighten up your bag. Now you want to topstitch the opening so turn your entire bag inside out.
Topstitch along the opening. Sometimes it's nice to use a contrasting stitch here...but if you do be sure to get it really straight (unlike mine...I should have lengthened my stitch..oh well). :)
****LAST DAY TO ENTER TO WIN THE CUTE COOKIES SET~CONTEST CLOSES TOMORROW MORNING!!***
4 comments:
What a great tutorial! I have a purse like this that was also handmade. I love it!
Nice job on your tutorial. Thanks!
You have inspired me to make the bag I have been meaning to make for months. I used to have a pattern for a "back pack" that was just like this! Only I use a rope for the straps and it was used to cinch in the top to hold in your stuff and when you sewed up the corner cut outs you slipped in the rope at the center. I am glad to get this refresher on how to do it plus its even better then what I planned to do!
What a lovely tote!!! I posted a link to your tutorial on Craft Gossip Sewing:
http://sewing.craftgossip.com/tutorial-art-tote-bag-for-sewing-crafting-on-the-go/2009/10/17/
--Anne
Post a Comment