
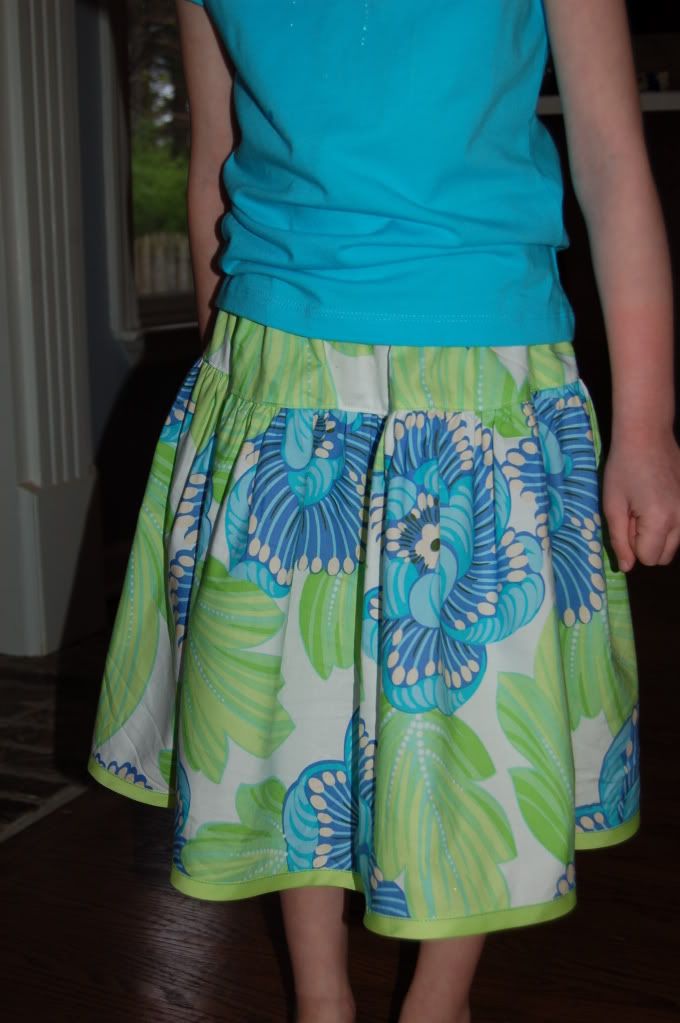
 Here's an easy 2 tier skirt to make your little girl. No patterns just a few measurements. You need a waist measurement and how long you want your skirt. I typically use an existing skirt in the closet that fits to judge how long to make the girl's skirts. For the 2 tier skirt I usually like it a few inches below the knee, but I am guilty of often making them big so they last 2 years. The above skirt I just finished for K who is 5.5 years and wears a 6. Here is one I've made for the 2 year old.
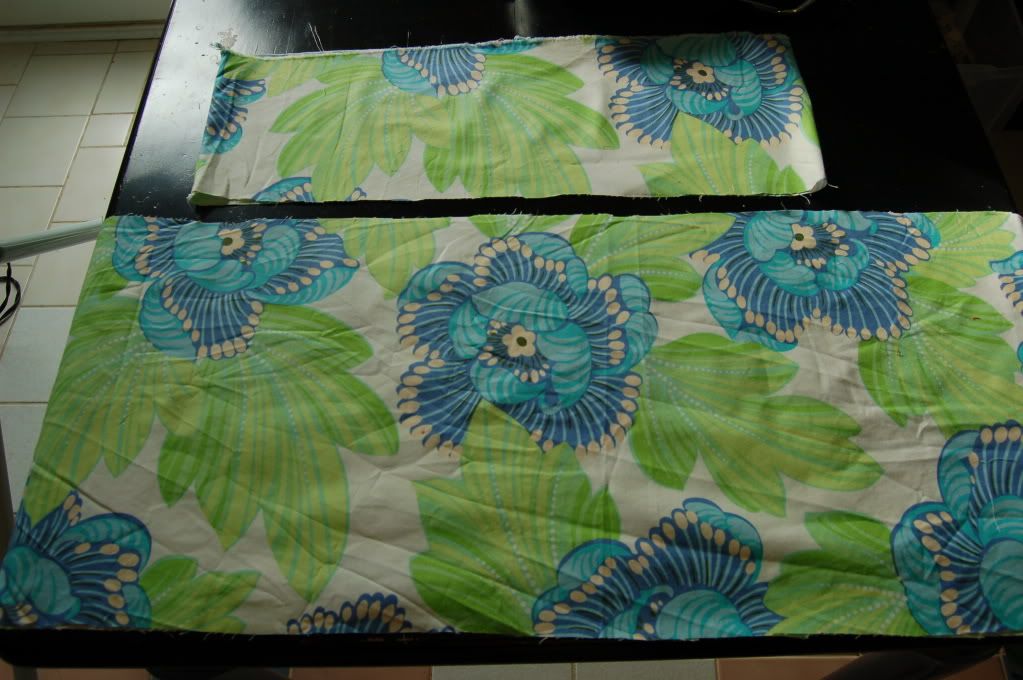 You need to cut 3 pieces of fabric. The 3 pieces will be the same length and I use somewhere between 40" and 45" for girls 12mos to 6+. Kalla's waist is 21". You want your top tier to be shorter from top to bottom than the second tier. For an idea of measurements I used the following for the girl's:
Kalla size 6~ top tier 7" x 45" cut 1
second tier 13" x 45" cut 2
Maressa size 2T~ top tier 7" x 42"
second tier 7" x 42" cut 2
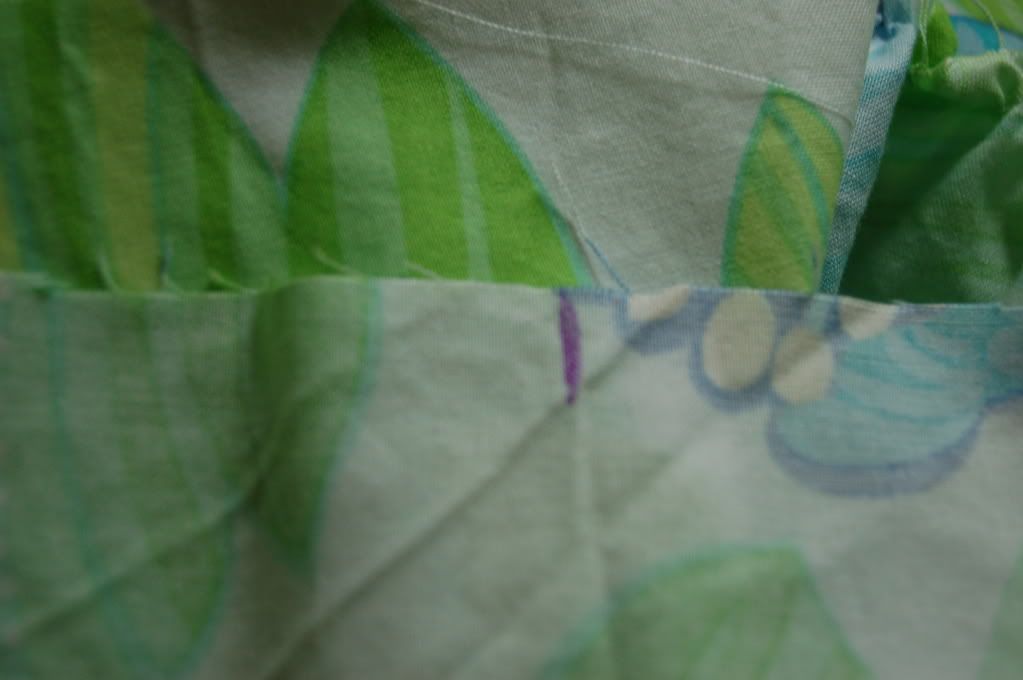
If the skirt you want to make is somewhere in between, add or subtract inches from the second tier cuts. The top tier includes 2" for the elastic casing. When you've got your strips cut, sew the top tier piece on the sides (you can use french seam here if you don't have a serger for a neat look). Now with right sides facing sew the 2 second tier strips together. You should now have 2 tubes, one about twice as wide as the other.
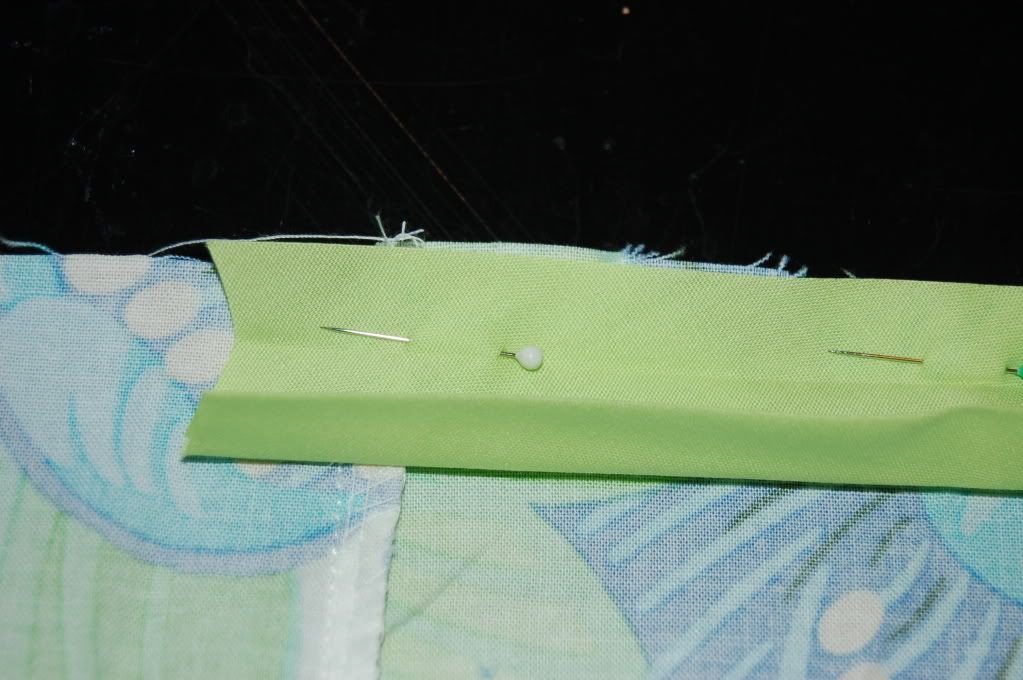
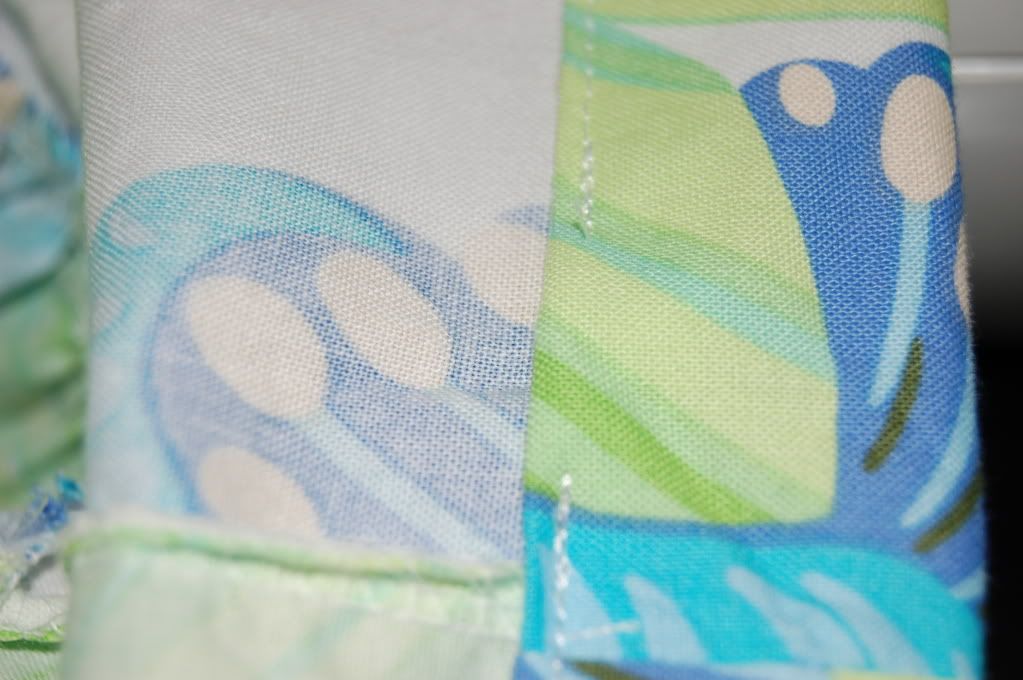
Now that your side seams are done and finished how you want, you want to take the really long tube (the second tier) and hem the bottom. You can hem it plain, or do a rick rack hem, or use bias tape (like I am above) or contrast fabric hem. The prepackaged bias goes on much like the contrast fabric. The main difference is that it has all these neat little folds already. If you look carefully at your prepackaged bias tape, you'll notice one side is folded wider than the other just very slightly. You'll start with that side on the wrong side of your hem. Open the tape and pin it edge to edge. Sew down in fold. Now fold it over to the front side and topstitch it down.
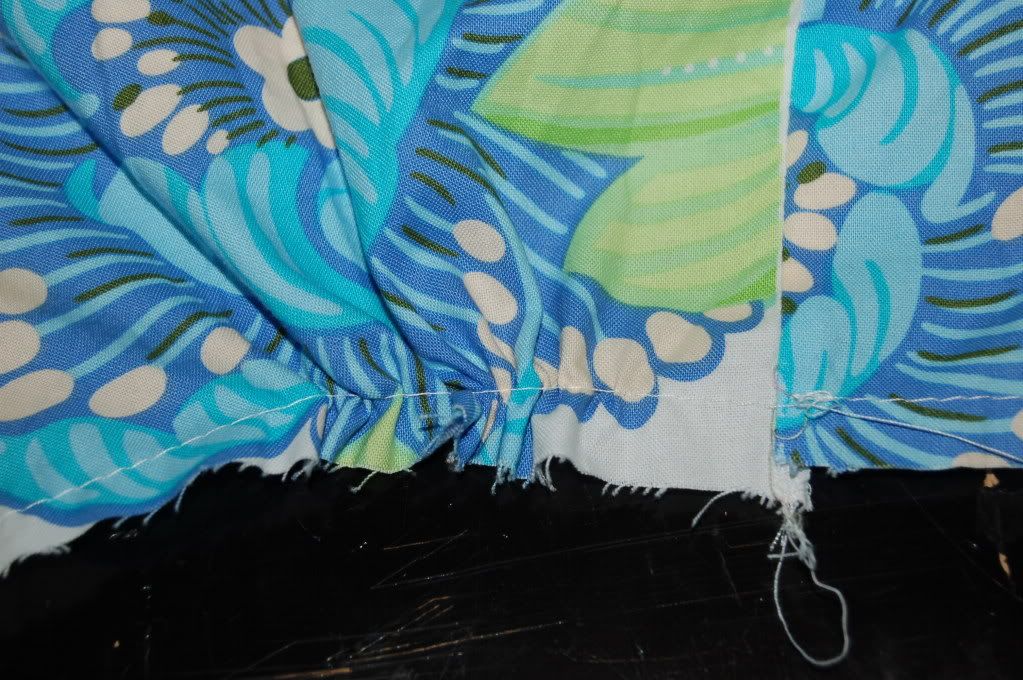
Now that your hem is done, you'll need to gather the top of the second tier. This is how I prefer to do it (not necessarily the ONLY way). I gather from seam to seam making it easier to get even gathers along the skirt. So you'll start at one seam, backstitch, then turn your stitch dial up to the highest number. Stitch across til you get to the other seam. Now when you pull your skirt away from the machine to cut the threads, cut the top thread short, but pull the bottom/bobbin thread long. This will be your thread you will pull to gather. Now start again at the seam you stopped at and repeat last step to other seam.
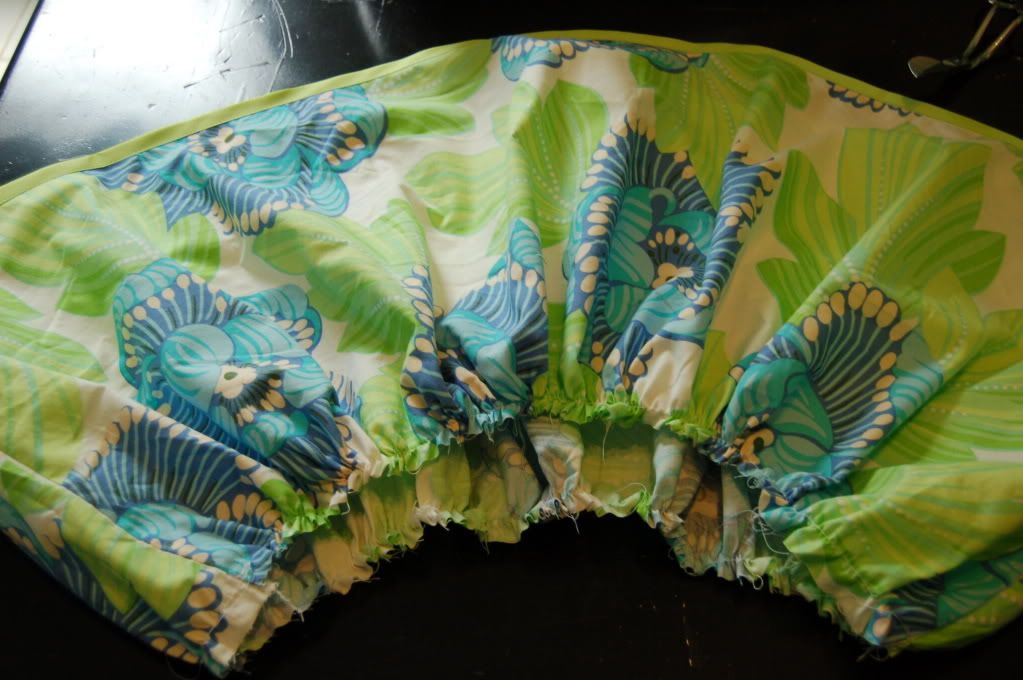
Now pull your bobbin threads carefully and gather both sides.
Now with the way I make these skirts, I generally only have one seam for the top tier (you can always cut it in half and sew both sides if you like). So to help me gather each side neatly and evenly to the top tier, I mark the opposite side of the seam to show me where the 'other' seam would have been. 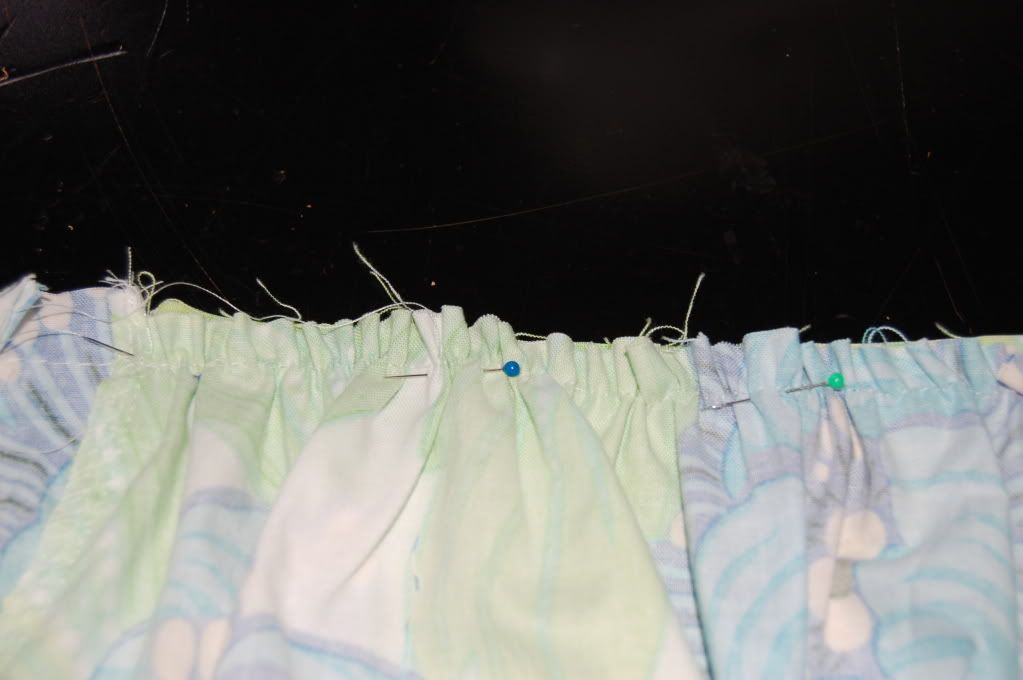 I gather and pin right sides facing and match seam to seam and seam to mark.
I gather and pin right sides facing and match seam to seam and seam to mark.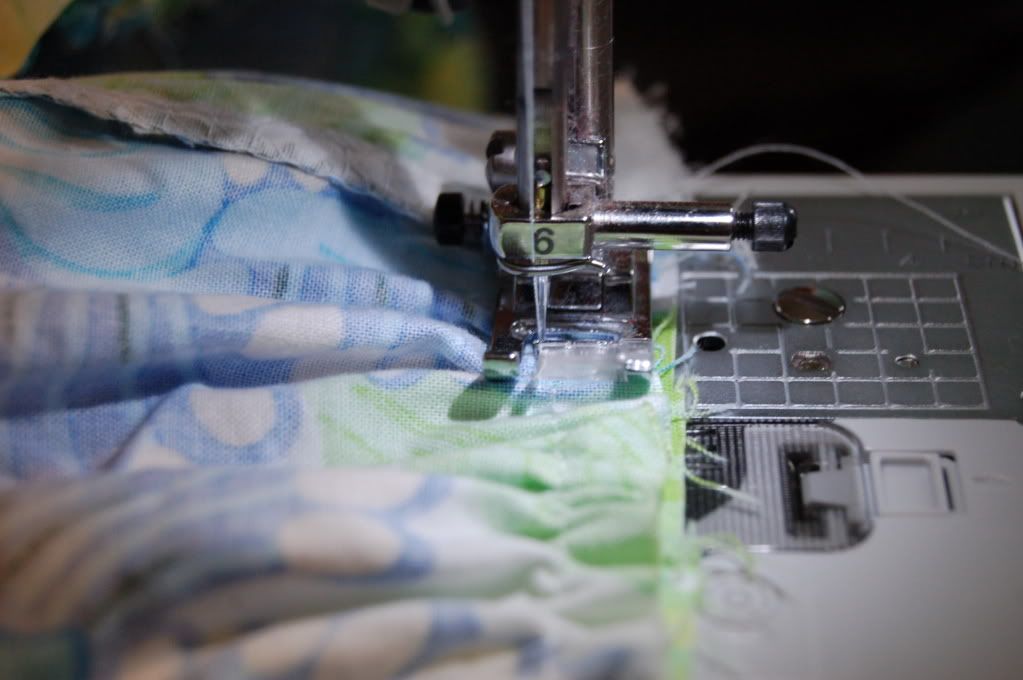
Now sew carefully across gathers to attach the tiers. Be careful that the fabric on the bottom is feeding flat as it easily catches under and creases.
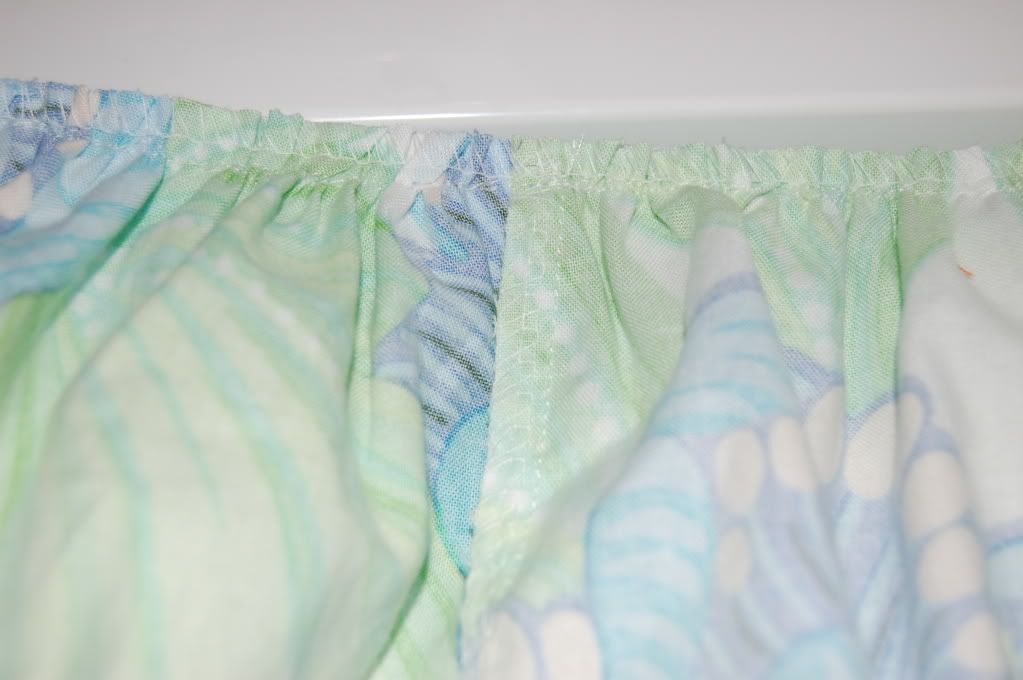
Here is where I serge that seam. If you don't have a serger, then use a zig zag stitch or over casting stitch on your machine to cut down on fraying.

This part is a totally preference thing. I like my tiers to be topstitched down. So if you like, on the right side of your skirt topstitch the top tier right above the gather.
 Ta da! Now go applique some cute shirts to go with it! And now that I see this skirt all done, I'm thinking I need to make one momma size!!
22 comments:
It is beautiful Deanna! You are so talented!
Oh it's great Deanna! Simple and so pretty for spring! I'll be linking.
I don't see anywhere where I can e-mail you a question, so I thought I'd ask it here.
I was wondering if you would do a post/tutorial on patching boys' jeans with a cute themed patch (trucks, trains, etc.) My 5 year-old is wearing holes in every single pair of his jeans right now. I'd love to patch them, but don't want to just do the old style square jeans patch on the front. I have no idea how to patch and do something cute! Could you help?!
Very pretty!! What little girl wouldn't love one of these? I posted a link to your tutorial on Craft Gossip Sewing Blog: http://sewing.craftgossip.com/tutorial-sew-a…y-twirly-skirttutorial-sew-a-girly-twirly-skirt/2009/03/31/
--Anne
Gorgeous skirt Deanna, may have to make yet another fabulous Deanna project now! x
Thanks everyone!
Michelle, I have been thinking of your question all morning. I too, have plenty of holey jeans...2 boys and even my 5 year old daughter has a pair. I'm thinking that regular quilters cotton in the knees would not hold up very well or long. I have however, thought of a way to patch them, so they look good as new and all denim. So go buy a half yard of good quality denim at the fabric store and I'll work on the tutorial in the next few days and get it up! :)
i love this! i even dreamt about this skirt last night. i've done a skirt that is just one single width of fabric, but i love the added tier with 2 strips. my daughter will love it! thanks for the great tutorial!
Marvelous! I have this beautiful embroidered fabric that I wanted to make a skirt for my girlie - PERFECT pattern! THank you! I love your site...
I'm so glad I saw this on One Pretty Thing! I've been wanting to do something exactly like this, but I wasn't sure how to do the gathers. Awesome!
This is great. Thank you so much for the detailed directions and photos. I think I could actually do this for my girls!
Thanks so much for all the kind comments. It motivates me so much to take time to share when it is appreciated so kindly. :) I plan on doing a 3 tier soon and take on a bubble style as well (never done it but think I've got it worked out in my head). :)
Deanna,
Sounds great! I'll be watching for the patching ideas!!
I would love to make one of these in my size but I'm not sure how.
Chandi, you simply adjust the measurements to your size. Basically the 2 tiers are doubles. The top tier is about double your waist (say for a 30" waist you'd make the top tier 60" wide by sewing two 30" pieces together. I'd make that top tier about the length from your waist to just past the hips plus 2" for the elastic casing. Then make your bottom tier twice or 1.5 times wider than the top. To get the length, decide how long you want your skirt (would be easiest to measure one you already have) and make the second tier long enough that when adding to the top (plus about 2" for seam and bottom hem) it is the length you desire. Does this make sense? :)
thank you so much for postig this, it's a really cute skirt! i have been wanting to sew my daughter a skirt like this and I am excited to use this tutorial!
I finally got around to making one of these with your rick ram hem tutorial and a matching kitty applique shirt. Thanks so much for the wonderful tutorials. My niece loved it!
http://monkeysewmonkeydo.blogspot.com/2010/03/handmade-birthday-present.html
It was extremely interesting for me to read that blog. Thanks for it. I like such themes and anything connected to them. I would like to read more soon.
Julia Hakkinen
This skirt it Super cute. I made 3 twirly skirts for halloween using a tutorial online and I loved it. You should check it out! its super easy. www.recreateclothing.blogspot.com
I am a novice sewer, but I managed to whip out 2 of these for my girls. They are so cute...and my girls can't stop twirling! Thank you for posting this!
jbelle in TX.
Thanks for the tutorial for this lovely skirt, I just made one for my daughter who loves skirts especially Twirly ones!
Thanks for the tutorial! I used it to make my daughter a skirt to wear to her daddy's graduation today. :) http://janaysquilts.blogspot.com/2012/04/proud-of-their-dad.html
I love this! I pinned it to my Sewing board! Thanks for sharing!
Post a Comment