Showing posts with label tips. Show all posts

Tuesday, January 10, 2012

the waffle maker=breakfast changing

I got a waffle maker for Christmas.
It was a requested item I've wanted for some time.
It has been even more life changing than expected.
I made room for it on the counter even.  :)
No more burnt pancakes.
No more gooey pancake centers.
No more hovering over a frying pan with spatula in hand.
No more worrying about kid distractions.
See that little light there on the left?
It tells me all I need to know.
It tells me when it's hot enough for the waffles.
It tells me when they are cooked perfectly.
I can make eggs and bacon,
wipe up spills,
refill milks,
set the table so we can all sit together like civilized people,
check morning email,
or sip on coffee like a lady of leisure
and I all have to do is keep my eye on that little light.
And then I have perfect waffles.
And the smell.
My Papaw made waffles when we visited.
Stacks that went a couple of feet high.
One of my fav memories of my grandparents was the warm kitchen bustling with breakfast fixings and the smell of waffles.
AND they had squeezy butter.  Do they even make that anymore?

The inaugural batch of waffles were our 'birthday' waffles adapted from the birthday pancakes the kids love so much.
(Birthday pancakes/waffles=mini choc chips and big ice cream type sprinkles in the batter.)
And the kids approved!!
On the weekends I make a triple batch and store them in the refrigerator and then toast them on school days.
No more icky 'yellow' frozen waffles.

OK, so all you people who knew this awesomeness called a waffle maker long ago,
share your recipes and tips.
I was so excited and tried to make waffle brownies as I thought I've seen that done before.
I figured it would be no more than make brownie mix and pour it in and cook.
Well, that was a big fat FAIL.
Sadly.
Someone tell me how to do this!  :)

Ok, one more breakfast changing tip I got on Pinterest.
I'm sure you've all seen it.
Oven baked bacon.
Except I broil mine.
And these beautiful center cut pieces come out crispy and flat.
Which apparently my children have become bacon snobs?
They won't eat it fried and wrinkled up anymore.
But that's ok, with as much as a family of 6 bacon loving folks, this is far more efficient.

Oh and don't do like I did above and mark up your cute Target lime green cookie sheet and line it with foil first.

Wednesday, June 22, 2011

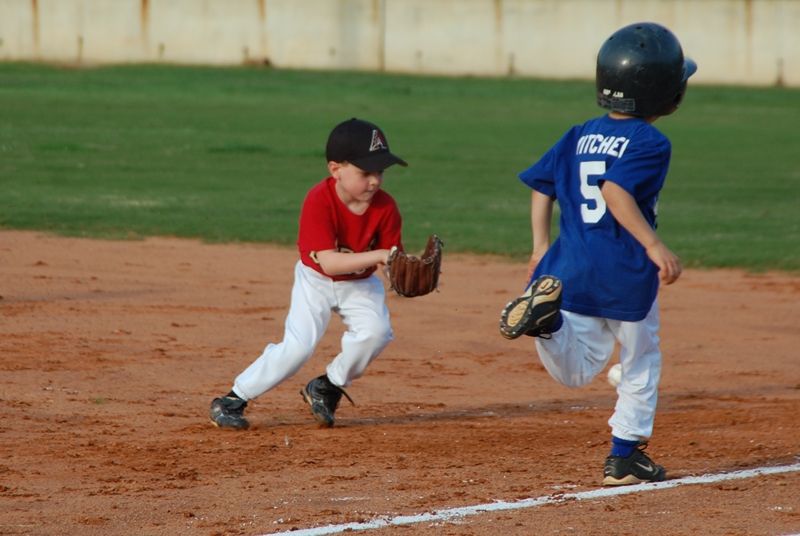
I am a baseball mom

Our baseball season is briefly ending this weekend with a road trip to a state tournament.
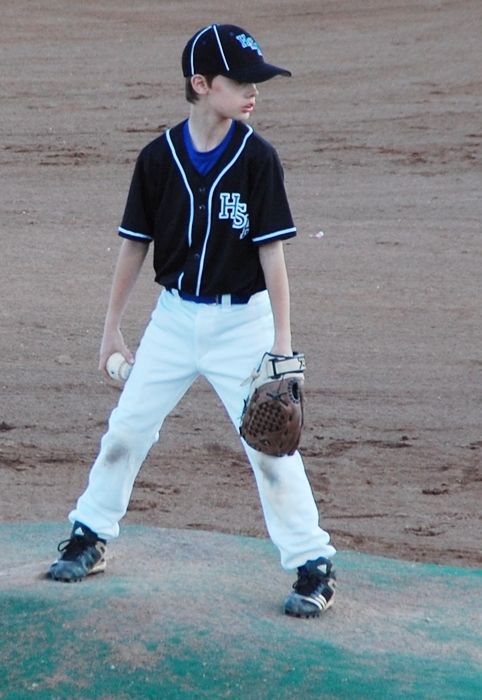
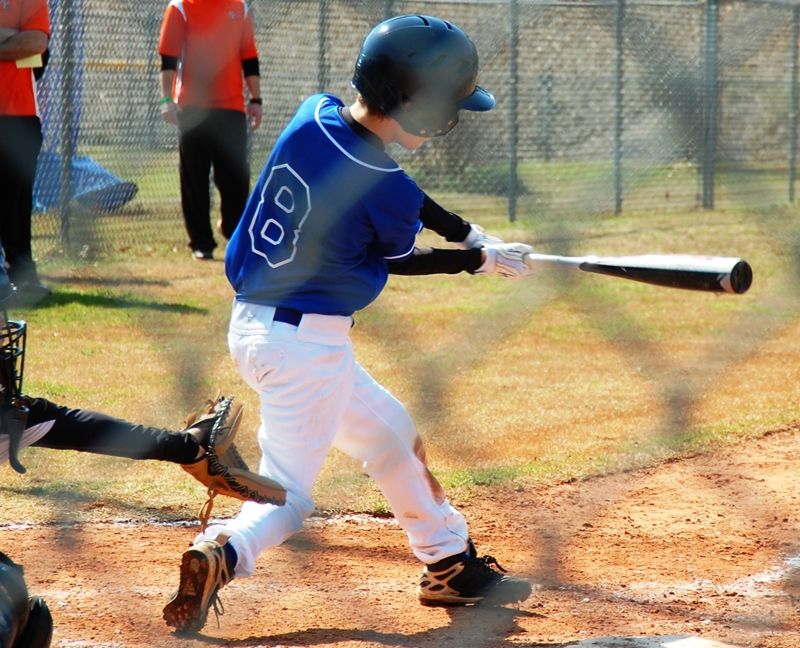
My oldest son, 9yrs, plays for a local travel baseball team.
They started practicing in January, tournaments started in March and about to wrap things up for a couple of months.
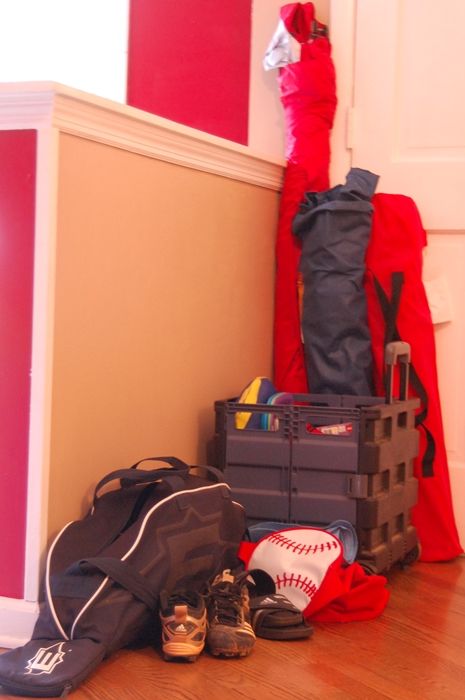
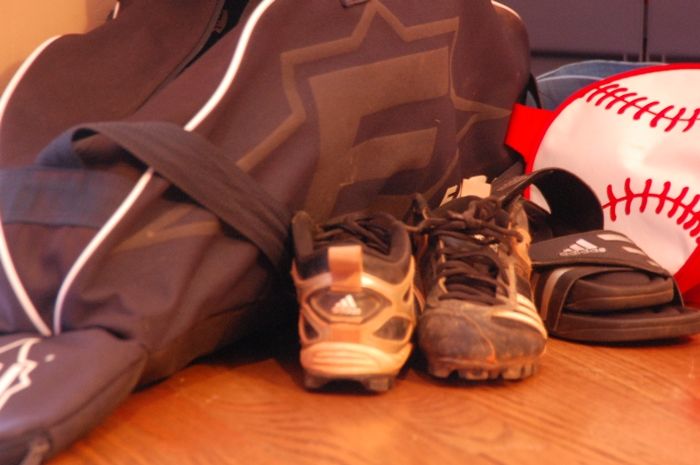
This is what my foyer area has looked like for the last 4 months.
I'm seriously hoping to fix this before we start up fall ball.  ;)
Gotta little project hoping to help in the garage.
We don't travel far, but it usually means a whole day.
With 3 younger siblings along for the ride.
We bring LOTS of stuff.
One area park just outside our city, has NO shade.
So I got a cool giant sports umbrella from Sam's.
My rolling cart is awesome. It fits loads of snacks and toys for the younger spectators.

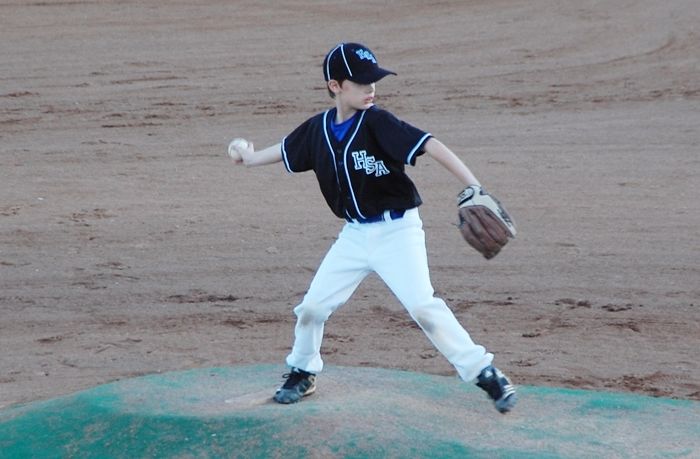
Z man usually pitches or plays right field.
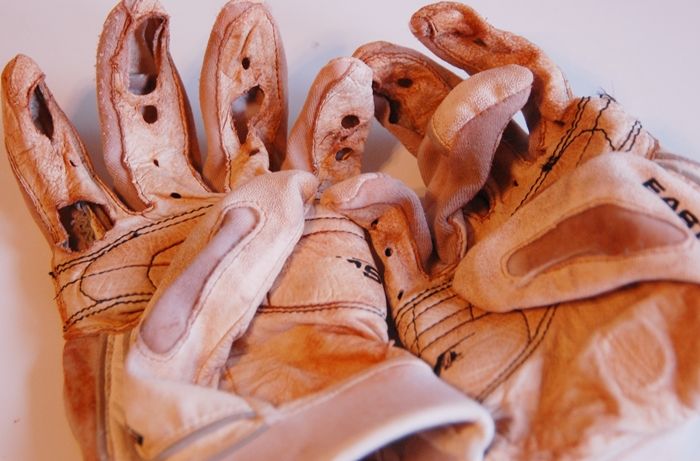
We go through batting gloves like water.

But this boy LOVES his baseball.
Never tires of it.
Has played 30 games so far this year, about to play at least 4 more, and is still not ready to be done.


This awesome pop up tent has been great for the other kiddos.
We got it back when the oldest 2 were babies and we took a trip to the beach.
It rolls up into a flat circle.
Makes for great shade or protection from early season cool breezes.
And a place for tired ones to curl up for a while.
We bring lots of food always.
I love a yummy ball park hotdog, but we are at the park too much to be eating those all the time.
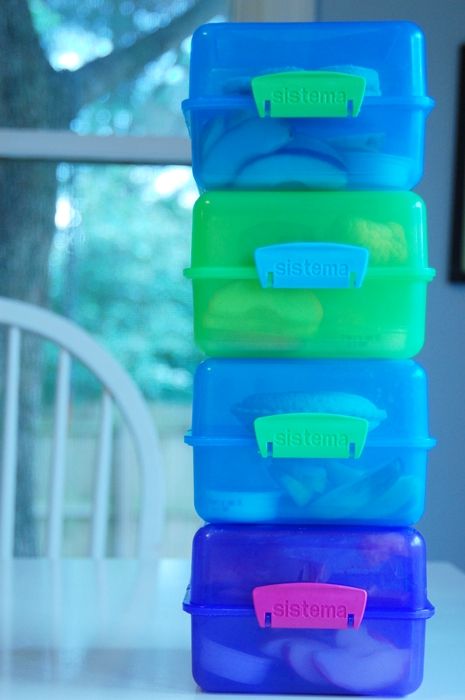
I got these cool containers from Old Navy.
They not only hold each kids lunch but folds out to eat from as well.

Z isn't the only ball player we have in the house.
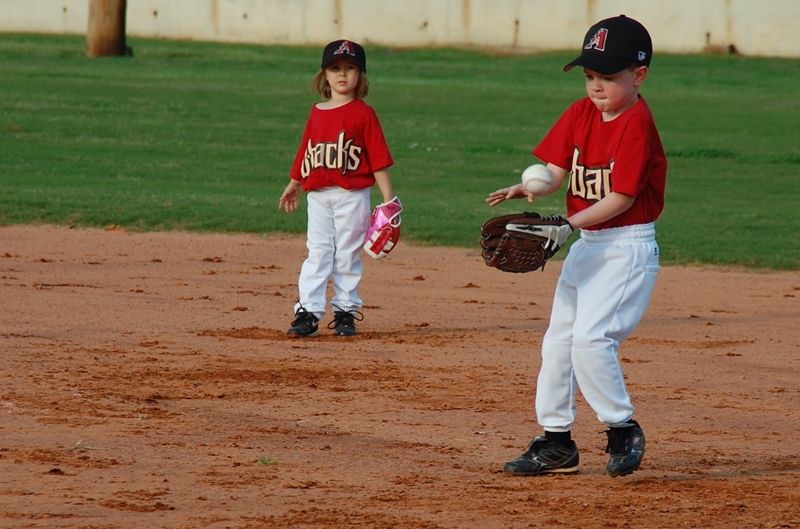
This was Micah's second and last year in t-ball.

So being a 4 year baseball mom veteran I have a few tips that I've learned thus far and what works for me.  ;) 

Here are some of my fav related products:

IRON OUT~it works miracles on red clay and white baseball pants.
I just figured out to use it well.  You can't go by the directions on the container.
It is very toxic, so work carefully.  I pour a ton into a small plastic clean wastecan and some hot water to cover the pants.  Soak over night.  Wash in washing machine.  Voila, white pants.
You can get it at Walmart in the plumbing section.

ROLLING CART~I got mine from Staples.  It holds our sidewalk chalk, picnic blankets, pop up tent. cooler bags, etc.

SPORT-BRELLA~Got ours at Sam's.  Makes for nice shade over a picnic blanket for the little ones.

Frogg Togg Chilly pad~a must have for when you play ball in the deep south when spring brings 90F++ heat for like 20 days plus straight.  Really helpful when Z played 3 games this past Sunday in 97F heat.


Zachary has trouble with his heels and foot pain in his cleats.
One thing we do to try to help is he takes them off immediately after/between games and put these on.


As far as my strategy for keeping the siblings happy during our long tournament days, I bring lots of stuff.
Crafty stuff.  Like copy paper and crayons, stickers.  I've gotten wooden snakes and wood markers from Oriental Trading before.  Or clothespin dolls.
I really try to change it up.
Small toys.  Like squinkies or mini Lala Loopsey dolls.
Sometimes colored rice and petshop animals.
Or playdough or sidewalk chalk.
I avoid bubbles.  I found out the hard way during an all-star tournament last summer that folks tend to get upset when the bubbles float across the batters box.  :)

Snacks.  Here I am careful because I have boredom snackers.  So I bring a lot of healthy stuff so I have no problem handing over snacks when they get the frequent munchies.  ;)
Here are our staples:  grapes (kept super cold in the cooler are quite refreshing), sweet peppers, unsalted cashews, string cheese, ham n cheese tortilla wraps,popcorn, homemade granola bars and homemade salsa and chips.
I do bring a couple of treats for reward for patient good behavior.  ;)

Wednesday, June 16, 2010

A Few of my Favorite Tips for Traveling with kids

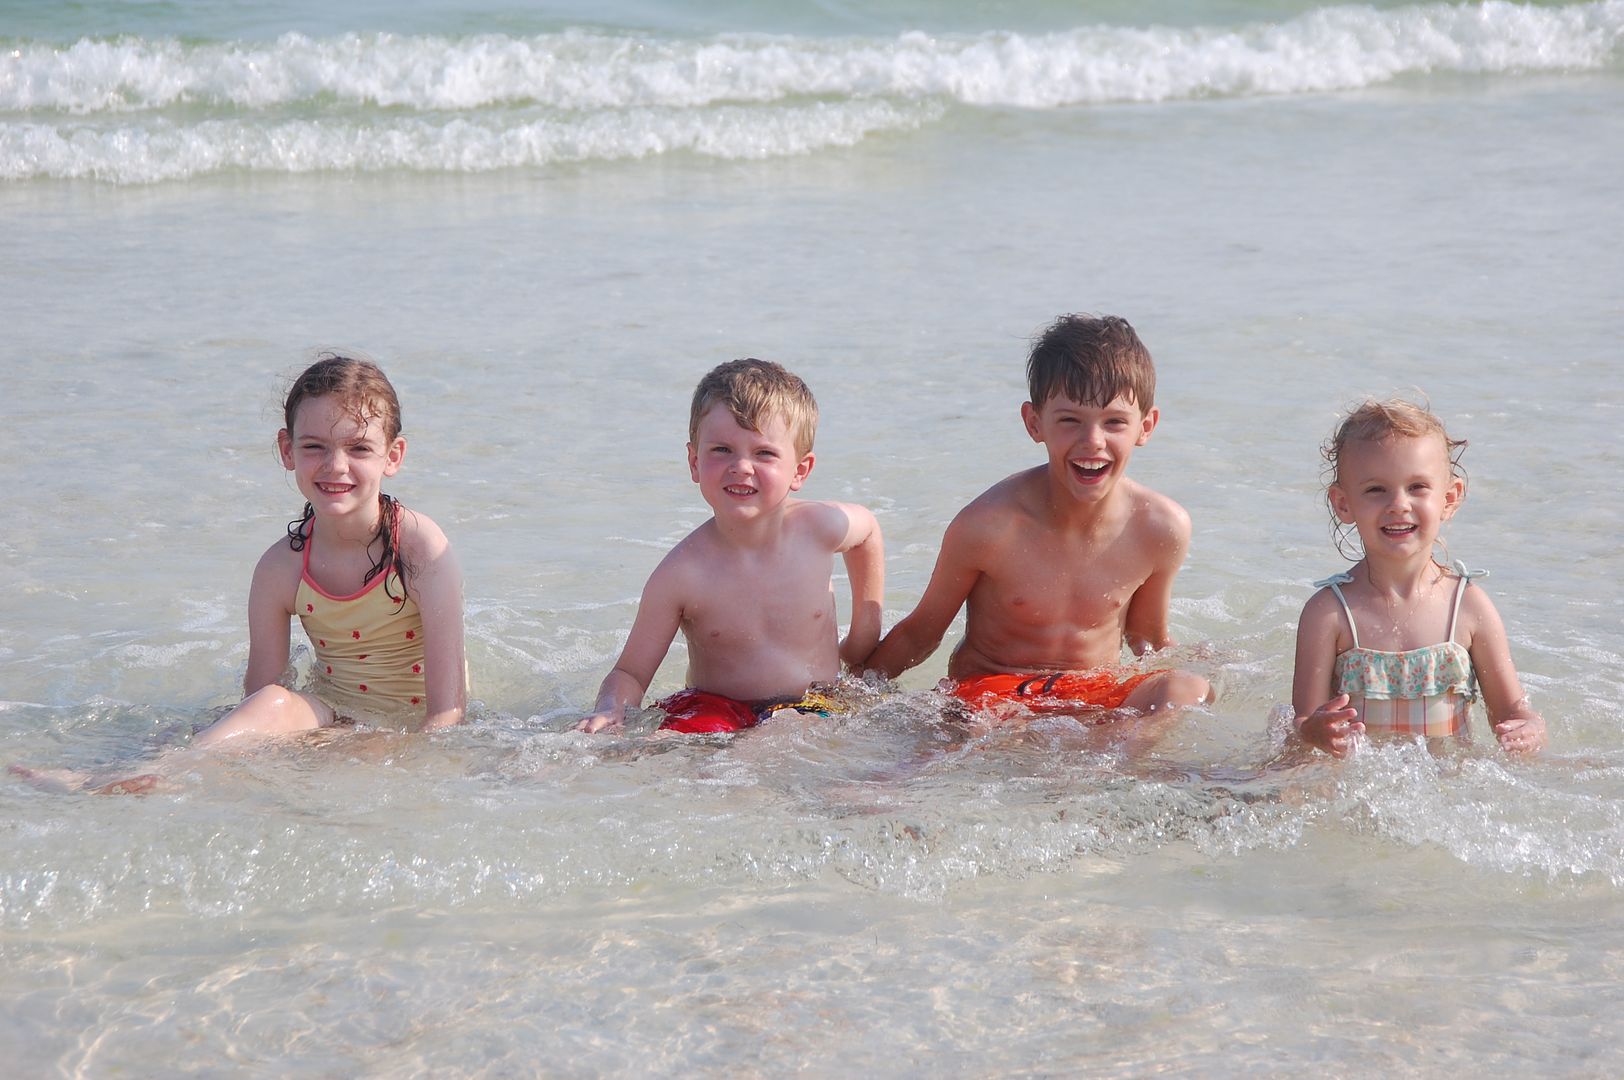
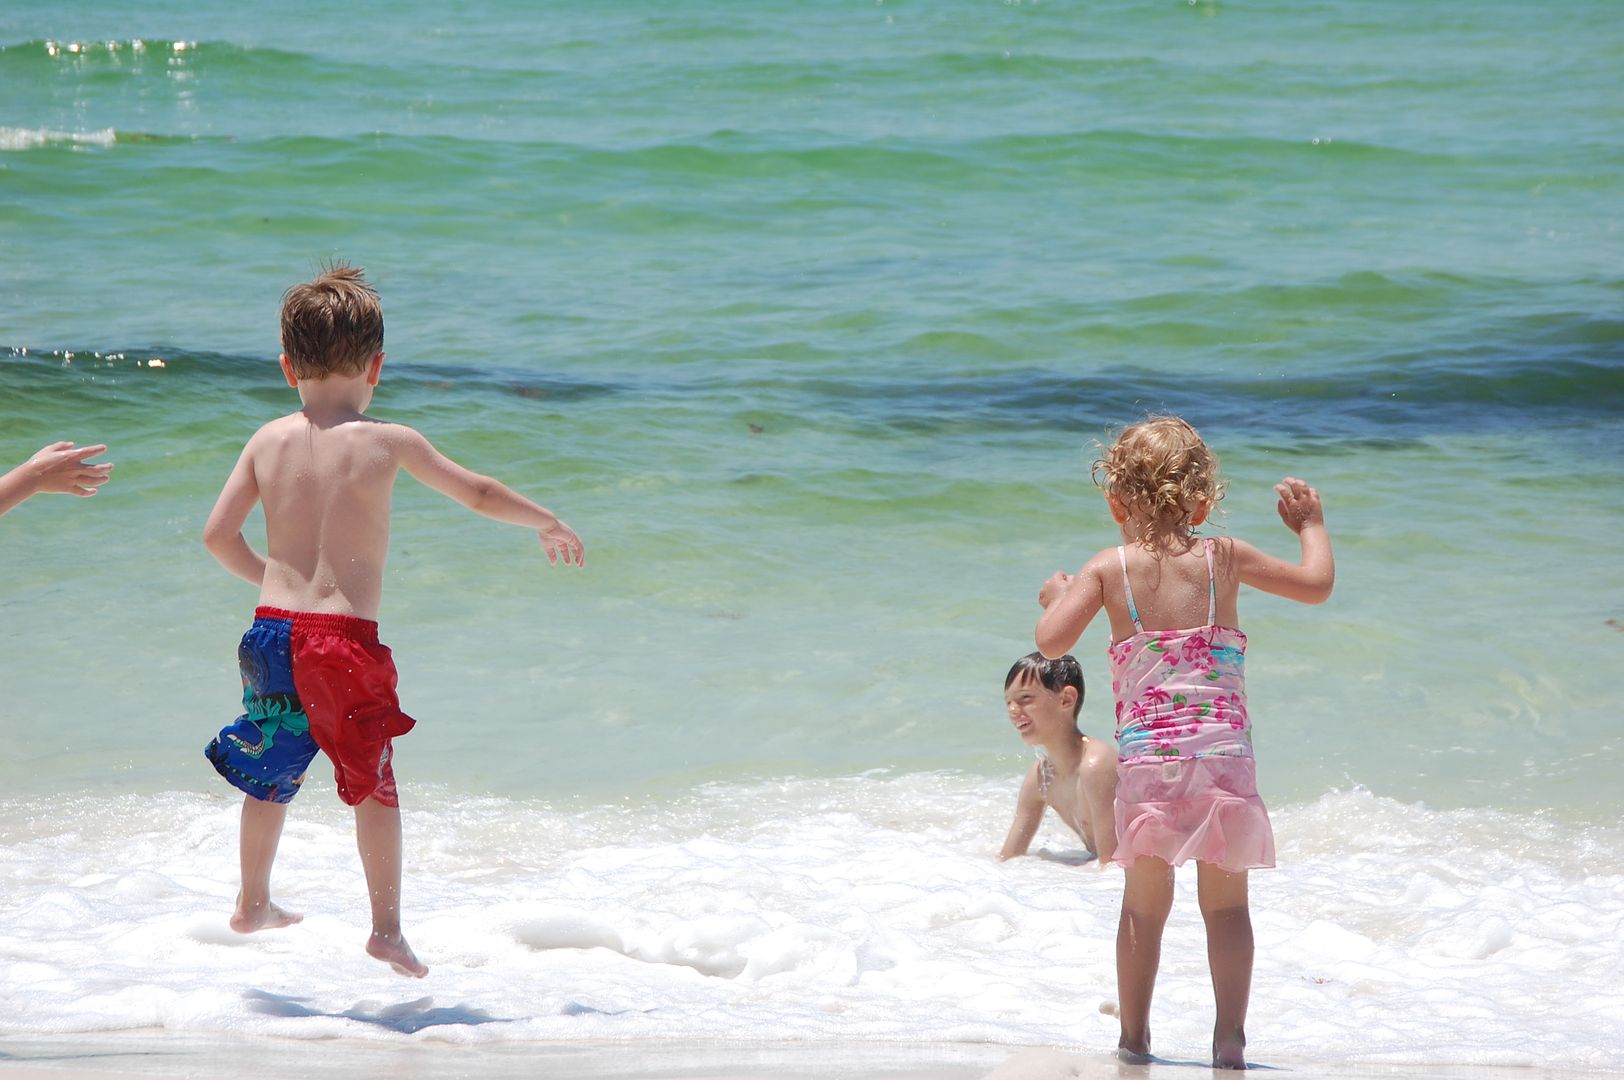
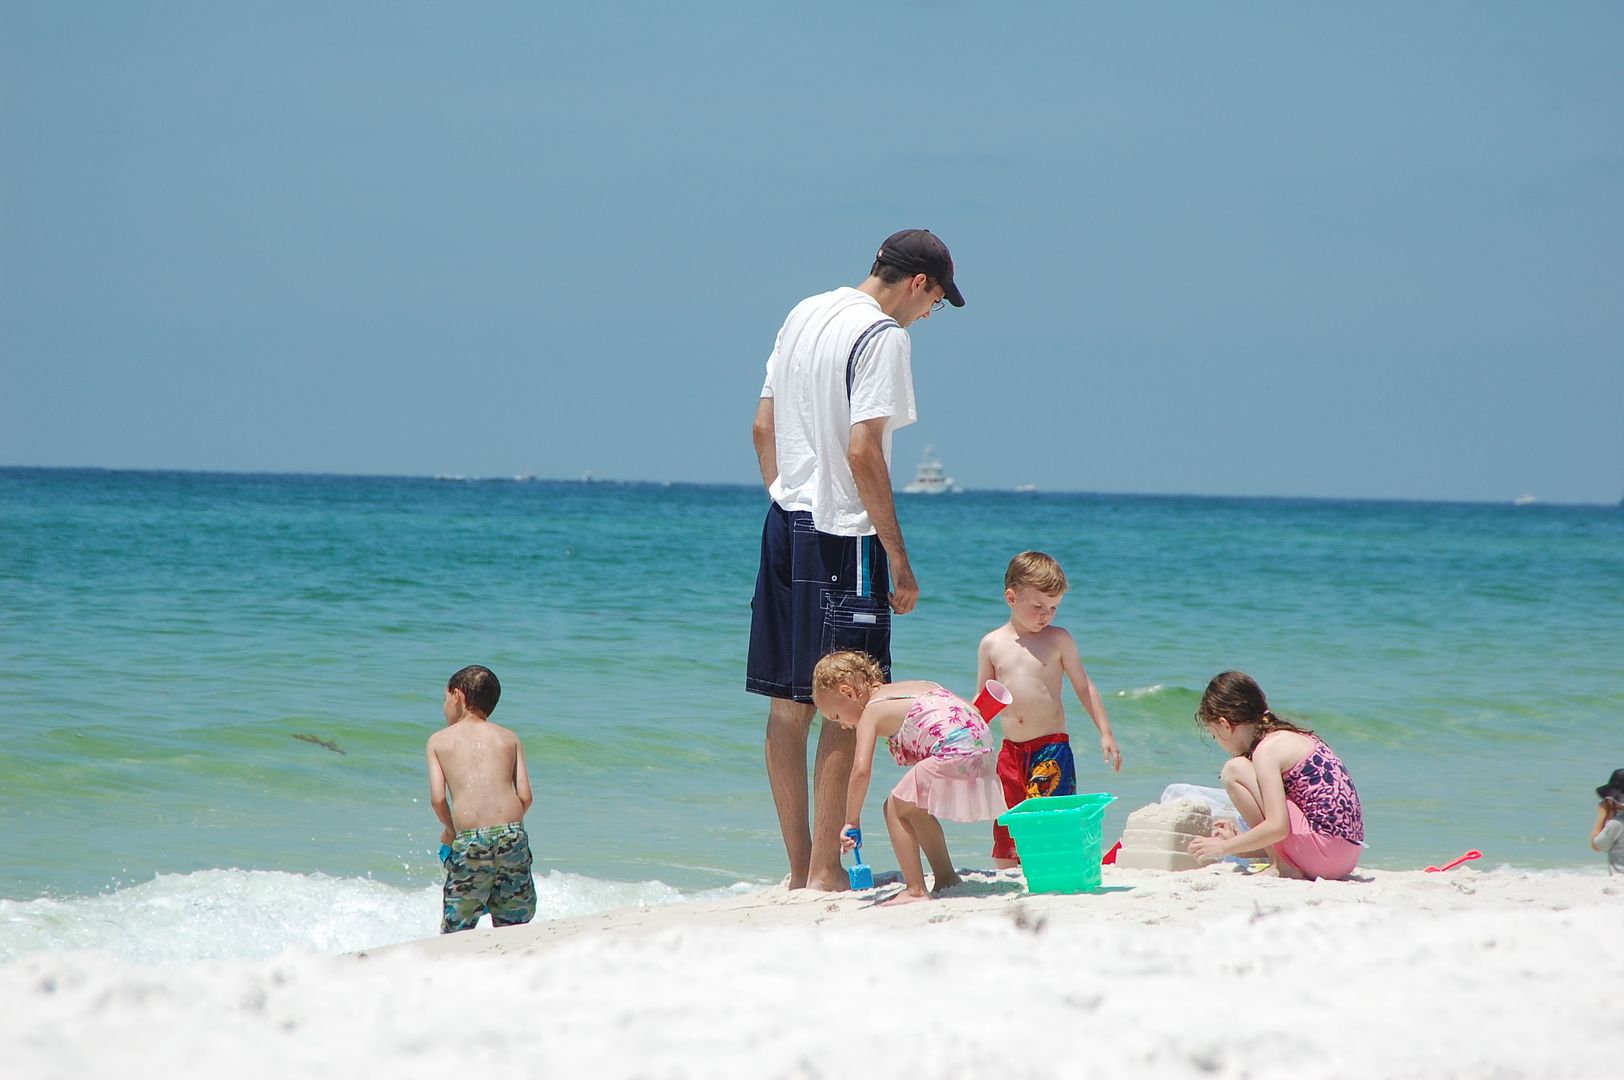
We just got back from our lil family vacation to the beach.  We went to Destin and it was just beautiful.  I really hate to think what it will be like when the oil will hit these gorgeous white beaches.

We only travel a few times a year in the car with the kids (usually to visit our families).  They aren't the hardiest of travelers.  We learned the very hard way that our oldest gets car sick very easily.  And Kalla gets a bit uncomfortable too back in the third row.  So we always have to start off with some Dramamine (of which is either a swallowing or chewing pill...both of which Z can't stand, but is getting more tolerant as he gets older).  

But to keep from the never ending 'when do we get there??' I keep a few tricks up my sleeve.  And yes we watch a few videos here and there which is a giant help.  

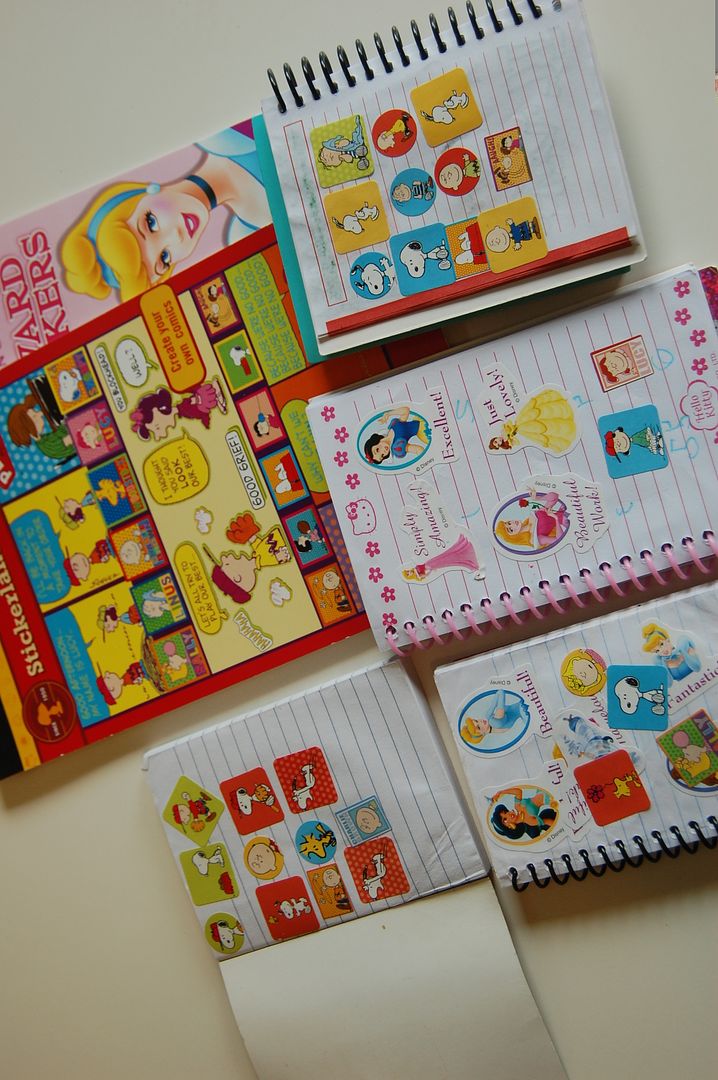
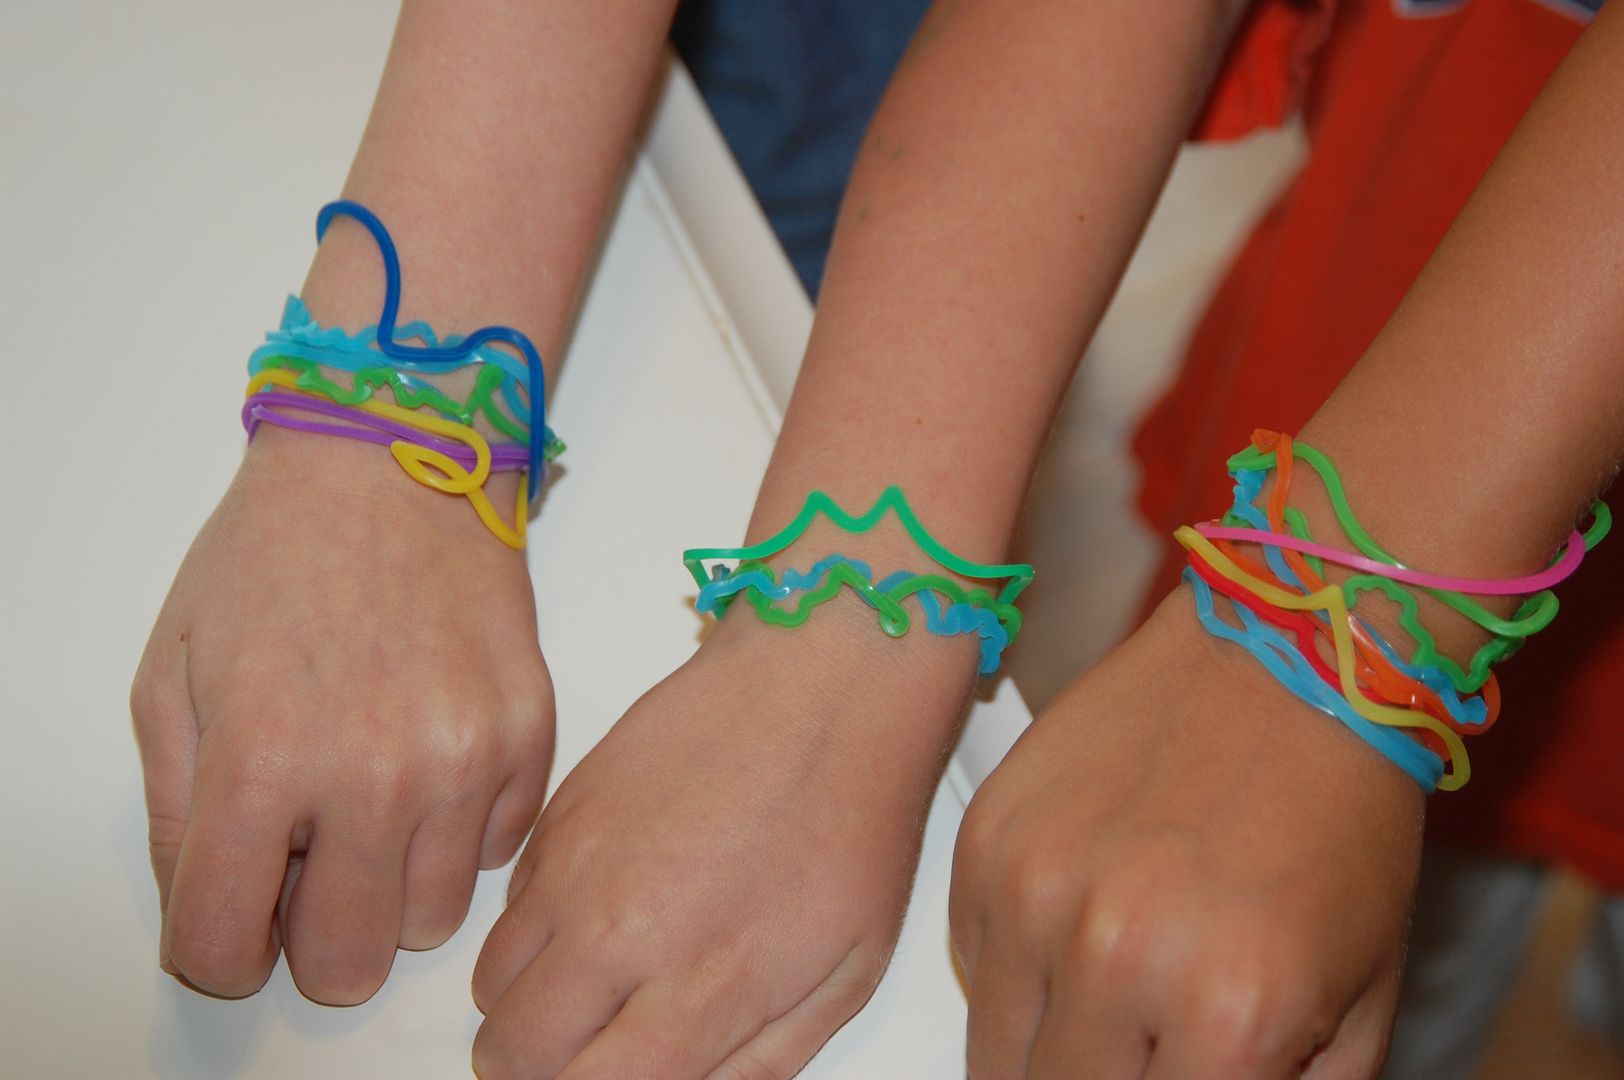
But this time around I gave them all a little notebook to keep.  Then every half hour if there was NOT any fighting, whining, complaining, crying or 'when are we there's' they got a sticker.  And believe it or not, just marking the half hour seems to make the trip go quick.  But of course there are rewards.  This time was for every 5 stickers they received a silly band.

I brought a couple of packages of silly bandz.  When they received one, they played with them, wore them and stuck them on the windows.  lol  Not sure if this fad has reached your area or not, but those who have know all about them if you have kids in elementary school.  They hit hard here in northern AL last year.

Now this method of marking the 30 mins and rewards works really well for my four.  Z even says it helps it go faster.  Another way I've done this before was I made key chains for the kids using a key ring and plastic string and various pony beads.  I tied a long string to the key ring and added their names and tied a knot to hold it on.  Every 30 mins I gave them a fun pony bead to add if they earned it.  For every 5 beads I let them have a dum dum sucker.  That one I used on a 11 hour trip and it worked like magic!  ;)

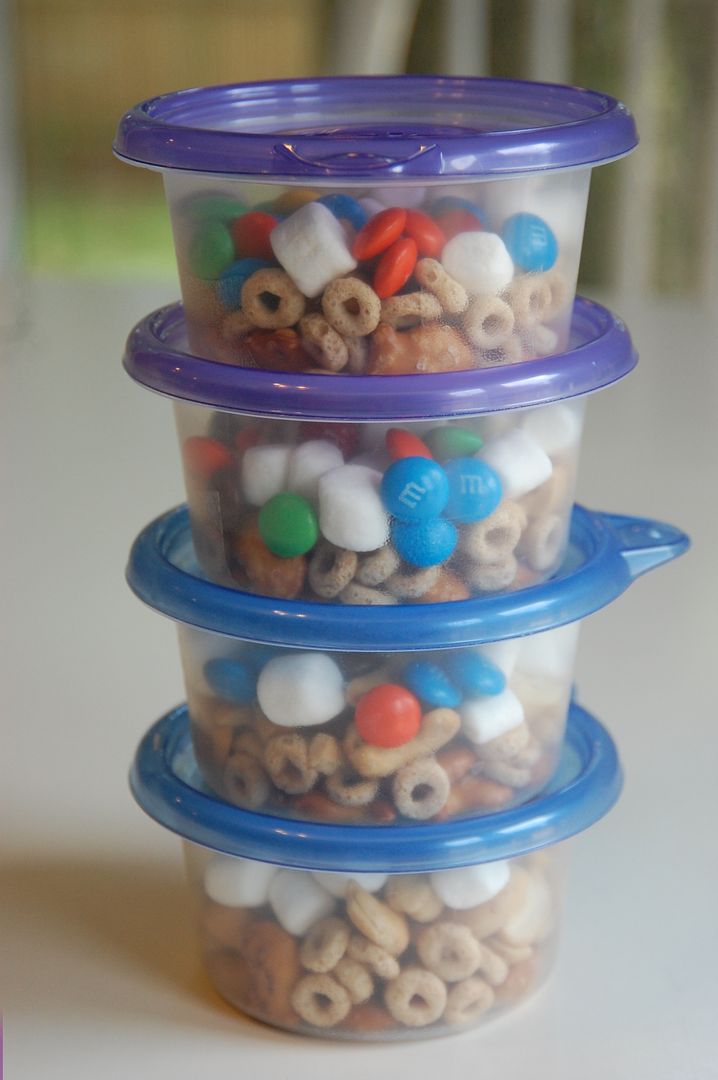
Something else I like to do to make road trips special is I make a special trail mix snack.  Simply just some dry snacks mixed together in their own little bowls.  This time I used pretzel goldfish, cheerios, unsalted cashews, mini marshmallows and M&Ms.


As far as actually being on vacation away from all their precious toys and not wanting to pack any of them I just brought a few things for them all to share that all would enjoy.
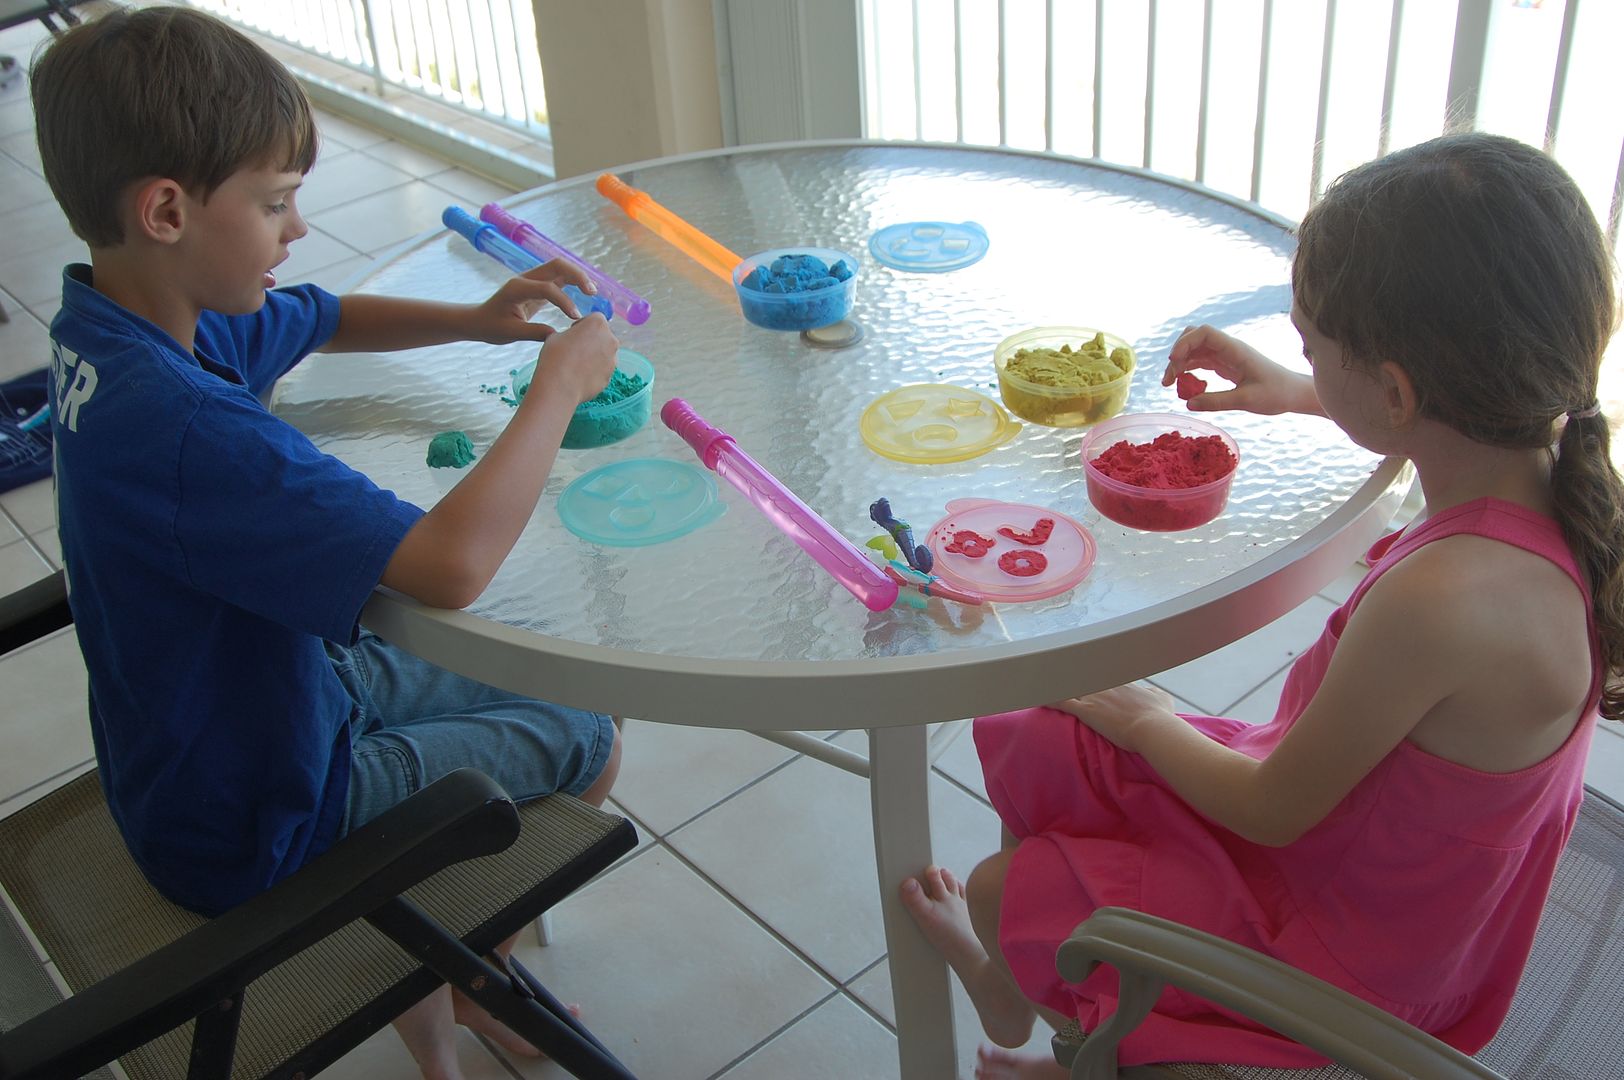
This moon sand really saved us during down times (when the little kids were napping) and impatient mornings...they wake at 6am every morning so by 7am they wanted to go swimming!  So during those times we played moon sand and blew bubbles off the balcony.  :)

But then I was scolded when they ran out of white paper quickly with the small stash we brought for the car.  So one of the grocery trips we picked up a ream of copy paper and they were happy as clams making all kinds of fun beach scenes.

Anyway, thought I would share some things that worked for us.  Anybody else have some road trips lined up this summer??  For us the rest of the summer will be people coming to us, so that was it for us for a while!

And........you know I have a share just a few of the 265 pics I took in 3 days...lol  :)


Wednesday, February 24, 2010

A Little Closet Organization

As much as I'd love a real mud room or an entry way that looks like this, it just doesn't make sense in our house.  We don't have a mud room.  The garage door opens up to our playroom.  We have a foyer at the front door, but it doesn't make much sense to spend all the money on cutsie wall 'closets' when we have a generous sized coat type closet right around the corner in our dining room.

But this is what it has looked like for a very long time.  I tried to hang hooks on the side walls for the kids to hang their stuff on, but they weren't sturdy enough and came falling out with much use (except one).  So little ones with arms far to short to reach the hanging bar, just threw their coats and bags and shoes on the floor.  I admit it, I would shove it all back with my foot and just close the door to try and forget about the mess inside.

Well I finally decided enough was enough and came up with a plan.

This is the after.  And yes it's not exactly eye candy, but it works.  I would have loved to strip everything out and paint it a fun bright color, but there are other pressing projects that are more visible that I want to tackle.  So ignoring the ugly walls, I cleaned up the closet.  I finagled a way to get hooks up for the kids to use.  I took this small drawer caddy that I no longer am using in my sewing room and put our winter gear and the kids extra totes in it.  Up top I used crates from Walmart to store my extra totes and serious winter gear (for when we go skiing) and my horse riding gear (would REALLY love to use that stuff again...I have promised myself I would make time to do that again soon!!)


The girls have one side and the boys the other side.  There is a shelf above their hooks that holds fav drawing books, etc to take to church on Sunday mornings.


They have 2 hooks each and labeled.


These have worked like a charm!  I took some leftover wood that was used for a cub scout project back in Dec and painted them red.  Then I used stickers for their name and coated the whole thing in glossy mod podge.  Then I screwed the hooks in (not all the way as they were longer than the thickness of the board.  After that I used 2 nails to secure the boards to the wall and then finished screwing in the hooks.  Nice and sturdy and none of those icky screw anchors in my wall!

Now everyday, my wonderful kids come in from school and outings and hang their things up (after a few reminders for a couple of them).  :)


Not really pictured, but on a higher side shelf I have my electronics and a basket of their accessories and chargers.  So as to easily retrieve the proper charger for each, I labeled the cords with a little electrical tape and a sharpie.  :)

Saturday, January 9, 2010

Doughnuts!


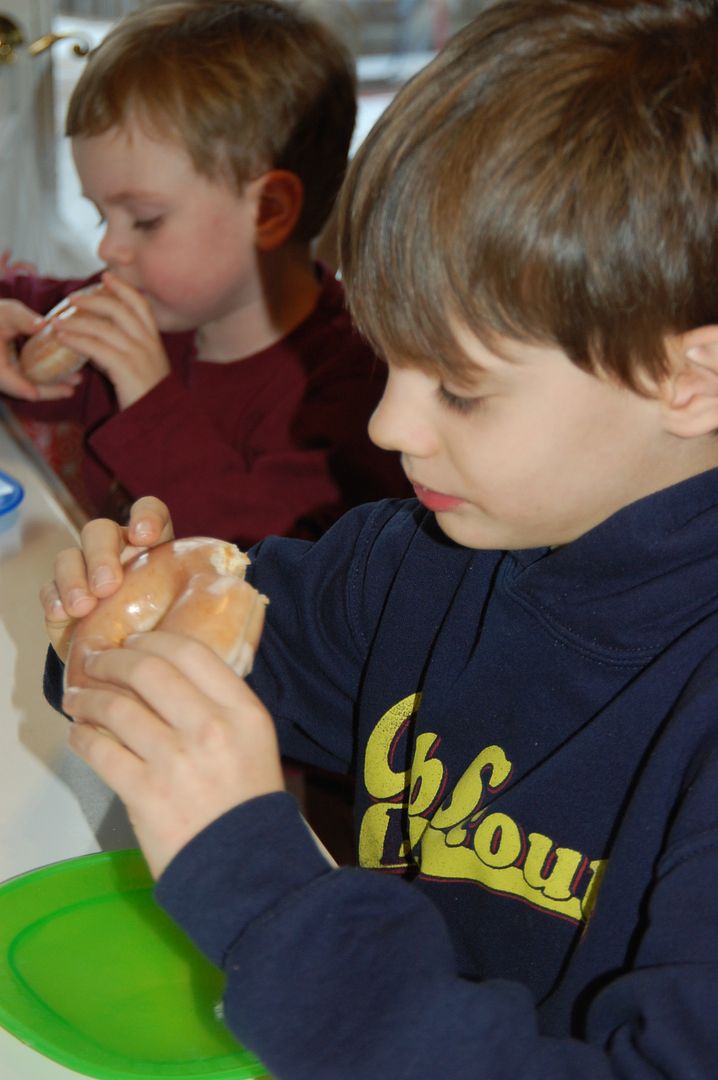
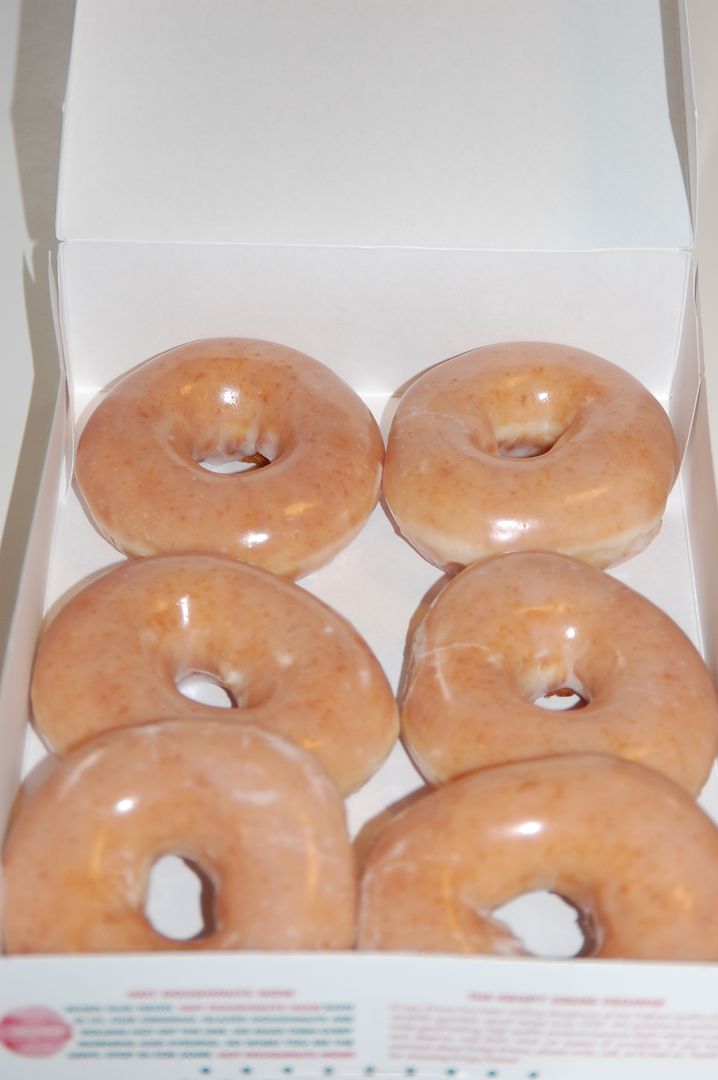
Did you know that you can get a free doughnut from Krispie Kreme for every A on your kid's report card?


Zachary is sweet enough to share with all of us!  Mmmmmm!


Tuesday, September 15, 2009

Make an easy quick cover for your old ironing board

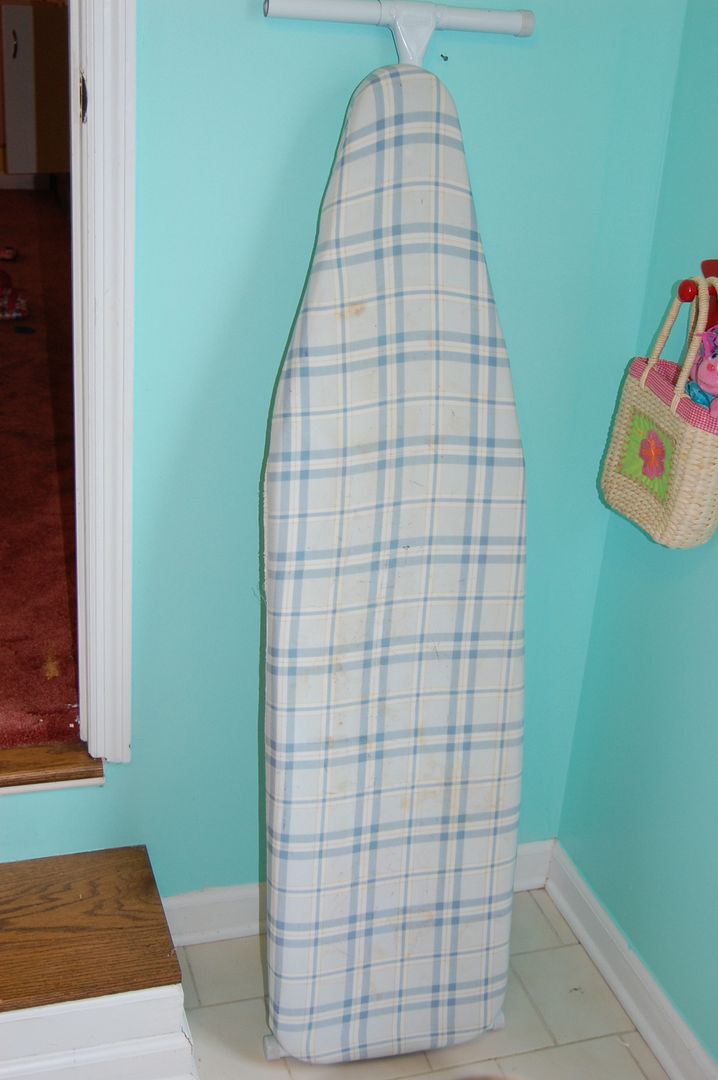
This is the before. I think this is the same ironing board I bought when I got my very own first apartment. Kinda yucky now. So I figured I'd make a quick cover for it.

Here it is now.

Yummy flea market fabric and matches my sewing/craft room!

And here's the low down on how I made it:

First you need a large piece of fabric. I used mine on the bias to use less length of fabric (I used fabric I already had and to get it to just barely fit I had to lay the ironing board diagonally...but I think the bias would make it fit better anyway.) You also need a long piece of 1/4" wide elastic. I used a new package as I wasn't sure how long I would need.

First I put my fabric on the floor and put the ironing board right on top. I roughly cut around the edges leaving several inches around.


First I serged all along the edge. If you don't have a serger you can simply zigzag stitch to prevent fraying or sew down a tiny hem. Once edge is done, fold over and pin about an inch in. Because there are curves I found that I had to gather or pinch the fabric you are folding over to make it go around if that makes sense. Then you just sew it all along leaving a casing for the elastic to go through.

Leave a small opening at the end to pull the elastic. Attach a safety pin on the end of your elastic through all the way around back out the opening.

Now attach your safety pin to the fabric on the outside temporarily and slip your cover over the top of your ironing board.
Pull all sides of your cover around to the bottom of the ironing board and adjust til it is snug. Now pull the elastic that is hanging freely out the opening tight until the cover fits tight under the board. Carefully undo your safety pin attached to the fabric leaving the elastic on it and pin it to the other elastic as you pull it tightly and pin them together very close to the opening. Now pull your cover off.
Cut the extra elastic off and sew the two pieces together securing with several back and forth stitches.
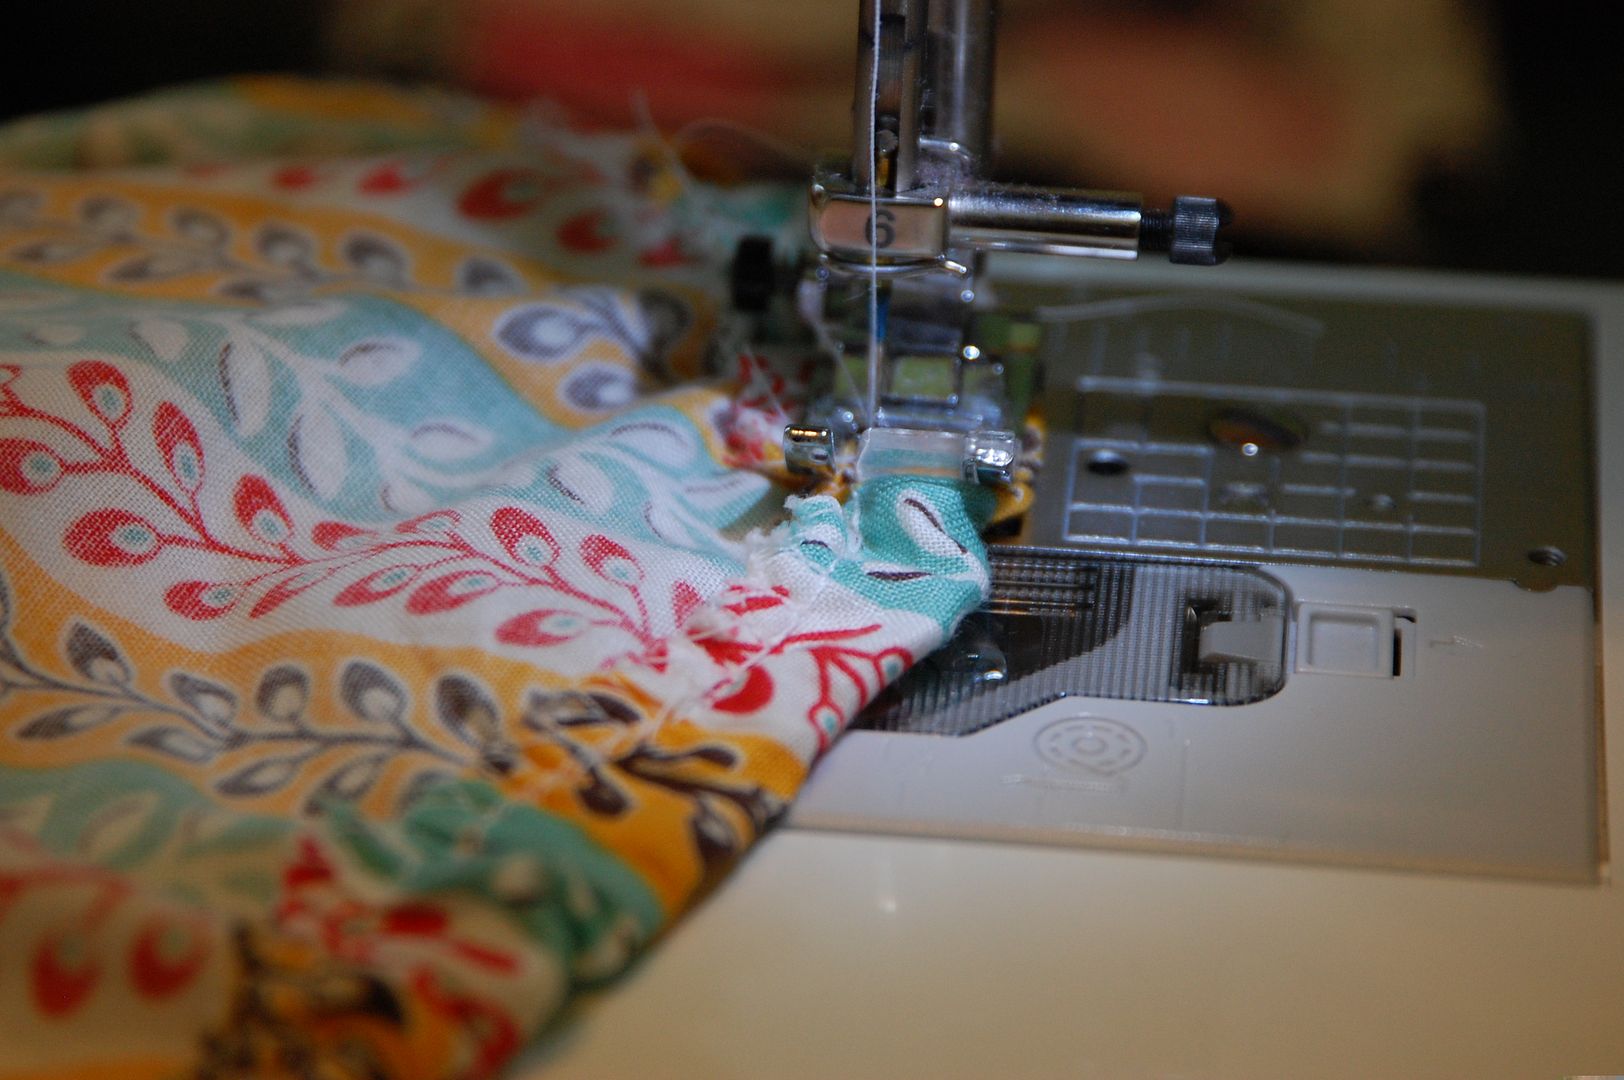
Tuck in the opening and sew the opening down. Now place on your ironing board. Now you may be inclined to not be too hasty to put away that ironing board! Enjoy! :)

Oh and a little tip. To clean all that gunk off your iron use a Magic Eraser (LOVE this product!!). A little elbow grease and that eraser and your iron will shine again! :)

LinkWithin

Related Posts with Thumbnails