Showing posts with label toys. Show all posts

Monday, March 19, 2012

Mommy n Me craft: Little Bear in a Box

bearcraft5
Maressa and I made this little Bea the Bear in a box for a friend's birthday.
Maressa drew the bear with fabric markers on a small piece of white cotton.

bearcraft6
We added a tiny bed in a box and a tiny blanket and tiny bunting  for decoration.
Bunting is just some washi tape and bakers twine.

bearcraft1
This idea was mostly inspired by a drawing she made the day before of all these adorable colorful bears.
Also inspired by this kids art stuffies project and putting bear in a box by this adorable project.
So first I had Maressa draw and color a bear on a piece of fabric.

bearcraft2
Now she wanted me to take a picture of her with her picture...lol

bearcraft3
Then I put the drawing face down on another piece of white fabric and sewed around the outline of the bear.  I didn't want this super detailed so I just went widely around the corners and curves.

bearcraft4
I left a hole in the bottom and then pulled the bear right side out and stuffed it.
Then I hand sewed up the bottom hole.

bearcraft7
Course after the gift was made, everyone wanted a tiny stuffed friend.
Maressa made 2 bears...one for her one for big sister.
Micah wanted to draw his own and of course made a dog.
Zachary made himself a lizard.

No boxes for their friends yet.  I may surprise them with one soon.  :)

Tuesday, March 16, 2010

Teeny Tiny Giveaway

Hey guys!  We're in the middle of spring break here...though spring hasn't showed up yet.  Took the kids up to Chattanooga (my birth city) to the aquarium yesterday as a mini field trip.  We had a great time and the penguins I think we the unanimous favorite.  The rest of the week we're going to play and I've got a few projects, home and craft, on my to do list.  Friday, husband will take the day off and the weather is supposed to be real nice so we'll be picnic-ing and park playing.  So I won't be around here this week.  But to keep you busy I am having a little giveaway.   :)

***Contest is now closed**************

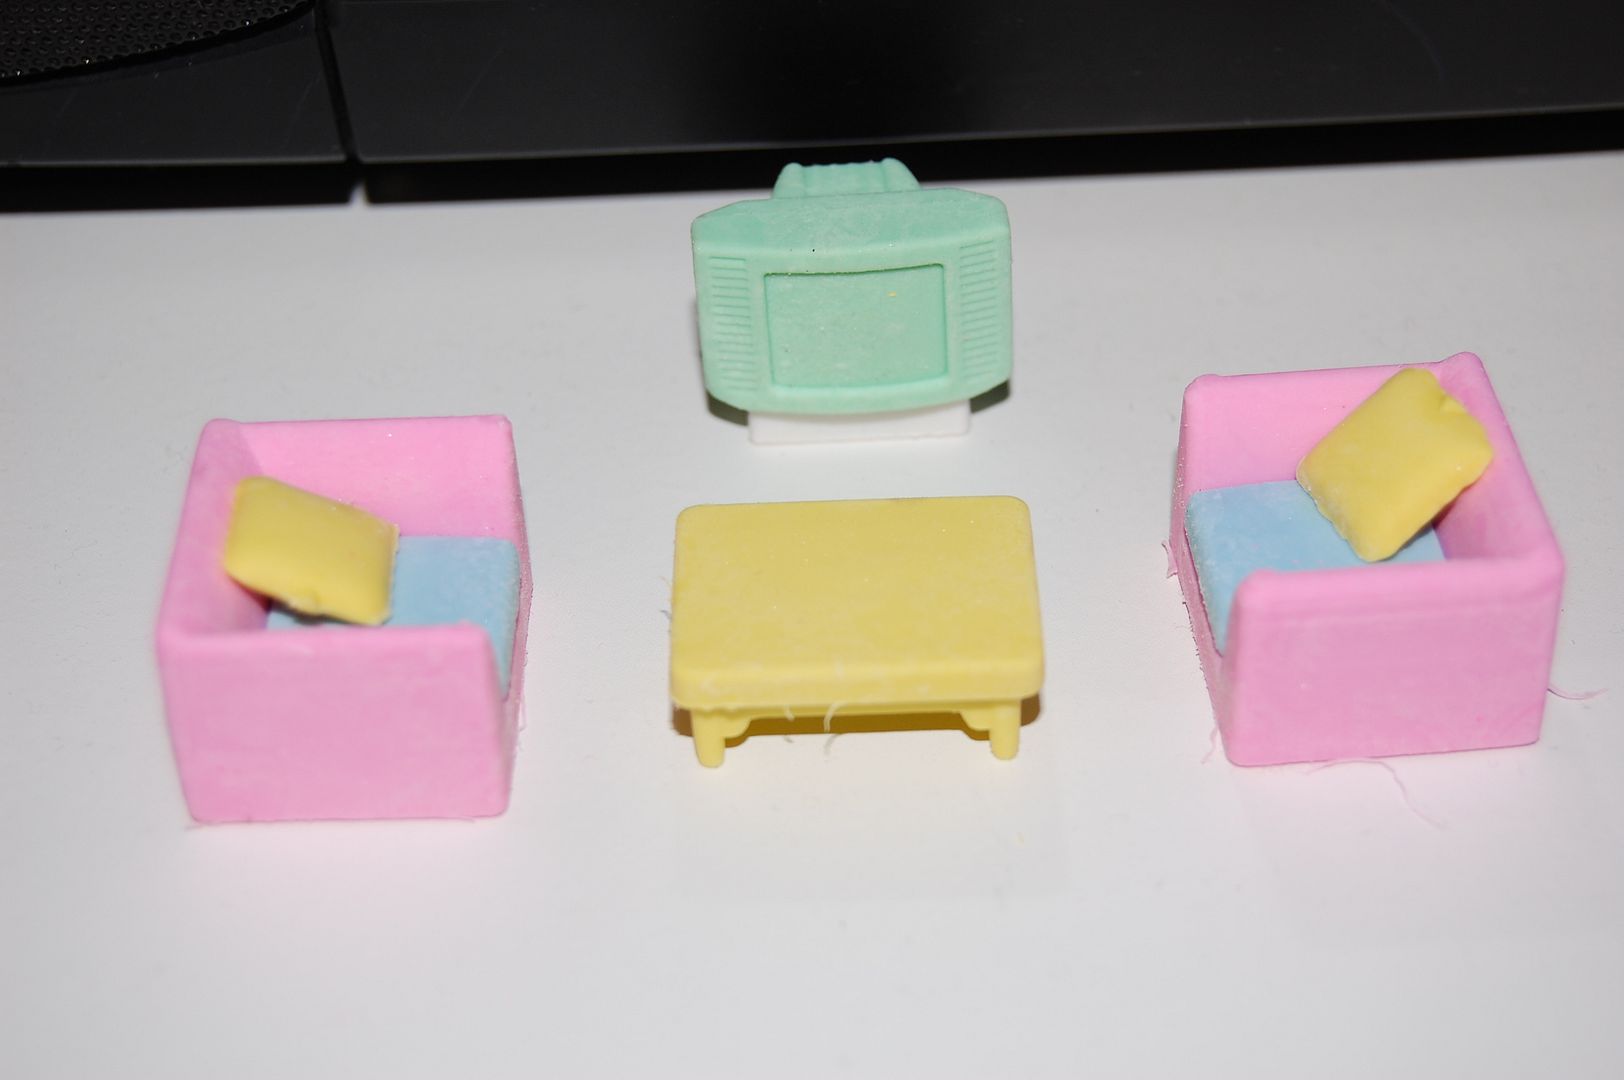
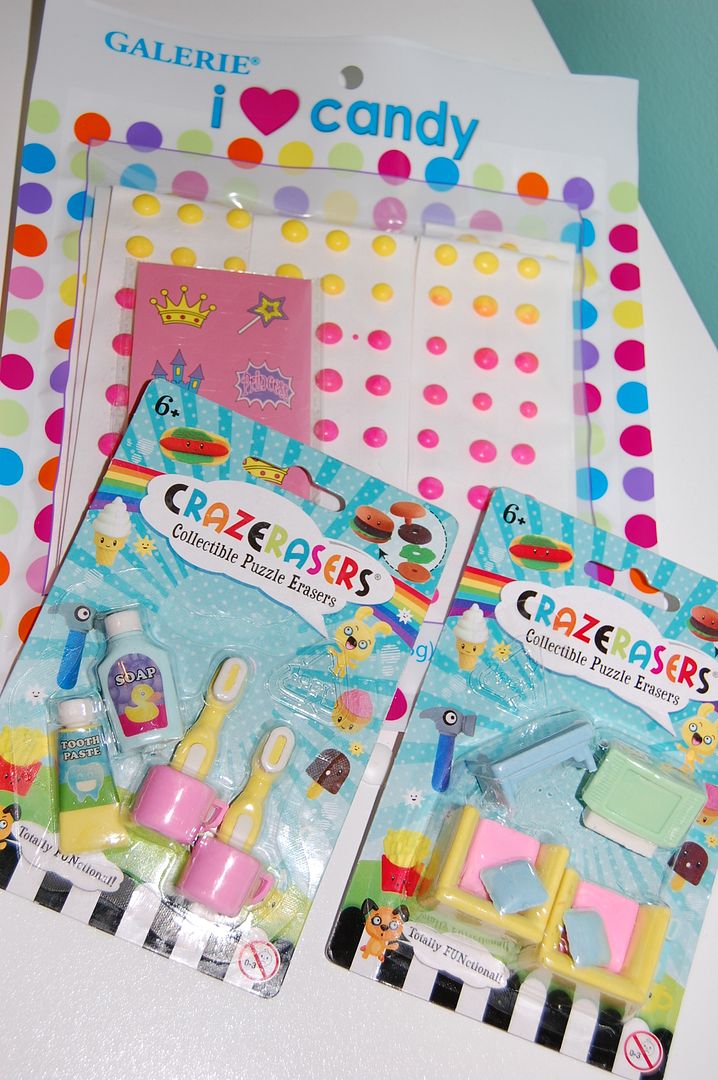
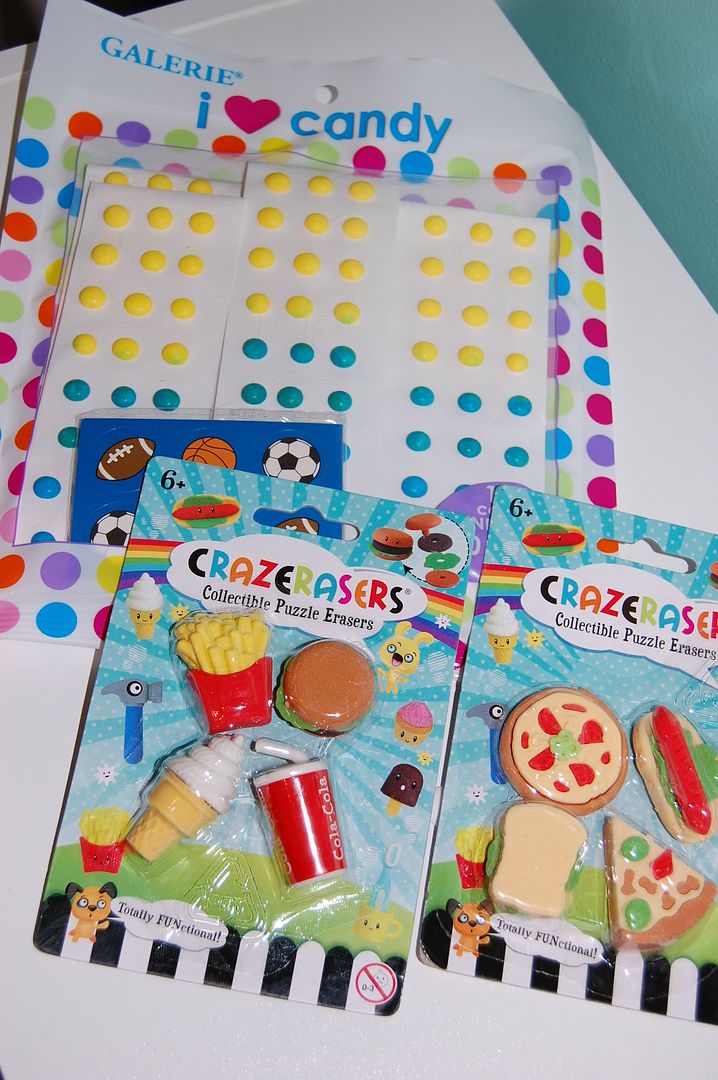
The other day I found these adorable tiny collectible erasers called Crazerasers.  I thought they were just TOO CUTE!  So of course I had to buy the whole collection (I have issues).  Then I picked up a couple extra.  Thought you guys might want some.  :)

I have TWO sets to giveaway:

This chair set and toothbrush set, along with those vintage type button candies.


And a two fast food sets and some blue button candies.

To enter just leave a comment.  Feel free to share your spring break plans.  Giveaway open to US residents only.  One entry per person.  I will pick TWO winners with a random generator on Friday morning.

Have a great week!!

Thursday, February 4, 2010

Girl Crafts~Making a jewelry box and some pretties for her doll

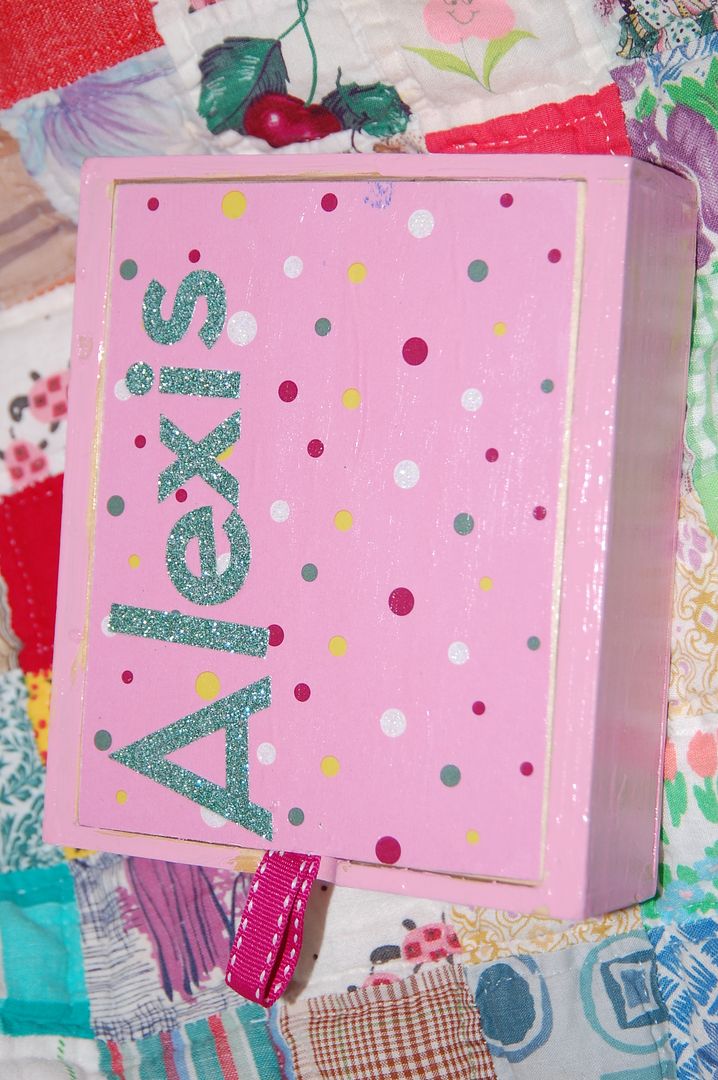
Kalla and I had a craft day last weekend.  We made lots of stuff for her doll.  She got an AG doll for Christmas and it comes with a book of things to do with/for your doll.  She is all over it!  lol  So she wanted to make a necklace for her like in the book (they are doll and me necklaces, but K doesn't like to wear jewelry).  And we decided to make a jewelry box as well.

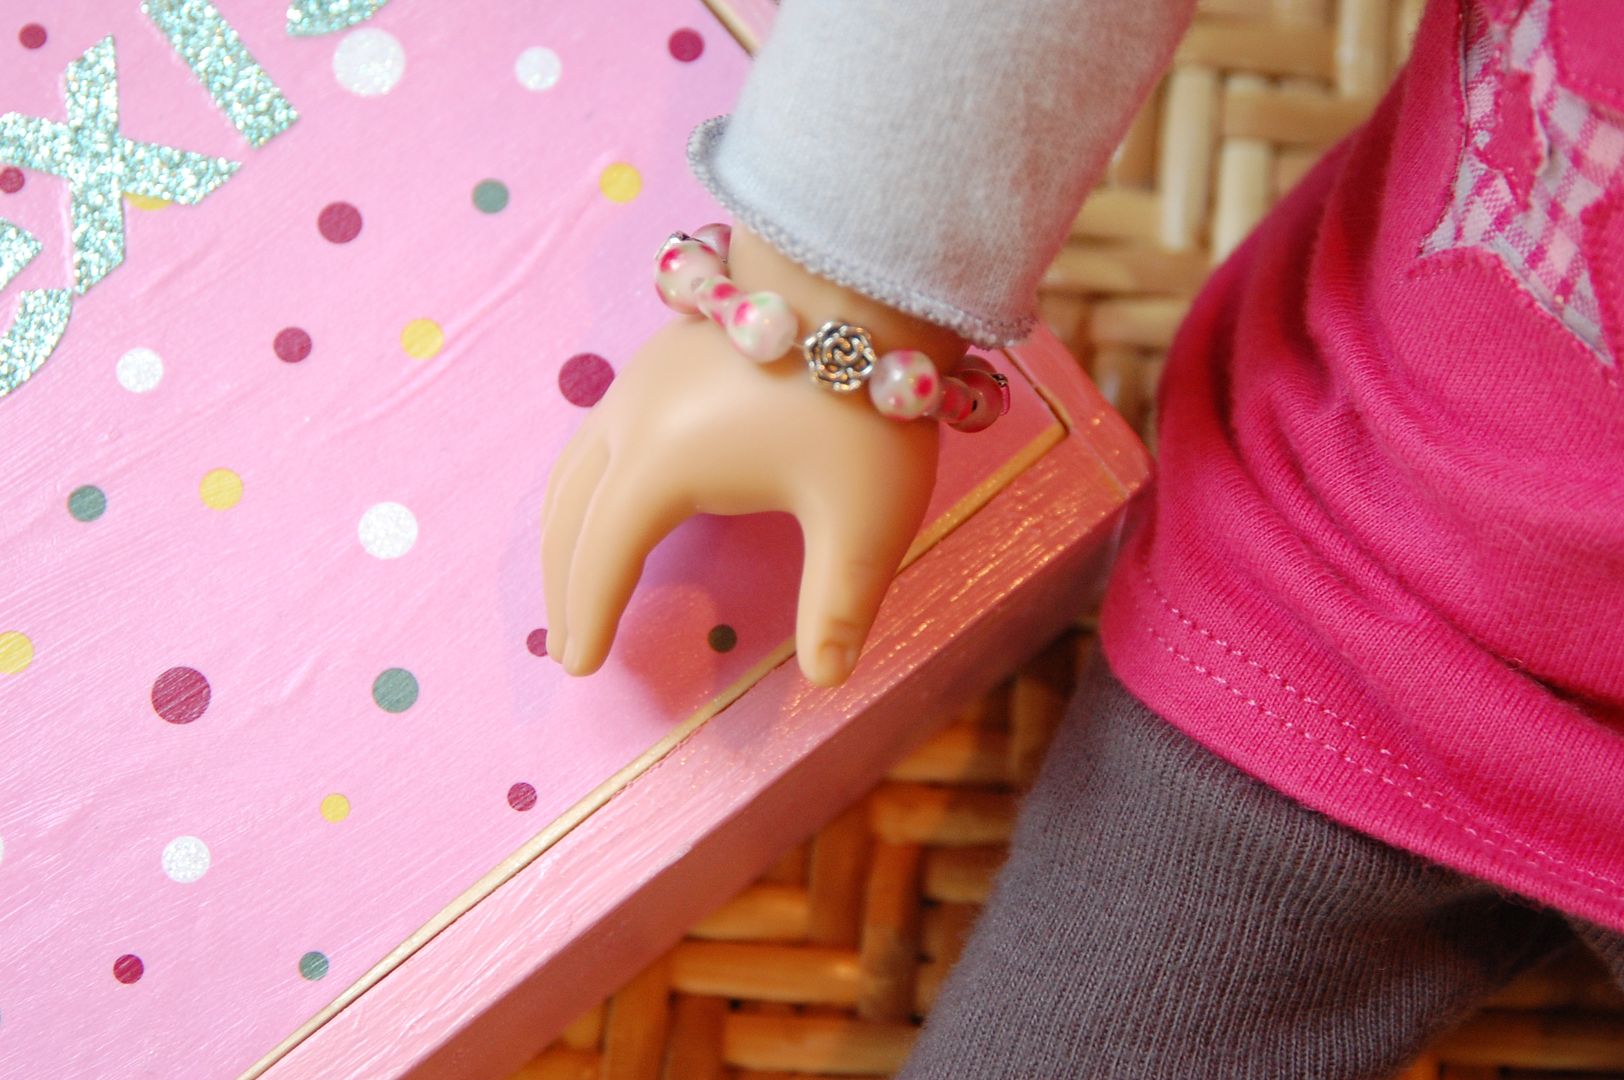
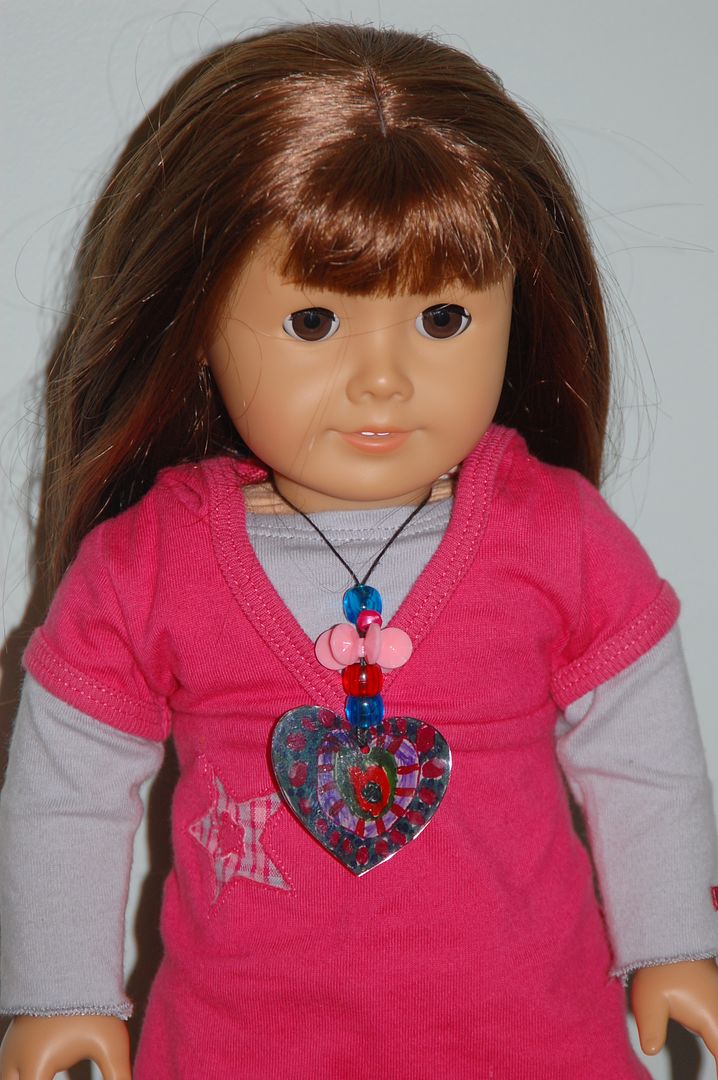
Here are the pretties we made for her doll to wear.

The bracelets are just beads strung onto a clear elastic bead string.

The necklace is a little big, but Kalla liked it and made it all herself.

So here's a low down of what all we did to make this stuff.

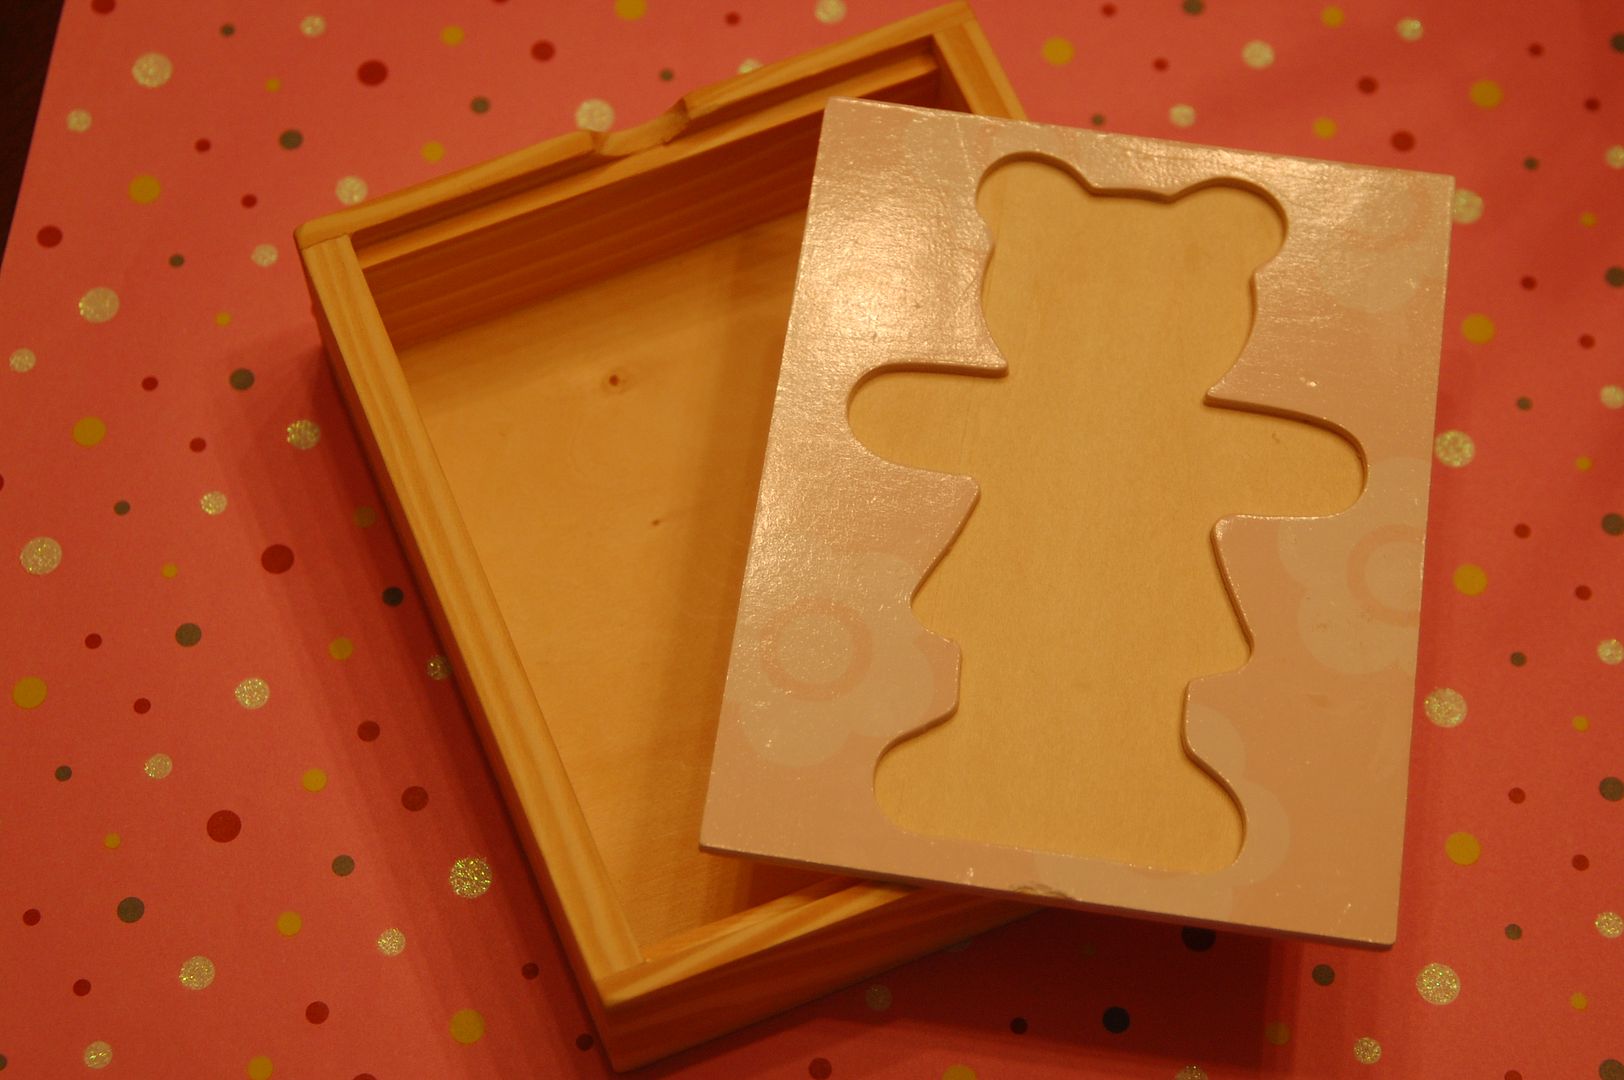
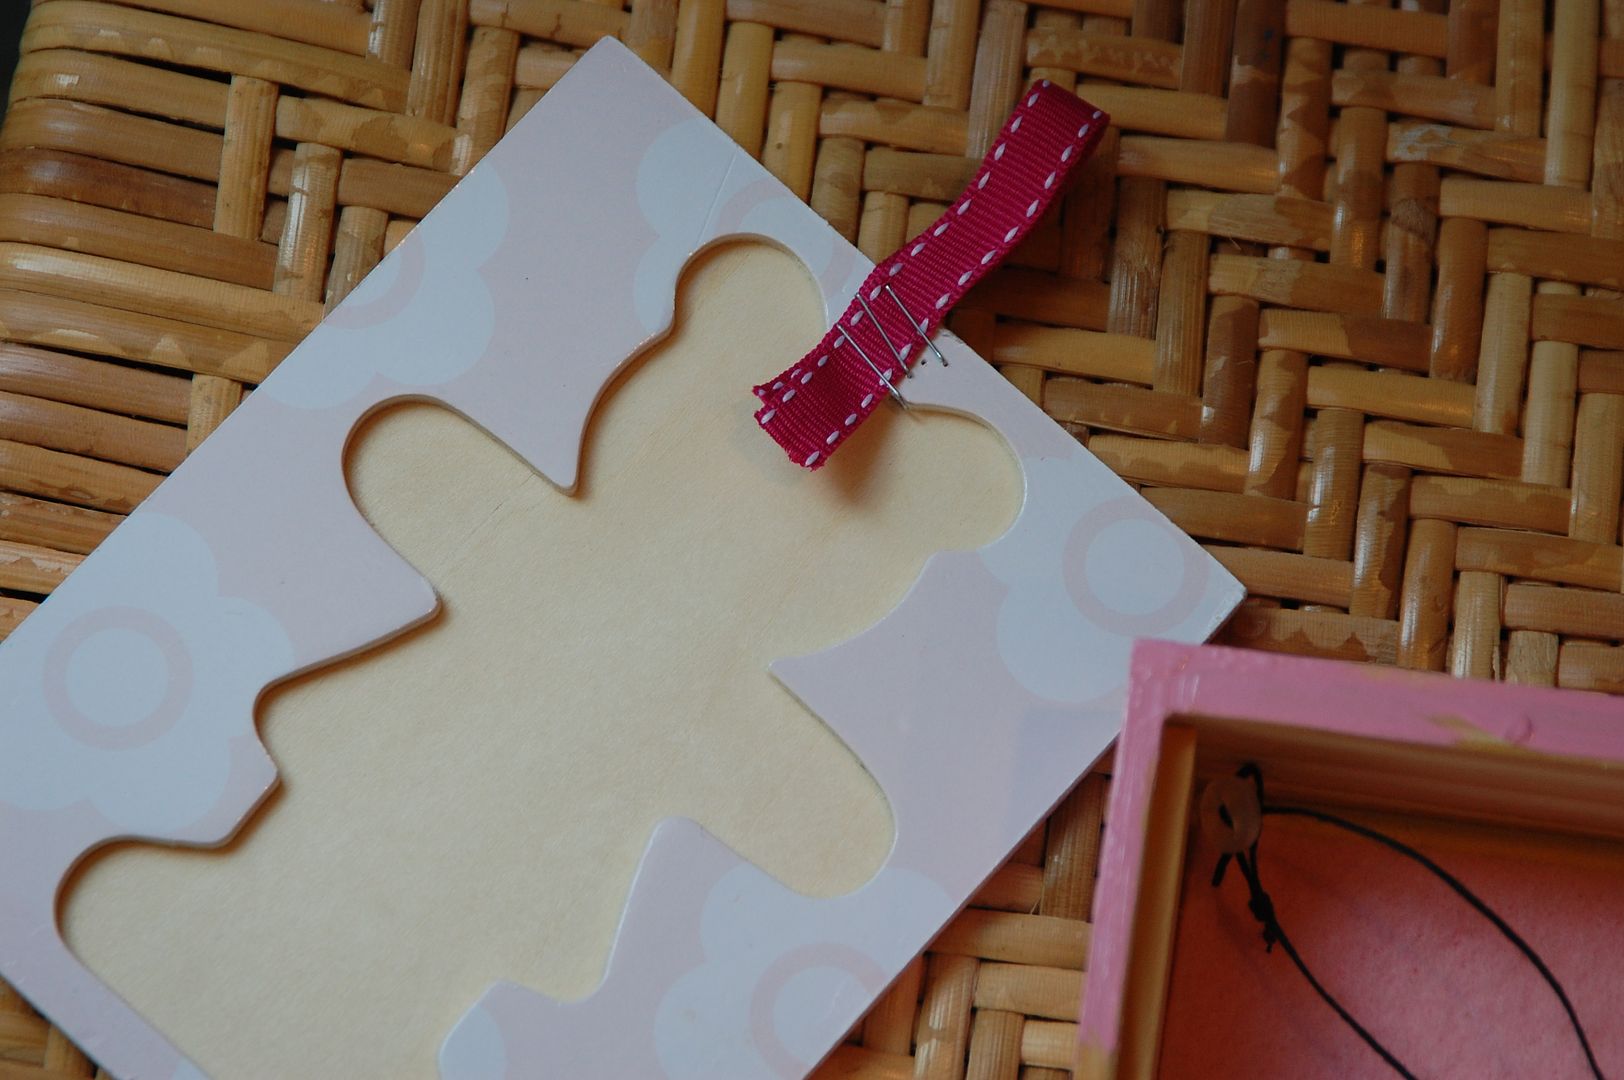
I keep everything if I think I can make a craft with it.  So here I found this box that once was a cheap bear Target puzzle (we took the pieces out long ago and glued magnets on the back to use on the magnet board in the playroom).    Perfect size to hold jewelry.  You of course can get a paper mache box to decorate at the craft store.

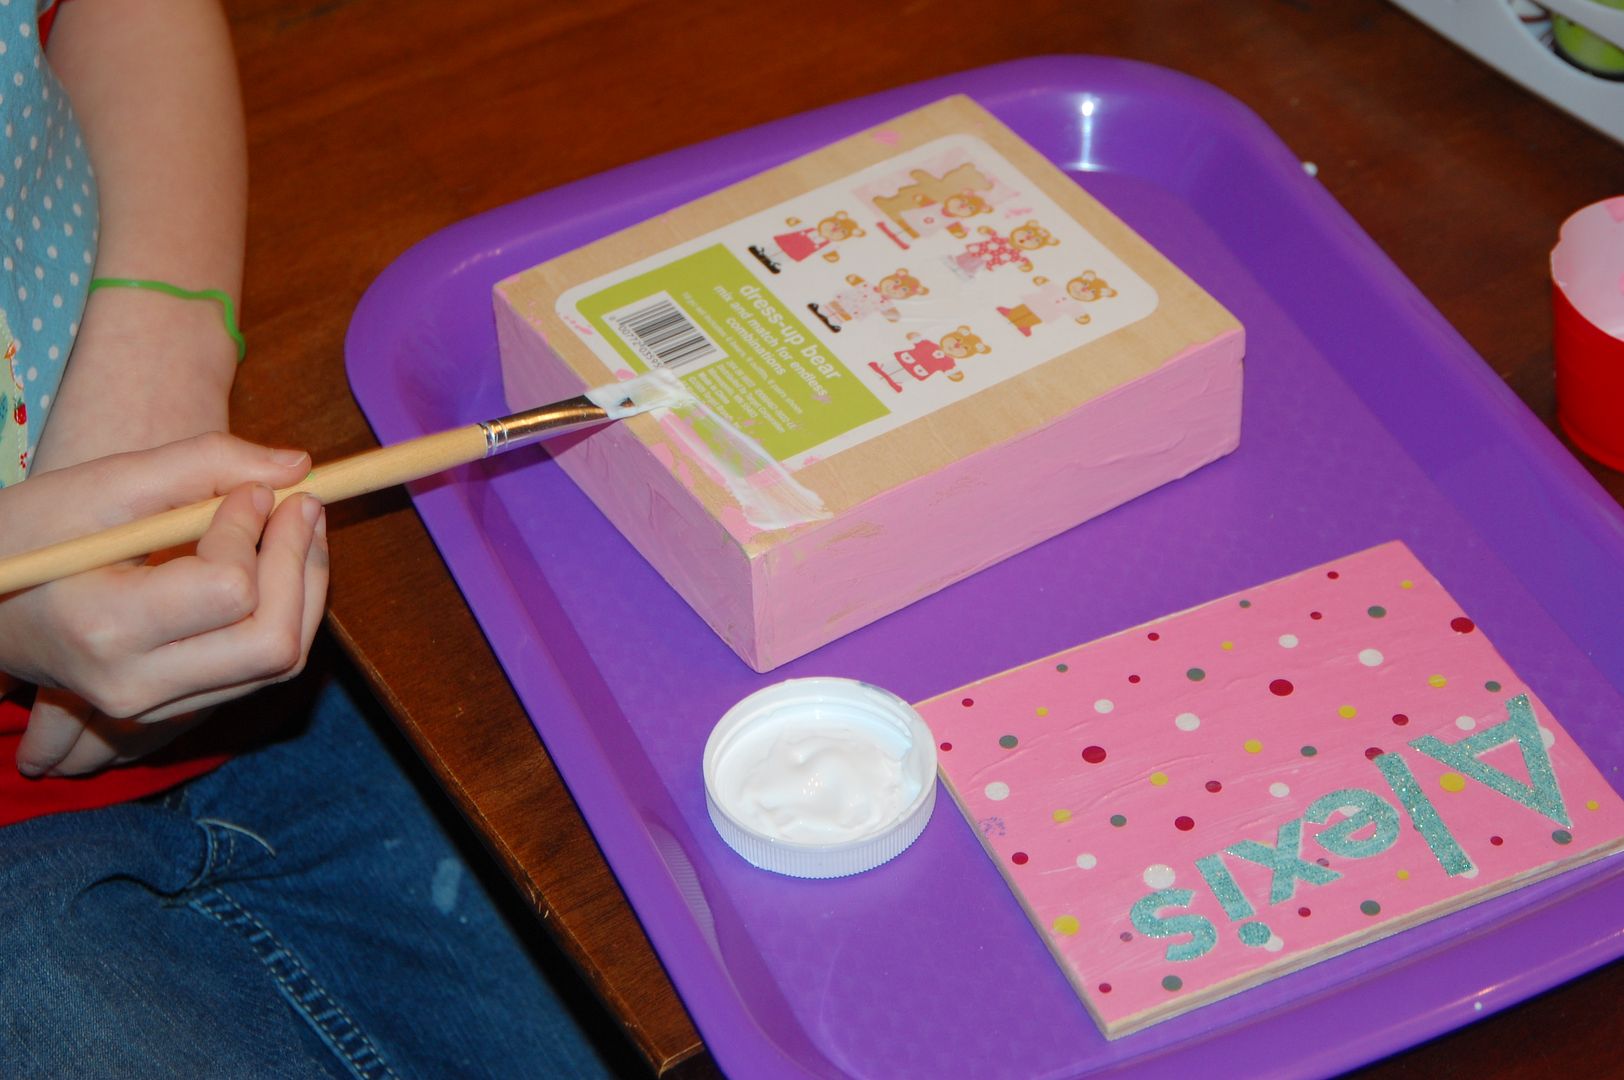
So first K painted it all pink

Note:  here is a good post on how to remove acrylic paint from clothes if you let your kids use acrylics like I do.  We did well on this project with sleeves rolled up high and apron on.  You could also have them wear an old adult tee over their clothes too.

Then we turned over the top to the smooth side and mod podged on pretty paper.  Did the same to the back.  Added letter stickers to spell out her dolls name.  Then we covered the whole box in a generous coat of mod podge to make it nice and shiny.

After it was all dry, the lid fit too tightly on top due to some paint on the sides of the lid and whatnot, so I sanded the edges down til it fit nicely.  Then I stapled a ribbon pull to make it easier to open the lid.  We also cut a piece of felt to glue down to the bottom of the inside.

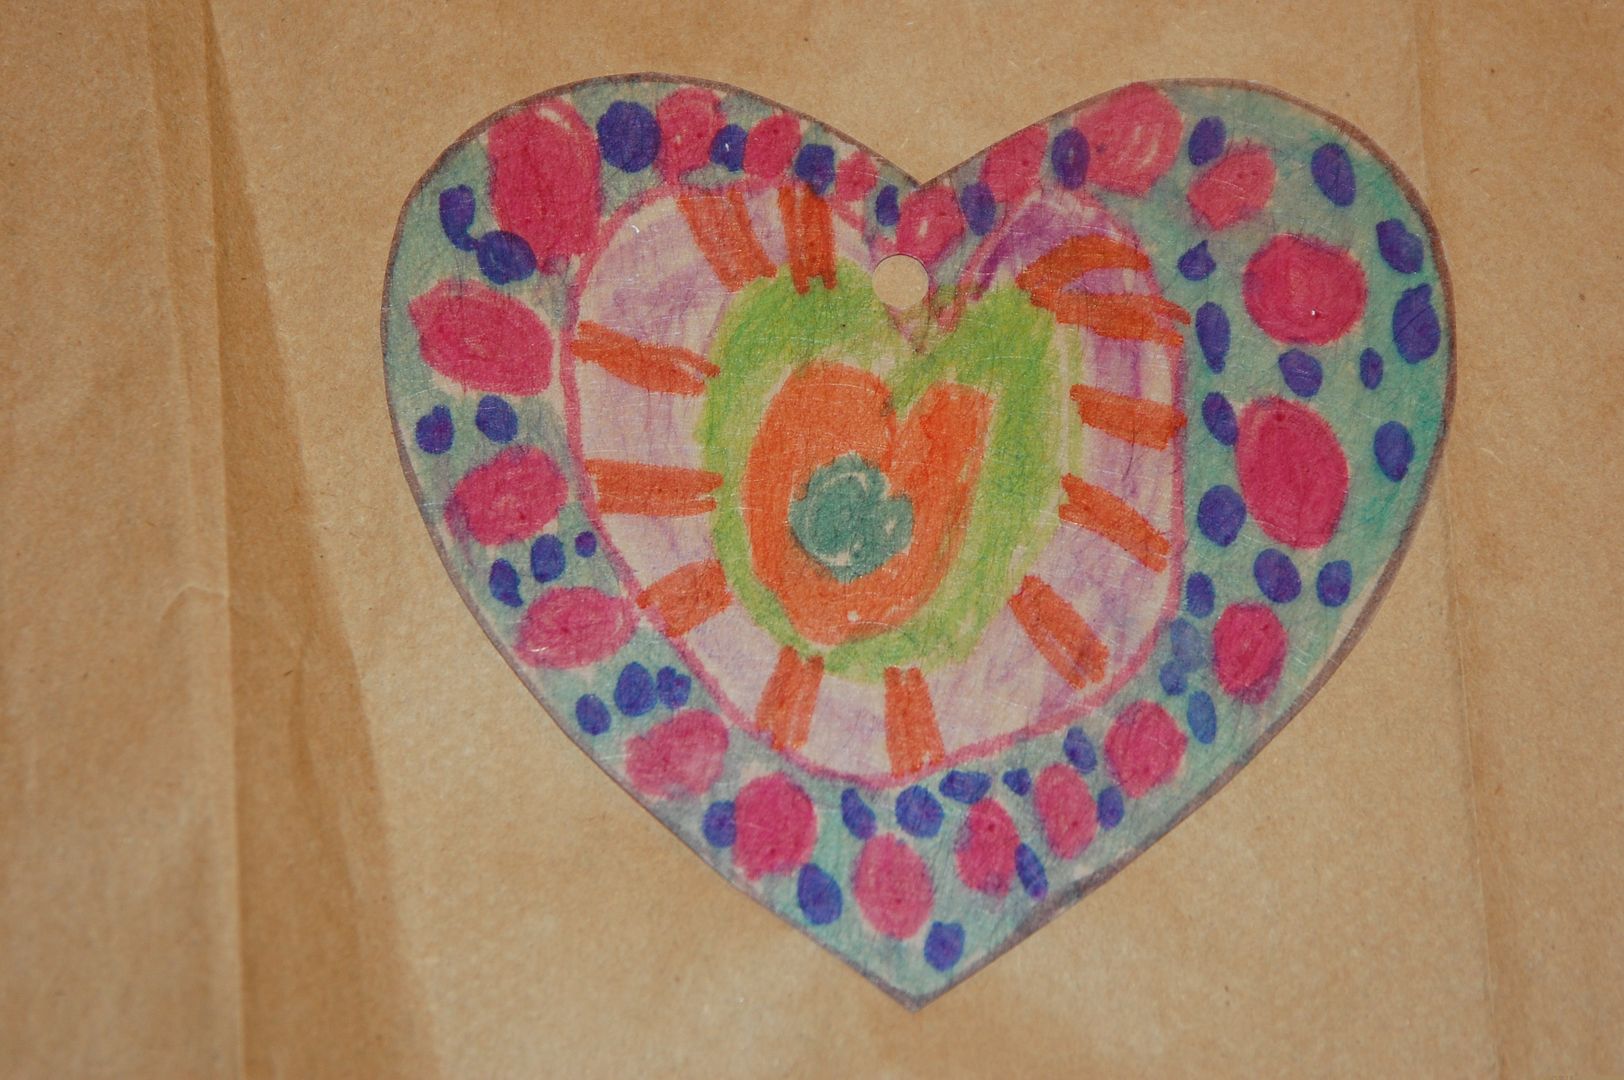
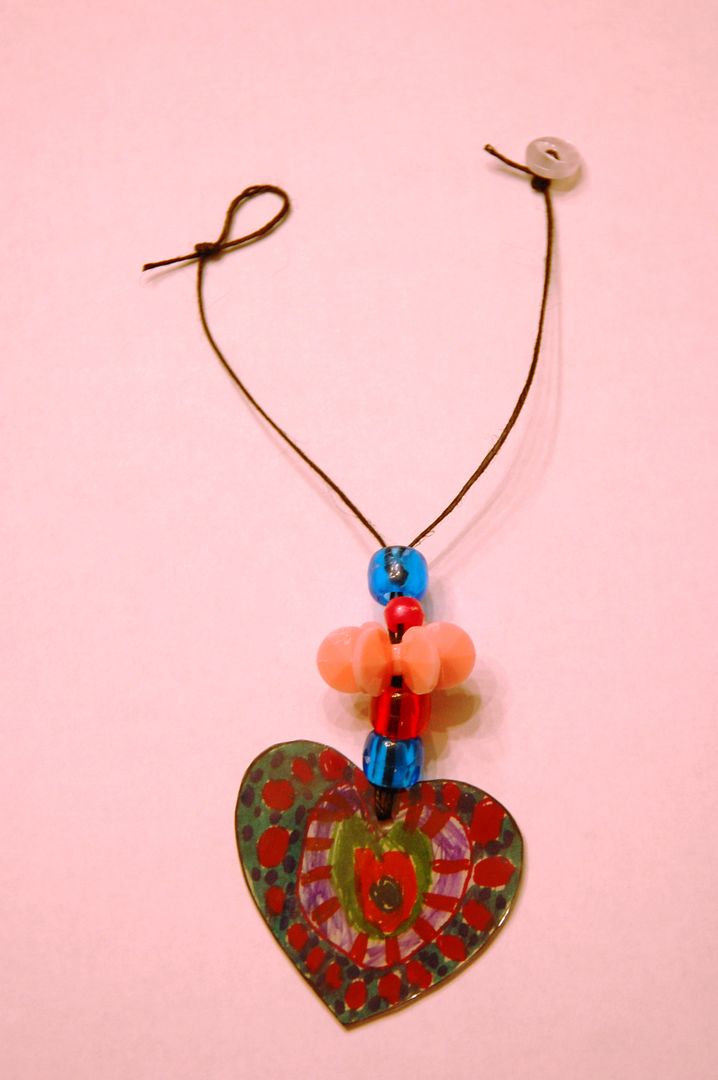
For the dolls necklace I traced a heart onto shrinky dink paper and let her decorate as she pleased with Sharpies.  Then I cut it out and punched a hole in the top.

We strung the heart with black waxed string found in the jewelry section of the craft store and K strung on some choice beads as well.  Then we made a button latch on the ends by tying on a button on one end, and tying a loop on the other.


That same day as K is determined to make everything the book suggests, she needed a hat and some cookies as well.
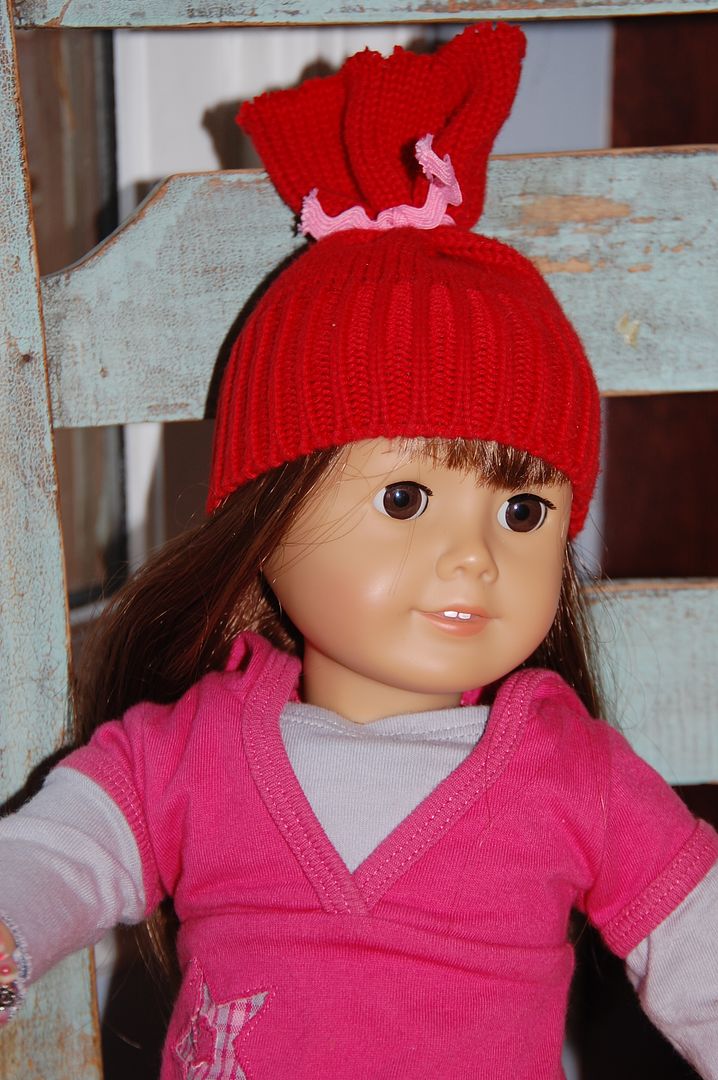
In the book they use a knit glove to make a hat.  None that we owned that I minded chopping up would fit her head, so I found a part of a sweater already chopped up in my craft room and used a sleeve.  Just tied the top with a piece of rick rack.

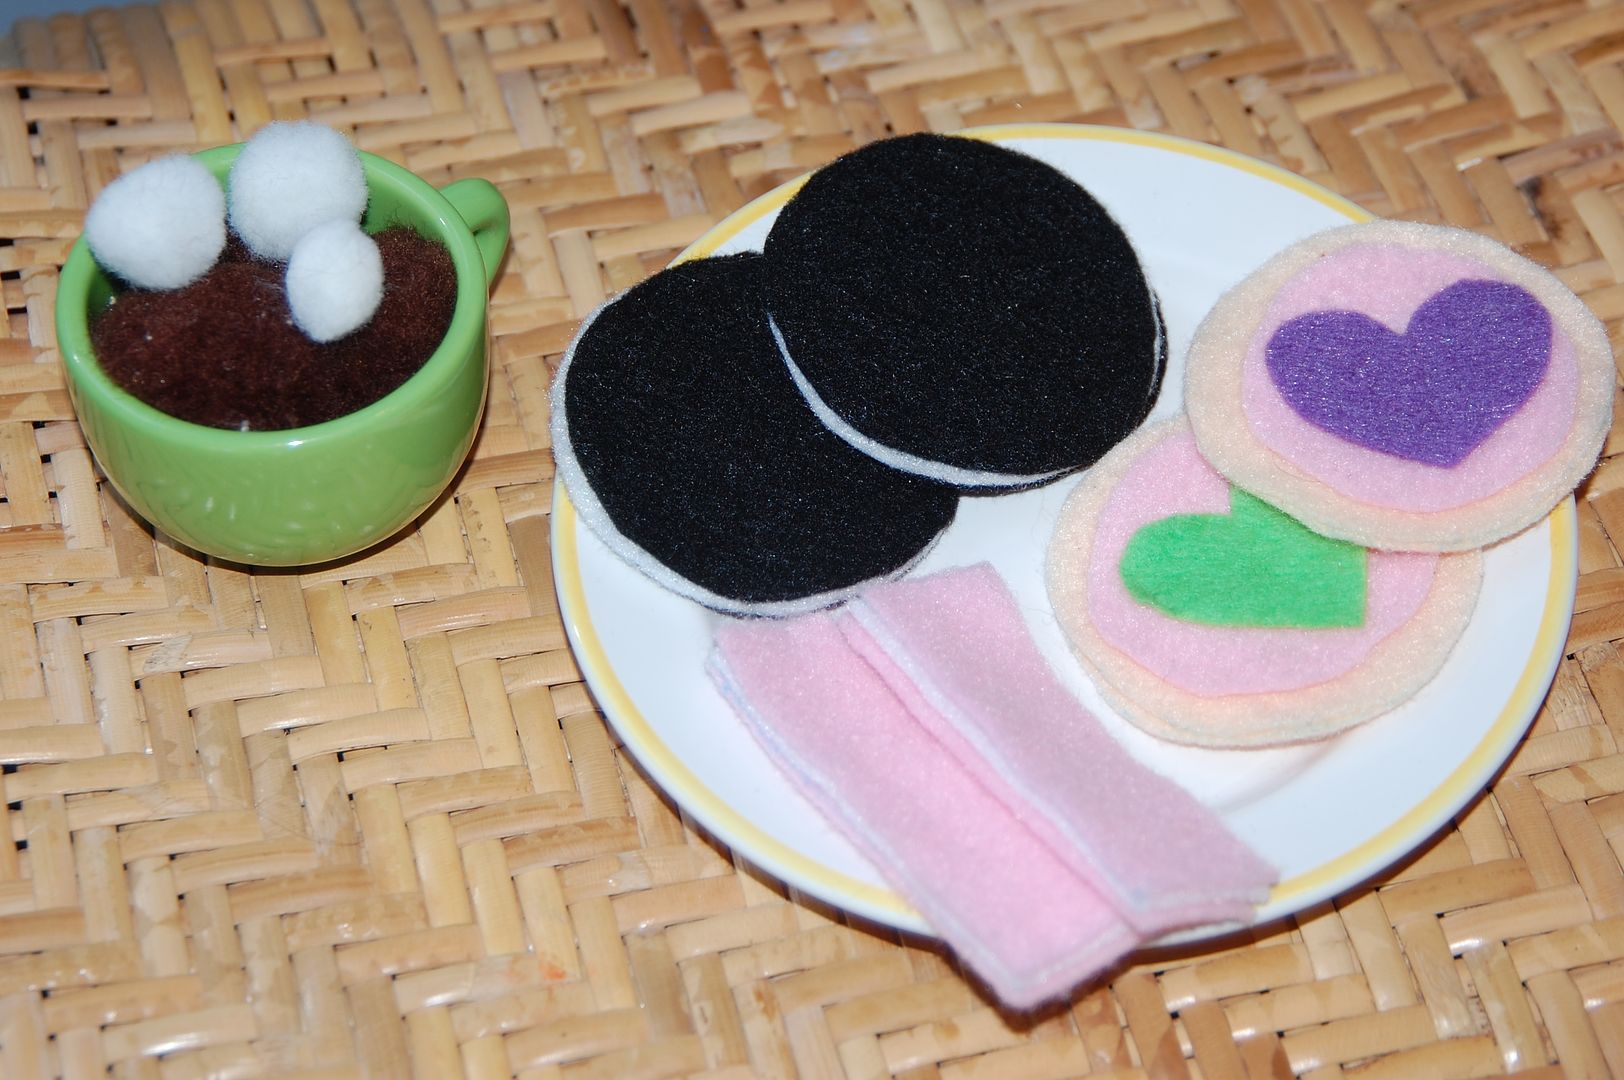
Now for the cookies and cocoa.  We made an assortment with pieces of felt and craft glue.

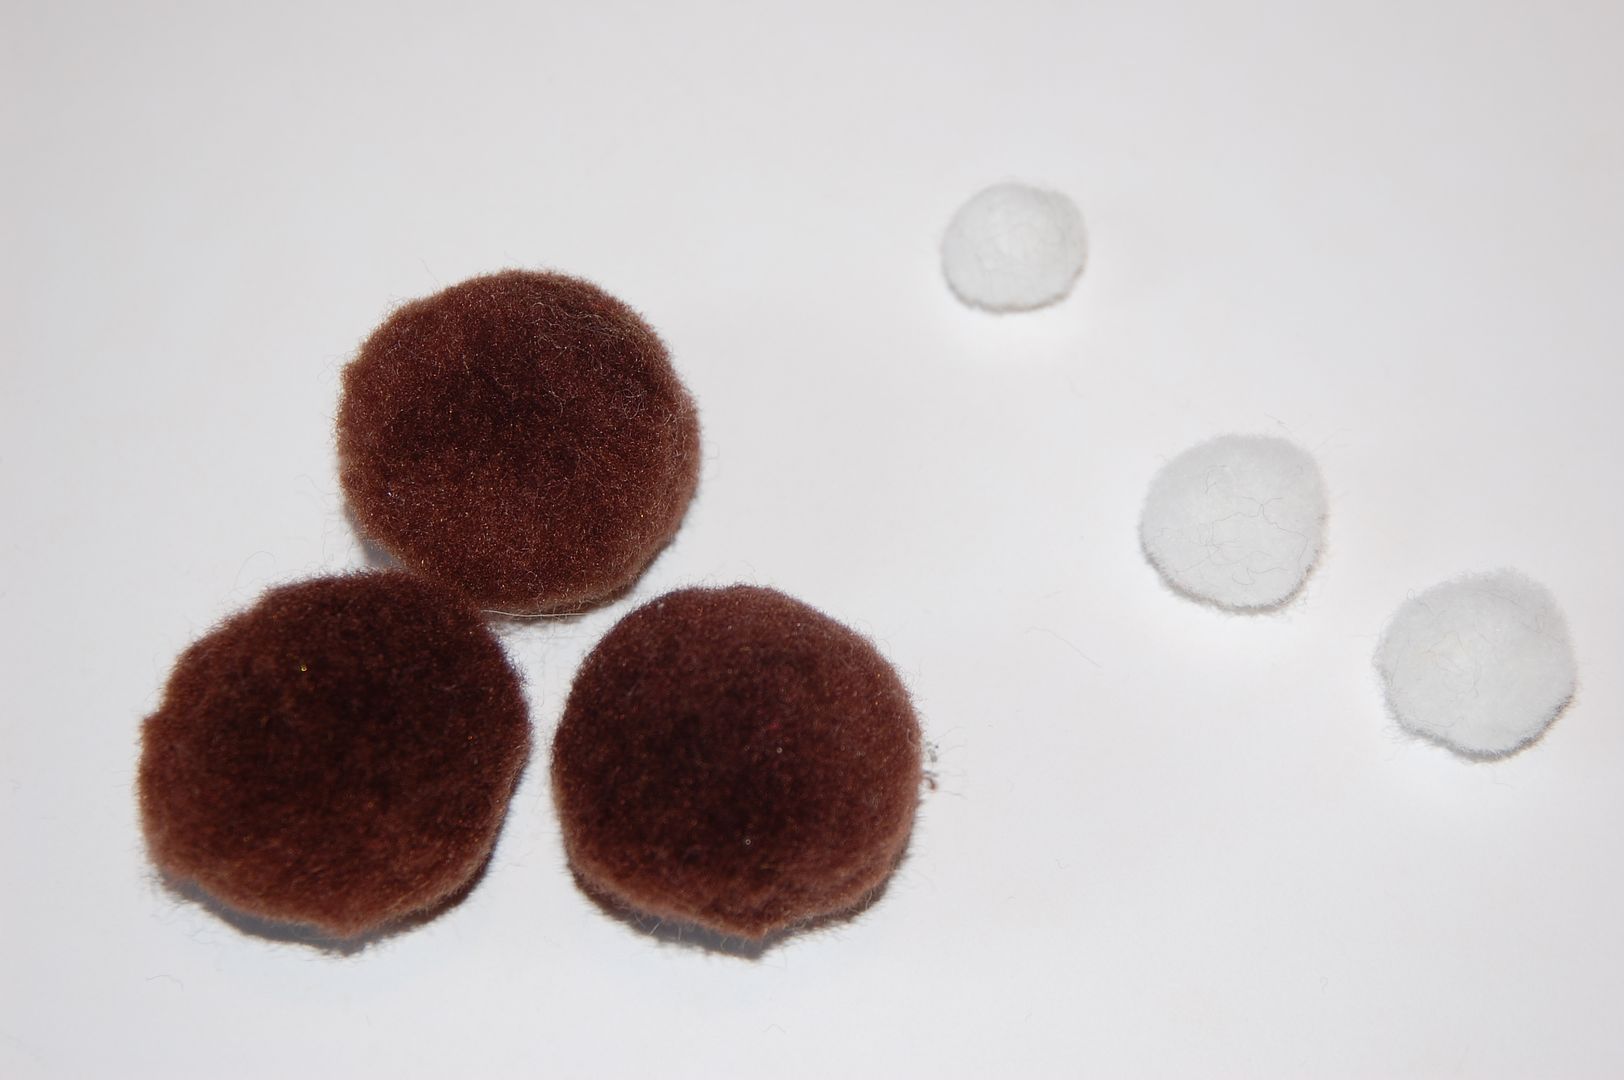
The cocoa is just these pom poms stuffed into a tea cup.  :)

Monday, January 25, 2010

Lil Miss Cupcake


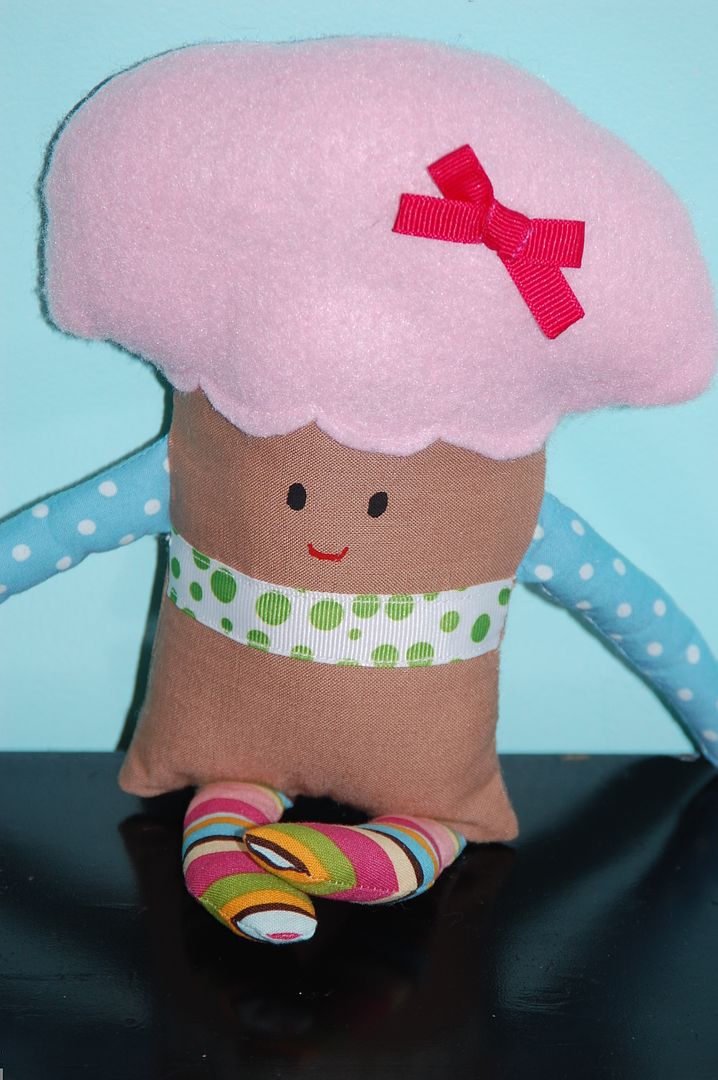
This is Lil Miss Cupcake.  She's super easy to make.  :)  Just need a few scraps of fabric and some felt.


Just cut out 2 felt cupcake frosting hair, brown rectangle and draw some legs and arms on fabric with water soluble pen.  Sew along the drawn lines of the arms and legs leaving the ends open.


  Turn them out.


Then stuff them.

Sew the frosting hair to the brown cupcake body.


On other end, sew down the legs securely.


Do the same with the arms.  If you care to embellish the front with ribbon or whatever, do that before sewing the arms and legs.  I also sewed a bow on the hair at this point too.


Now sew both sides together leaving a good sized opening to turn it out.  Once you turn it out, stuff the doll well and hand sew the opening together.  This would make a sweet Valentines gift for your little cupcake!  ;)

Still didn't get that sewing room back together.  Too busy with basketball game, church, playing with kids, cat napping and just being lazy!  ;)  Now to help them practice piano, check homework, clean the kitchen and watch more Pink Panther with the kids and show them the Ant and the Aardvark...ahhh the nostalgia.  :)

** Tomorrow come back for the SWEET! giveaway!

Wednesday, January 13, 2010

Doll Love


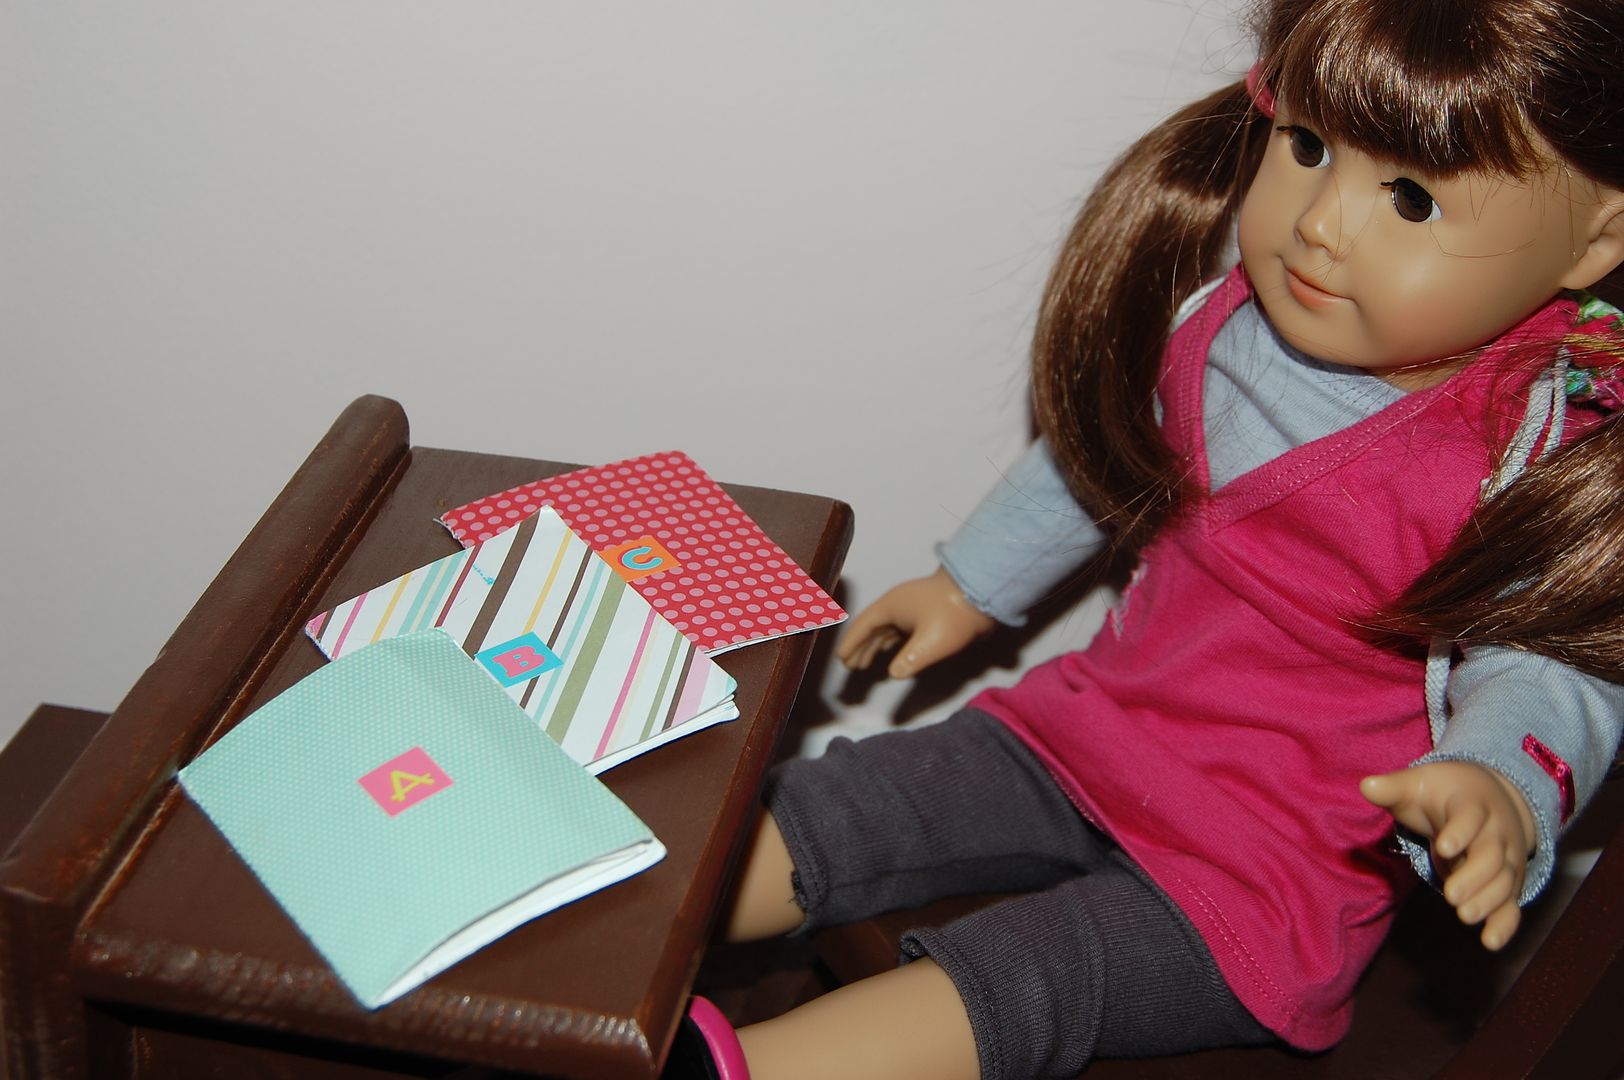
Kalla got an American Girl doll for Christmas.  I was a little hesitant on getting her one, namely because of the price and wasn't sure if she truly would love her.  She got a Bitty Baby last year and hardly touches it.  Another problem, was the cost of the doll alone is about how much I aim at spending total on each kid at Christmas, but I still want them to have the same number of gifts to open.  But things came together.  I was making her the wooden dolls already, and the above desk and chair set was given to me by a friend who got them free at a garage sale.  And then I made a few 'starter' accessories to go with her doll.  Kalla is in kindergarten and they use a reading system that starts with 'letter books' which K adores.  So I made her doll some tiny letter books of her own with card stock.  Inside I put stickers of pictures of things starting with said letter.


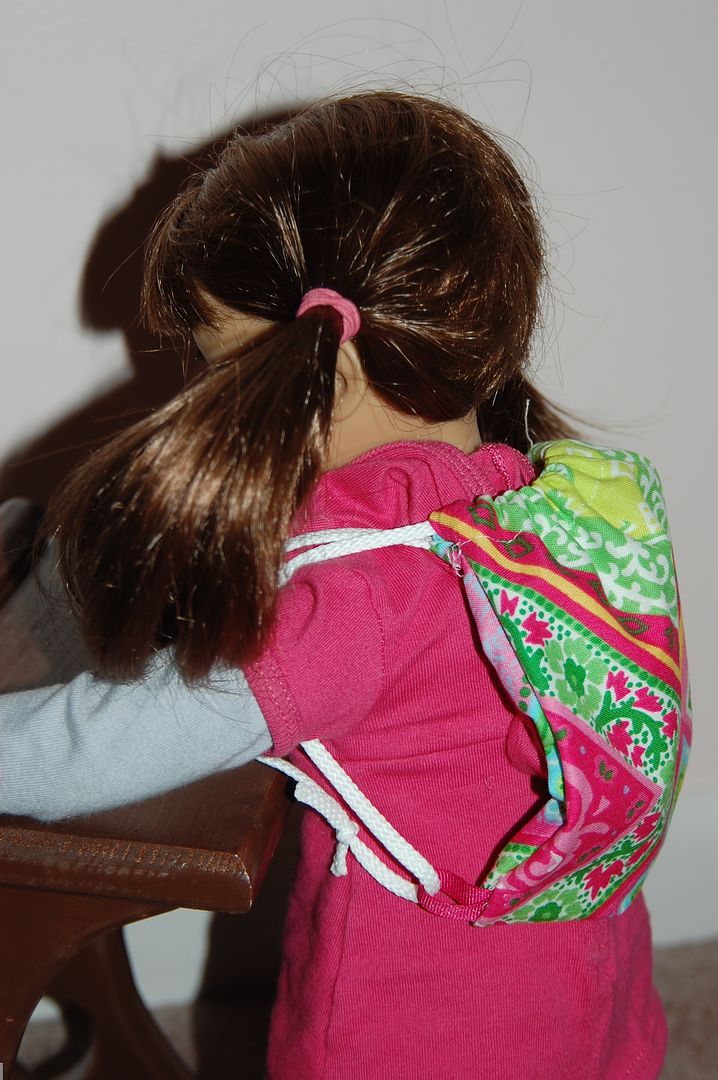
I also made a tiny backpack.  Here is a great tutorial for these type drawstring backpacks, and I just cut the fabric much smaller.  I used these measurements: 14.5"x7".  And instead of grommets I sewed a small ribbon lope into the bottom corner hem.


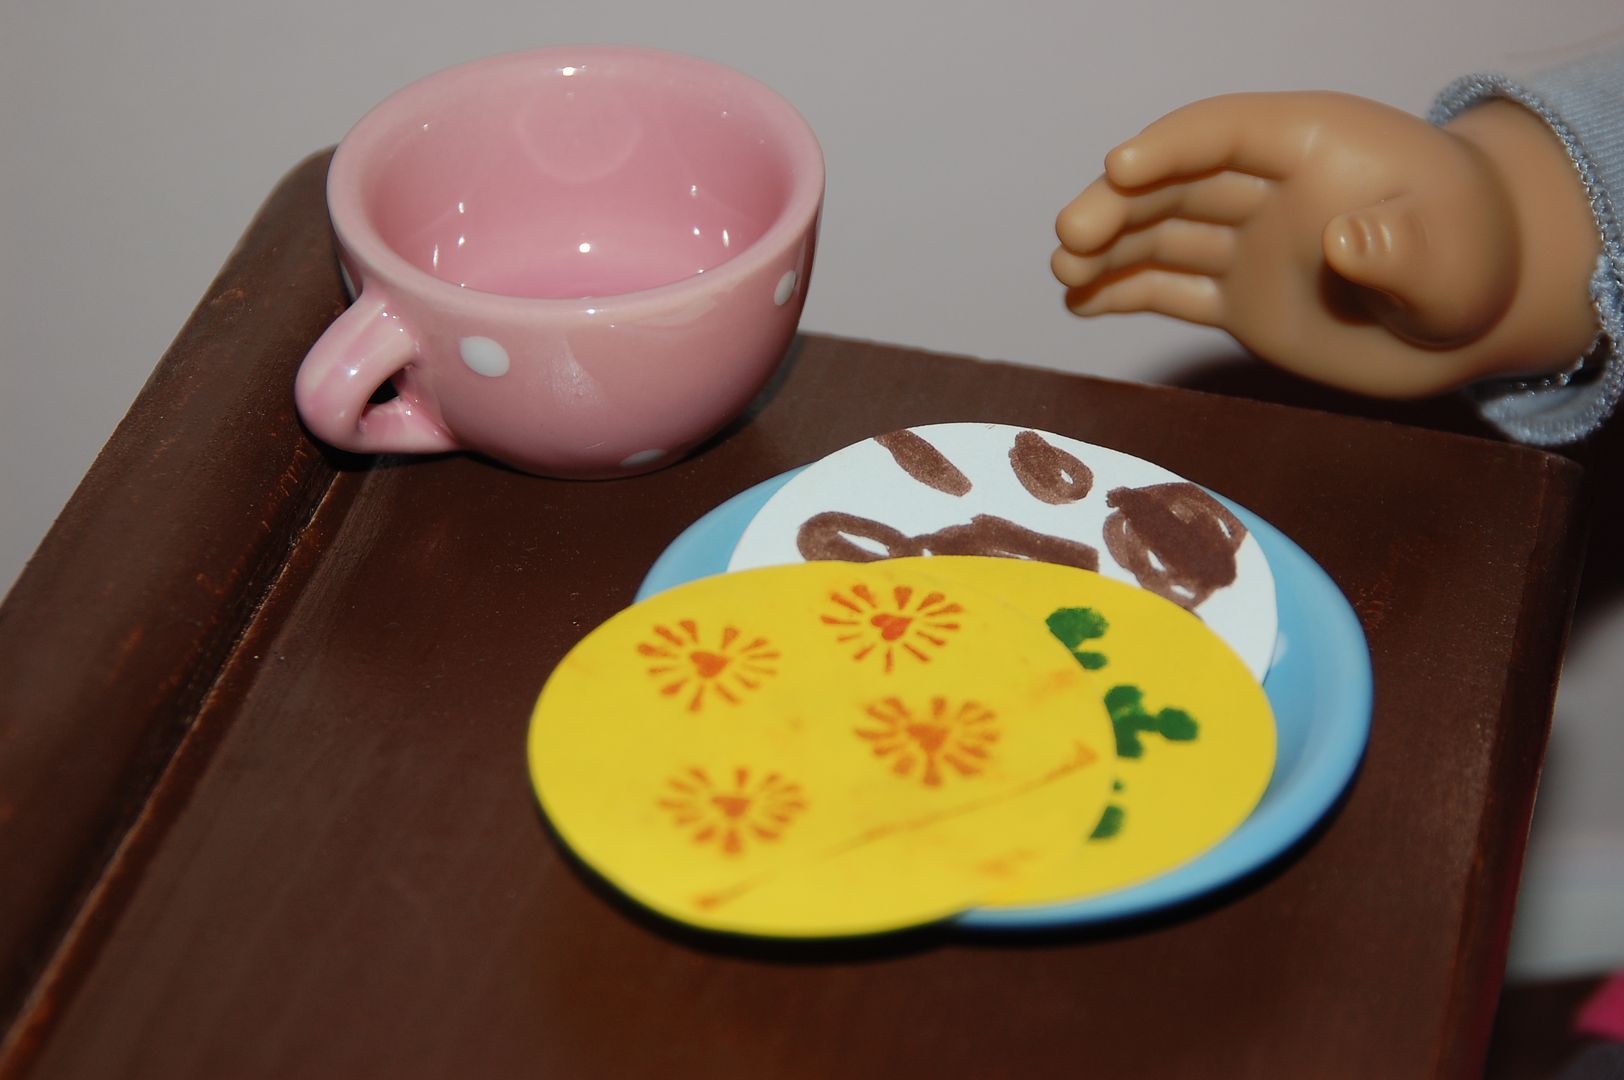
She loves this doll so much!  Worth every penny!  She takes her everywhere.  For the holidays we went to see my mom and sister who has 3 kids.  Kalla's cousin Elizabeth is 13 and used to love AG dolls as well.  So she was so sweet and got out all her stuff in storage and played and played with her.  They made stuff for the dolls as well.  Kalla brought home the paper cookies they made for the dolls to keep.

Now to make the doll some clothes I just ordered AG sized doll clothes patterns on eBay and we are first going to make some pjs.  We have the fabric picked out.  Now I just need to cut it out and we are going to sew them together.  She is also anxious to make the little camp fire craft in the book that came with her and we will make a sleeping bag as well.  So there will be plenty of crafting for her doll to come this year and I will post them all here!  ;)

Wednesday, January 6, 2010

Twelve Dancing Princess Wood Dolls ~ well actually only 10 at this time


For Christmas I wanted to make Kalla some wooden dolls.  Specifically 12 Dancing Princess...one of her favorite stories.  I had a whole playset planned.  Well in the time crunch I only got 10 dolls done (that's all I had and had to order more) and a storing box.


I got the blank dolls on etsy and the wooden lunch box from Hobby Lobby.  The box I used acrylic paints on and mod podge for the printed papers.  Then a sparkly 'k' sticker.  Once all done and dry (this of course was all done in layers) I covered the handles with plastic and sprayed the whole outside with clear acrylic spray.


The inside I used a couple of pieces of felt to line the box.  To do this, take some measurements down, one side across the middle and up the other side for both ways.  Cut a rectangle to match measurements then cut a square out of each corner the same width of the side going down (does that make sense??).  It may be a tad too tall when fitted, but just trim away the extra.  Then smooth glue on the bottom of the box and lay your felt in.  Once placed properly, carefully put glue along sides and press the felt sides to box.


This particular box fits exactly 10 in one layer.  There is plenty of empty space so they do juggle around.  If that bothers you, consider making a squishy pad to place in each side of the box to hold them snuggly.  :)

About the dolls.  I used acrylic paint on them.  I first painted their bodies/dresses and let dry.

Then I did their hair and then faces.  If you don't feel confident to paint your own, it really is simple and easy.  First draw some circles on paper and practice on there to get the feel of how you want them to look.  This is how I start their hair.  I draw the outlines, then fill in.  For faces, the simpler the better.  I used the wood end of the paint brush for the eyes.  Just gently dip it in black paint and carefully dab the eyes on with one tiny dot.  Wide spaced eyes tend to look best.  Then a simple red smile on mine.  Once your dolls are painted and dry you will want to spray then with clear acrylic to get that nice shiny look.

I also made little tulle 'dancing dresses' for mine (well most of them).  For these simple ones I simply cut a rectangle double the length of the body of the doll and about an inch longer than the diameter of the bottom of the doll.  I scalloped the edge by folding the tulle in half and accordion folded it and held firm while I cut a small curve along bottom.  Then I took ribbon and pulled it through the top up by the fold and tied it on the doll.  I also experimented a tiny bit with accessories and made a simple necklace with small beads and elastic string.

I have a blank one of these houses in my craft room that I will get out one day for Kalla and I to decorate and maybe it can be her princesses new house.  :)  Or maybe we'll get more and make a whole princess neighborhood!  ;)  Sounds like a great rainy day (or snow, super FREEZING COLD weekend!!) project to me!  Though I just received our doll clothes patterns in the mail and I promised we'd sew some jammies for her new AG doll this weekend.  Always the project list going!

Tuesday, October 27, 2009

Play kitchen makeover

Sort of. We got this kitchen (the stove and sink were originally sold/made separate, no corner unit at that time and we didn't get the fridge) for the kids several years ago. I wanted wood, but inexpensive...also wanted one that was NOT pink. Anyway, I have to admit the gift was kinda a flop. They never really played with it. However, since I still have a couple of little ones in the house I've been reluctant to get rid of it.

Once I painted and redid my dining room (that is over sized because it used to be the kitchen before the previous owners put on an addition) I decided to spruce up the little kitchen area.

And I had this old thing in the garage ready to be given away. Then it dawned on me that it would be fabulous for storage and play area (aka a 'counter') for the kitchen.


So I painted it dark brown to match my table and chairs and the kids table. Added the cool Target Orla Kiely placemat I got from Goodwill and some fun orange buckets from Big Lots to store food stuff in and recycled some soup cans for the spatulas, whisks and whatnot. And an old phone for making calls to their friends.

Above the kitchen I hung my old Coke crate I bought at an antique store many years ago and displayed their teapot set.

It's amazing, but these simple, 'real' touches with the added room for making dishes has made quite a difference. Especially with the littlest 2. Maressa especially likes making her stuffed animals and babies food. :) Not to mention it now looks kinda nice in my dining room. I plan to make some dish towels and oven mitts to put on hooks by the kitchen soon.

Wednesday, November 5, 2008

Personalized baby blocks

I am working on a little set of blocks for Christmas. I'm making Maressa some for my prototype and will put them in her stocking. My main goal was to make some for gifts. Being that babies love baby faces, what's better than putting them on some blocks for them to play with?


So to make these, I first bought the blocks at Hobby Lobby. Then I sanded the edges a bit to make them softer. I purchased coordinating scrapbooking stickers and papers. The papers were stripes, polka dots, little pastel zoo animals and other random prints. I used a circle hole punch to punch out different animals for one side of the blocks. Put her name on another side, and square random prints on the others and some acrylic paints on other sides. With the papers I used mod podge (which is non toxic) to paste them and using that to seal all the sides as well. For the faces I printed them on matte photo paper on my computer. These can be played with or you could make them for decoration for baby's room.


Other random craftiness going on....

Making 200 marble magnets for the seniors at my church. We have a Harvest banquet every year where we honor them and for the last 2 years I've been pulled into making the favors. I used my 1" circle punch and some pretty scrapbooking papers for this project...50 down, 150 more to go!


And a peek at some of my latest crafting finds/purchases!
The above orange fabric I won! I've never won anything before, but I won this on Sew Mama Sew's free fabric fridays. It took me forever to pick out what I wanted. Not sure what I'm going to use it for, I may save it for the girl's pumpkin patch outfits next year.
Other fabric goodies--I found some Park Slope on eBay to make the girl's an outfit and I got a half yard pack of Pop Garden at jcaroline to use for gifty stuff. The tins I found here to put the magnet marbles in (if you only need a few tins, then go to Oriental Trading, but if you need a lot those folks prices are better, but they are a little smaller and you can only fit 4 magnets in) and the magnet paint and wood people for a few upcoming projects. Lots and lots of stuff to do!
And more stuff.....
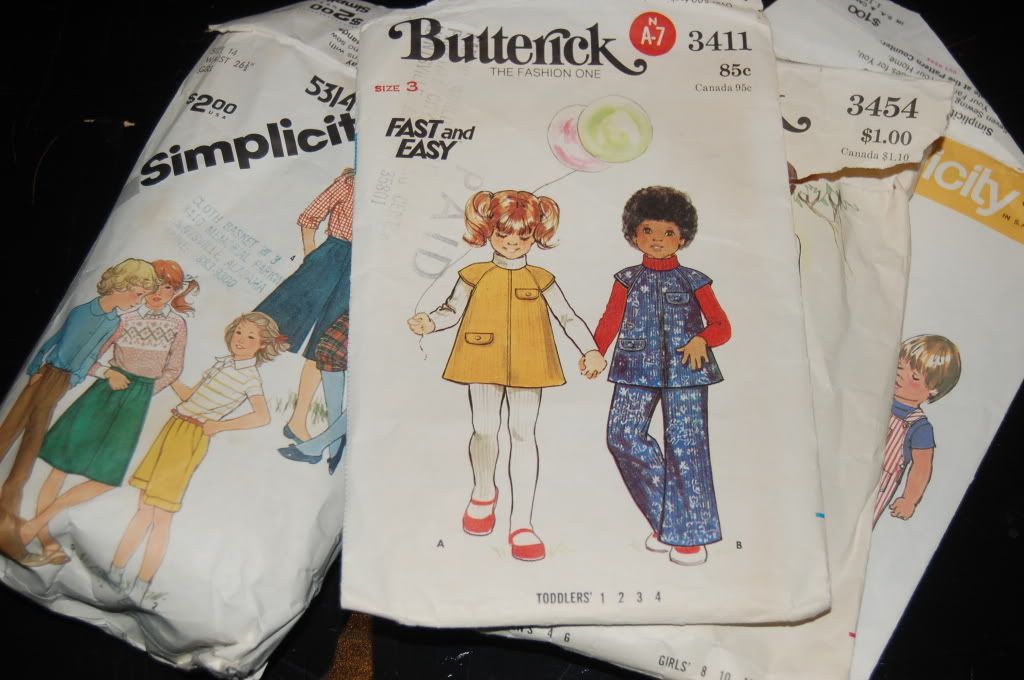
I was given some vintage children's patterns and I really LOVE the one on top and going to even give zippers a try to make something for Kalla (the top and pants set)

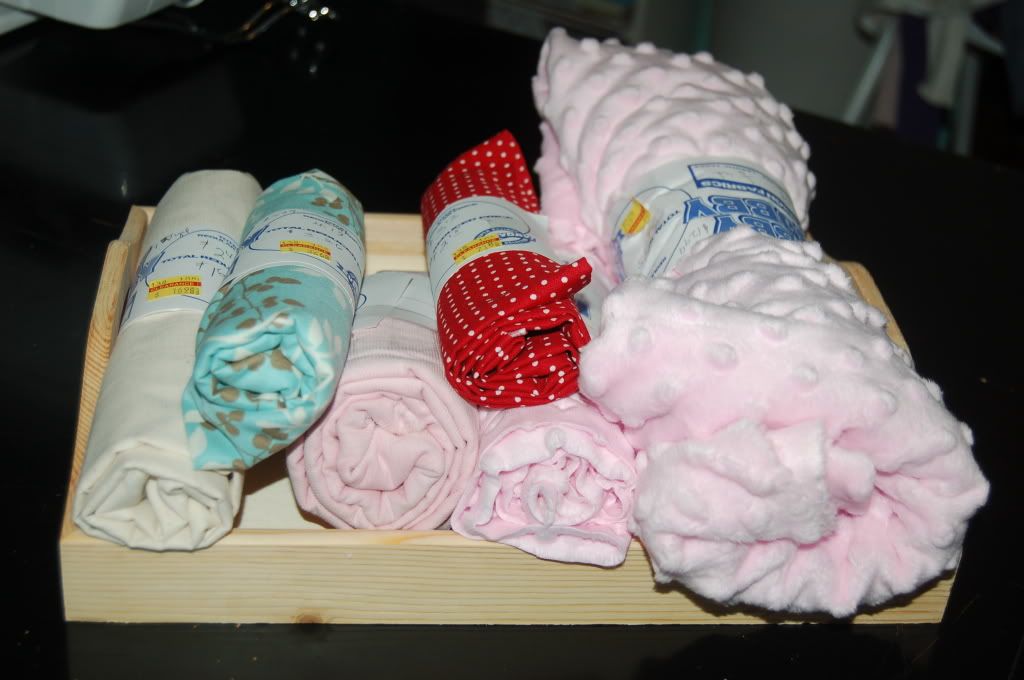
And who knew? I found these gems in the clearance section of Hobby Lobby. Two pieces of pink minky for over half price, fine wale cord, some cute cotton prints too. What a deal what a deal!
So now I've got to get sewing!!! :)

LinkWithin

Related Posts with Thumbnails