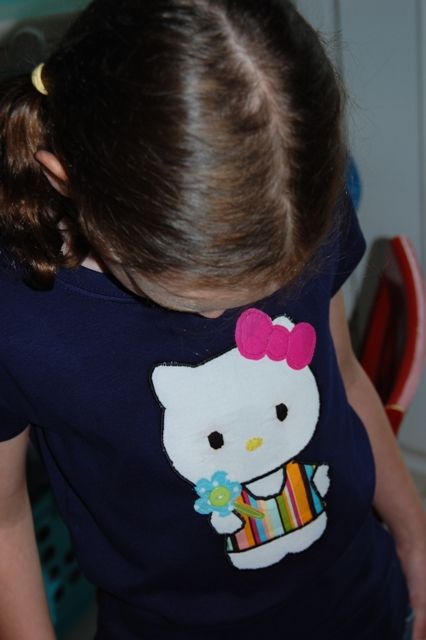
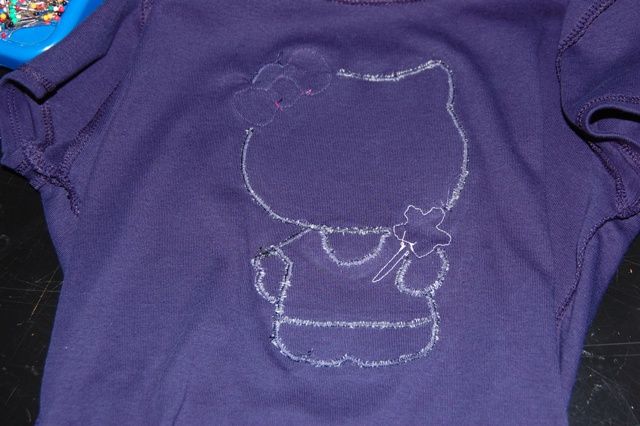
Not perfect but done and a happy girl. Last one for a while too. :)
So I traded in creativity for my girl's fav kitty.
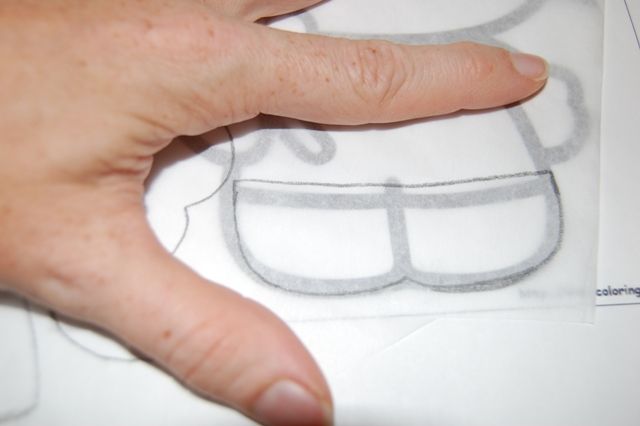
I started with a
plethera of HK coloring pages to pick from as my template. Print and flip over to trace a reverse image. Note that when tracing parts like above, I make my piece bigger so it can be layered underneath.
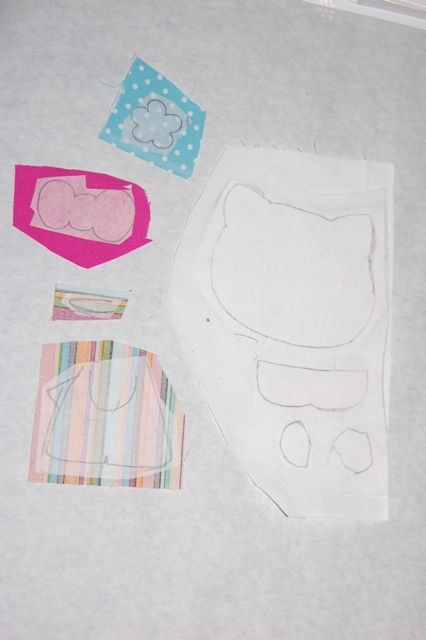
Ignore my extra pieces...somehow I realized I only traced half of Kitty backwards and half not. So I had to make some new ones. :)
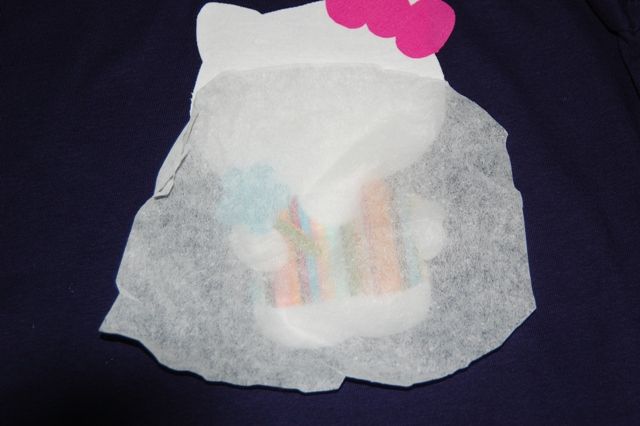
Iron on your wonder under tracings.
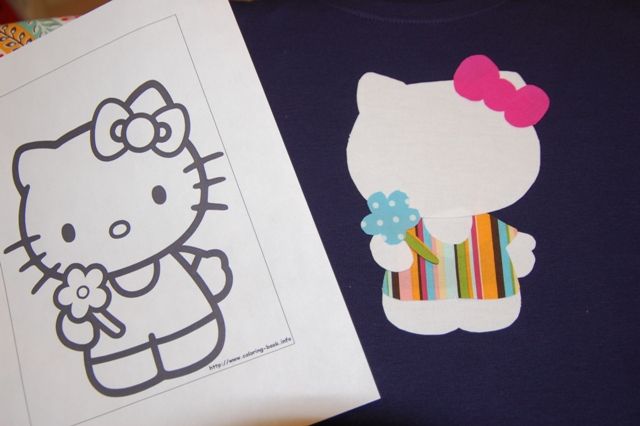
Use your picture to help layer and assemble Kitty.
For this project I choose to do a satin stitch around my applique pieces. To make it even harder on my self I used black thread on white fabric. This is not a beginner project for those who aren't experienced at satin stitch on applique. Black on white shows every imperfection as you will see. I'm a little rusty at this but have
done plenty before. Anyways, unlike using simple straight stitches, if you satin stitch on tshirts you MUST use a stabilizer on the back. I prefer stitch and rip. You will cut a piece to cover your area (I did the bottom area first then cut a separate piece for the head). Attach to the under side of the tshirt.
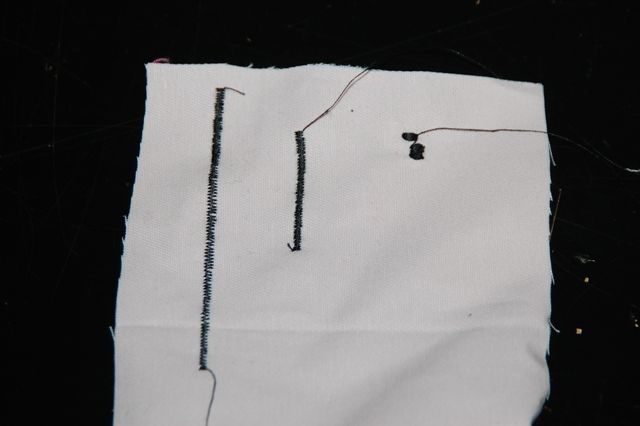
But if you stubbornly decide to trudge on like I did, at least practice your stitches on some scraps so you get the width to your liking.
Pin your stabilizer from the front side so you can remove them as you go. I also like to use a clear foot so I can see what I'm doing. They sell machine feet for this type of work.
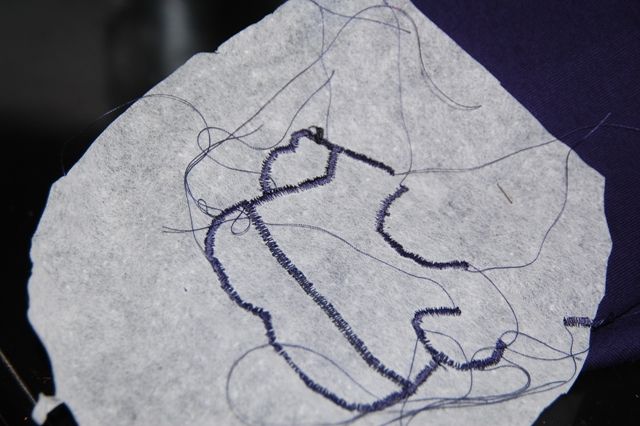
This is what you'll have on the back. Rip it off when stitching is done.
This is what it will look like from the inside. I choose to not go totally insane and top stitched the bow and flower since they are so small. You'll do any of this kind of stitching after ripping your stabilizer off. If not you'll have a tough time getting it to rip around those areas since the stitching is lite.
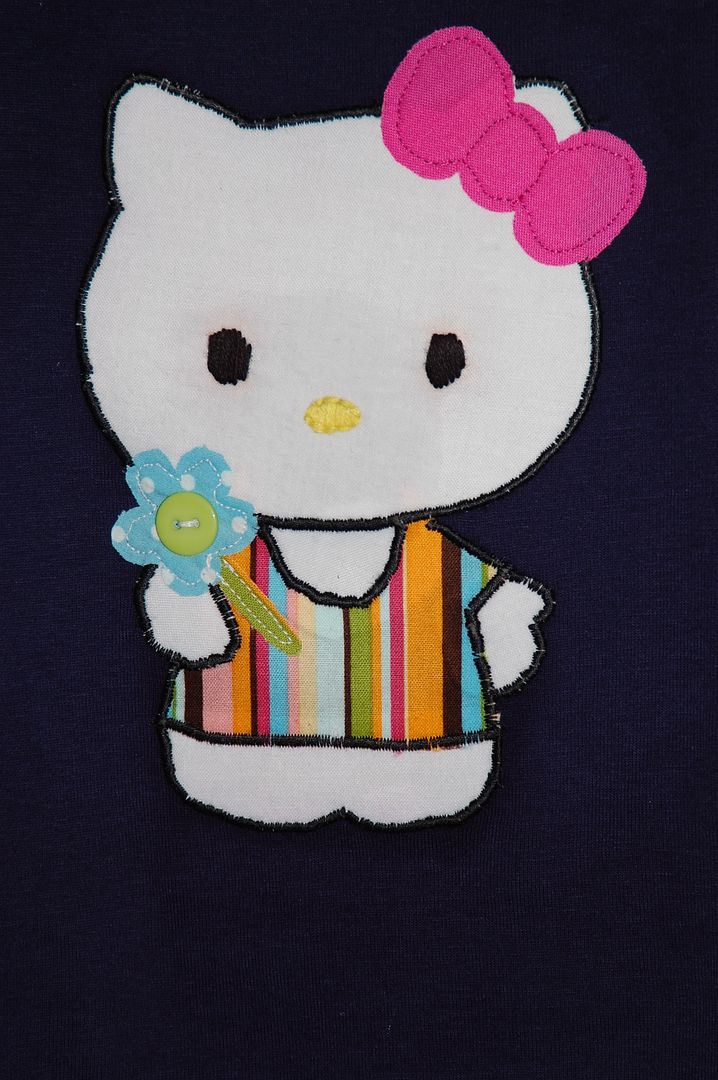
Now hand embroider on the face (see bottom pic). I used a water soluble pen to draw on her eyes and nose. Then used a satin embroidery stitch to fill them in.
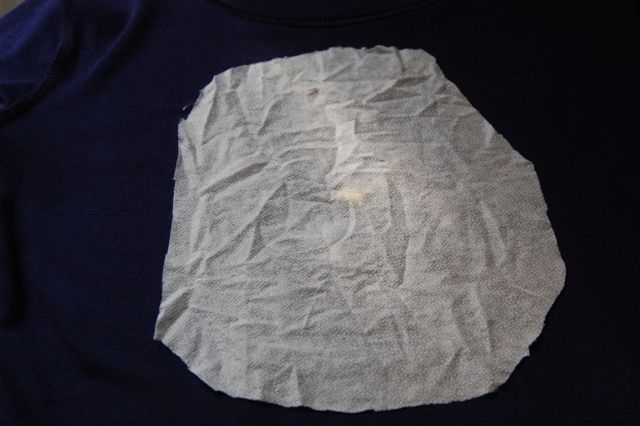
I don't know what this is called. It is some sort of permanent fusible. It is soft on one side and the 'glue' side looks like little bumpy pin dots. This keeps you from going really crazy when you've worked so hard on a cute tee and your 7 year old tells you it feels all prickly inside and refuses to wear it. You can find it with all the other stabilizers and fusibles by the yard at your fabric store. You will cut a piece to just cover all those itchy stitches on the inside part of the tee.
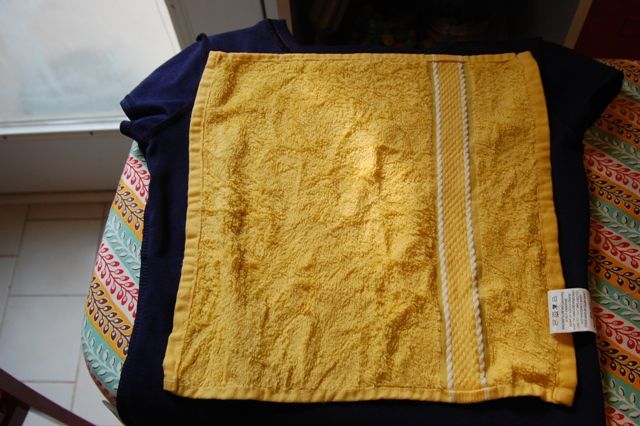
You then turn your tee completely inside out and place bumpy side down over all the stitched area. You then take a very damp cloth and a very hot iron. Place cloth over fusible and iron over it til the cloth is a good deal drier. It should now be ironed down permanently and can be washed and dried with the tee.
Lastly I sewed on a button on the flower. Like I said not perfect nor a project for the faint hearted, but Kalla loves it nonetheless. She's picked it out to wear tomorrow. :)


1 comment:
I love this applicé... Gonna make my girls one I think.
Post a Comment